
Arbejdsweekend fastlagt
Det er nu fastlagt at arbejdsweekend bliver lørdag den 1. august og søndag den 2. august.
Listen over opgaver findes på Todo-listen.
Foreningen sponserer lidt mad i løbet af dagen – be there or be square!
Det er nu fastlagt at arbejdsweekend bliver lørdag den 1. august og søndag den 2. august.
Listen over opgaver findes på Todo-listen.
Foreningen sponserer lidt mad i løbet af dagen – be there or be square!
16 jul
17 jun
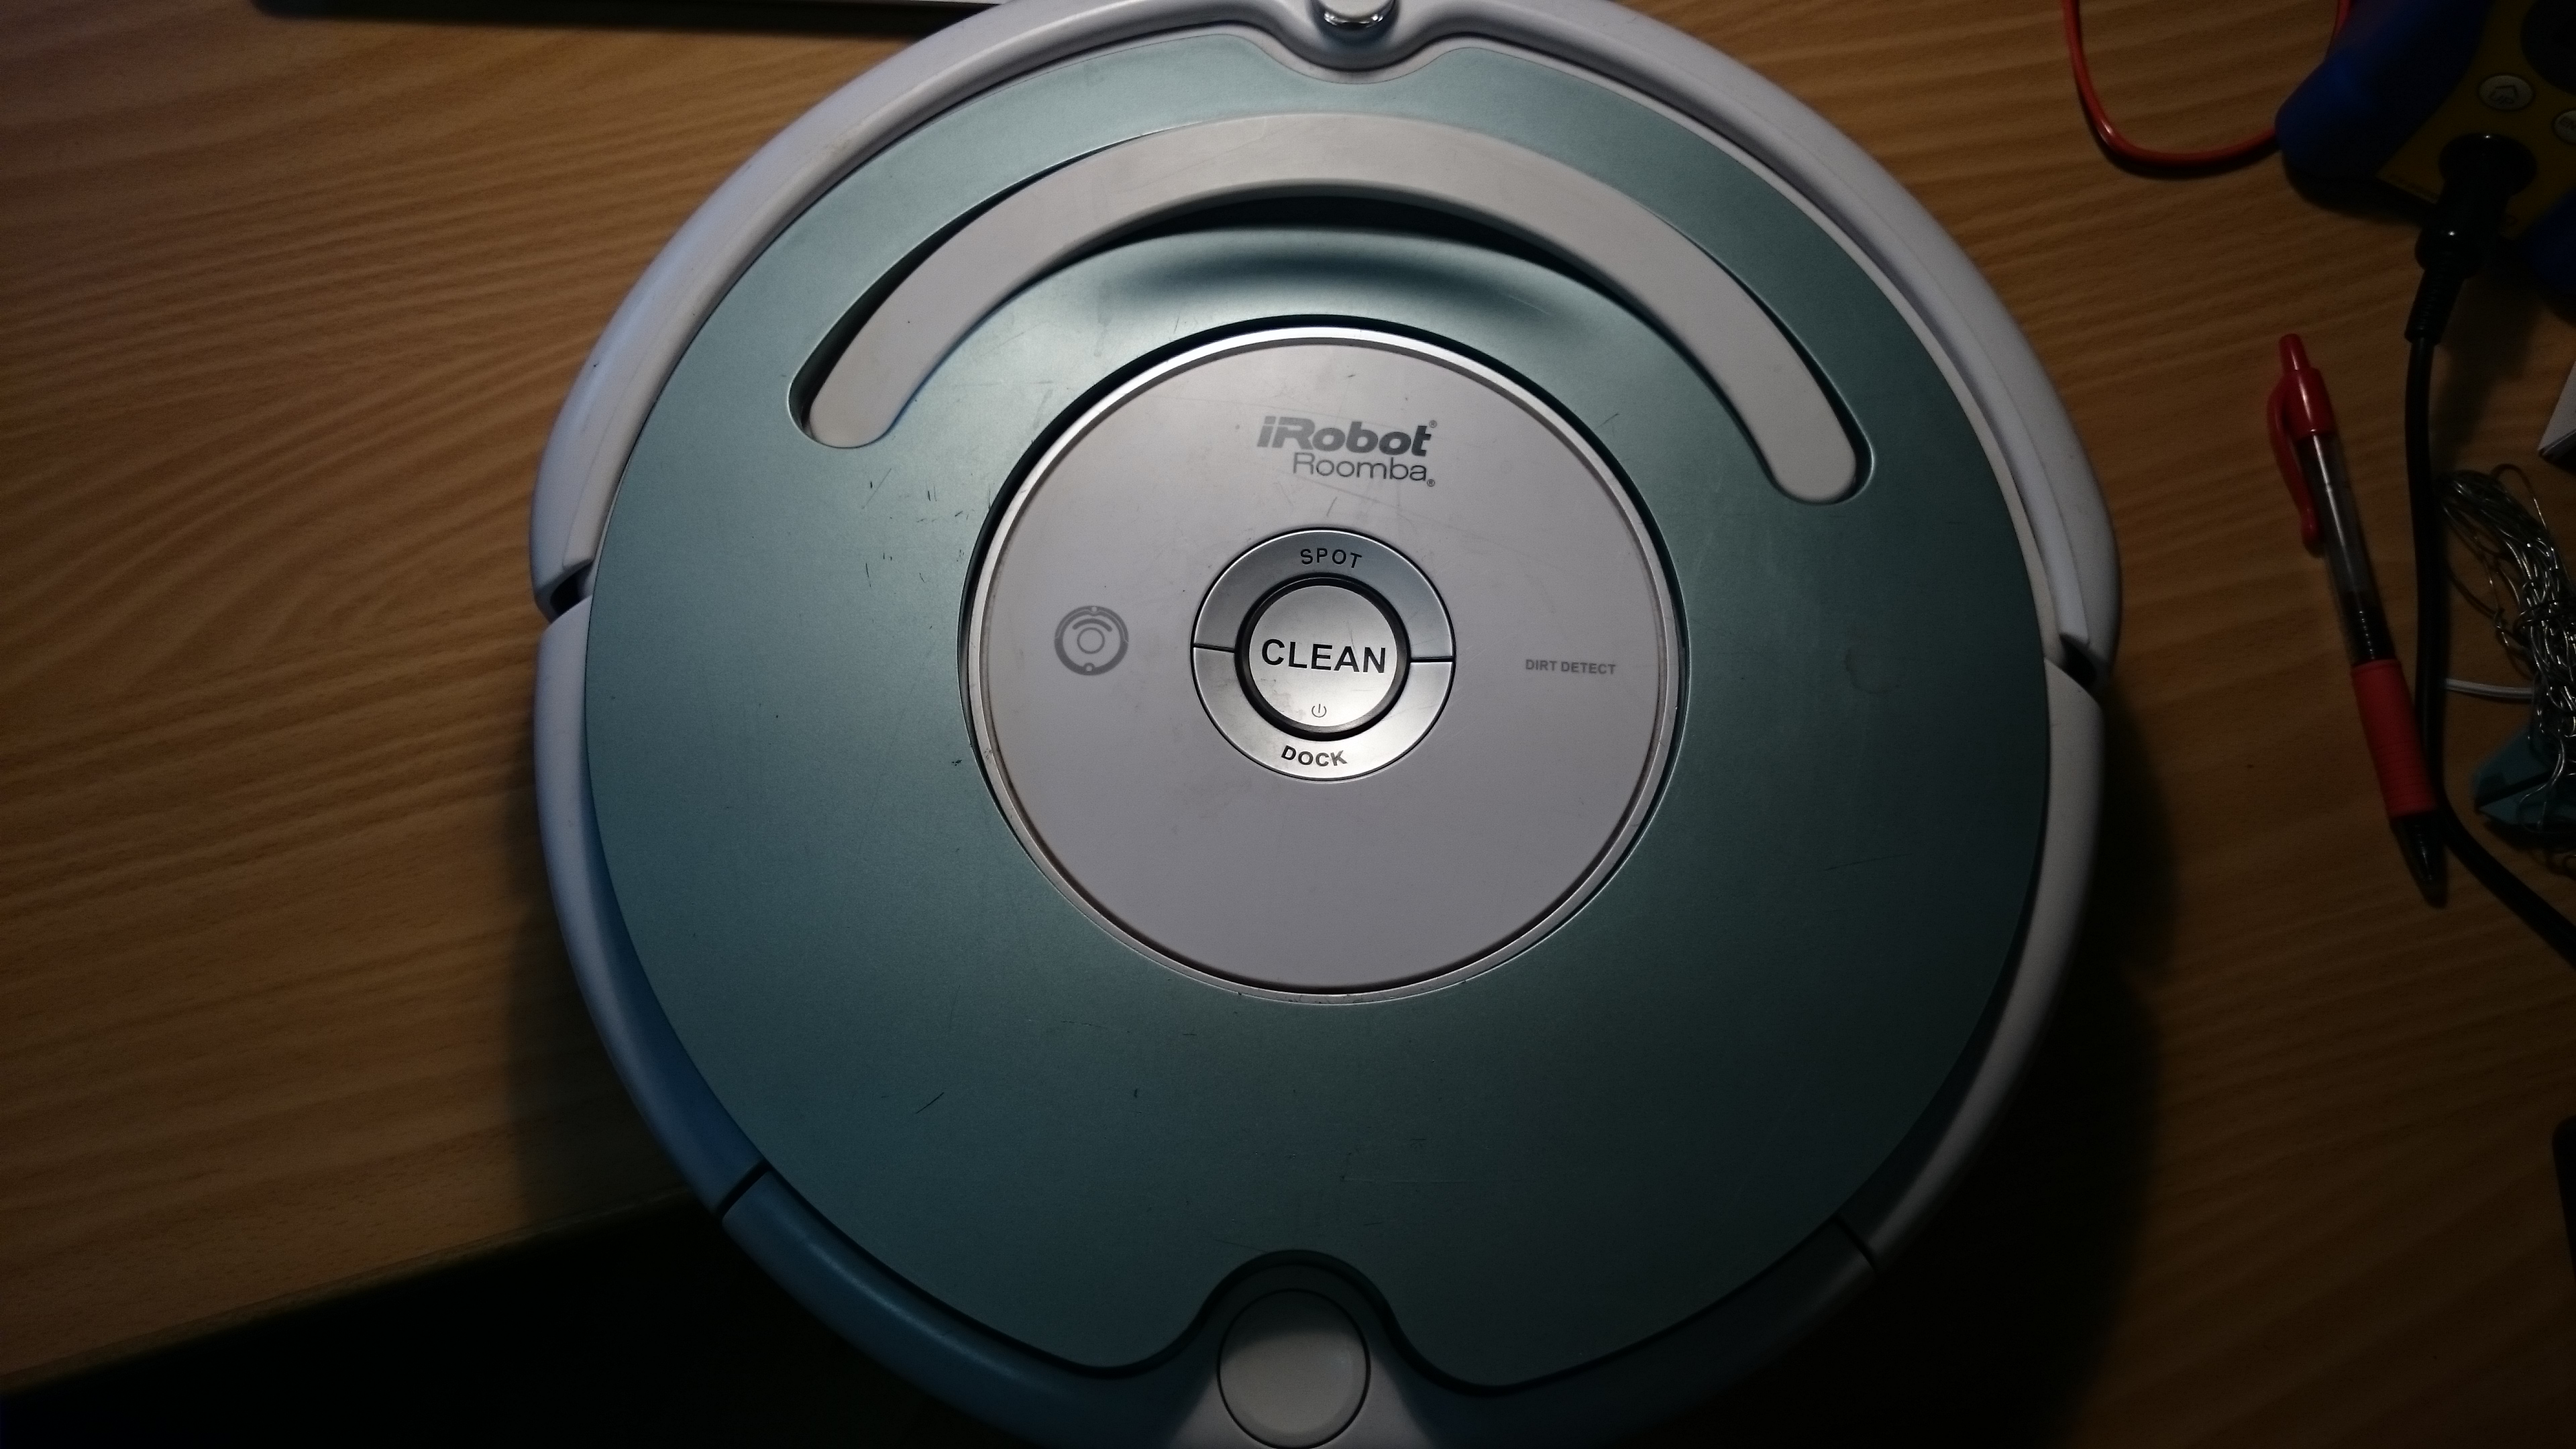
I have a iRobot Roomba 500-series vacuum cleaner robot, but without any remote, or command center or anything; alas, I have to push a button everytime I want the cleaning revolution to start 
But no more! It turns out the Roomba can be programmed, quite easily, to schedule automatically, and all you need is:
The Roomba actually supports a serial protocol, the iRobot Roomba 500 Open Interface Specification, that allows remote control, driving, sensoring, and scheduling.
Remove the plastic cover. It is easiest to remove the vacuum bin, and carefully pry it off with a screwdriver.

There should be a 7-pin plug, on the right side. It has the following pinout:
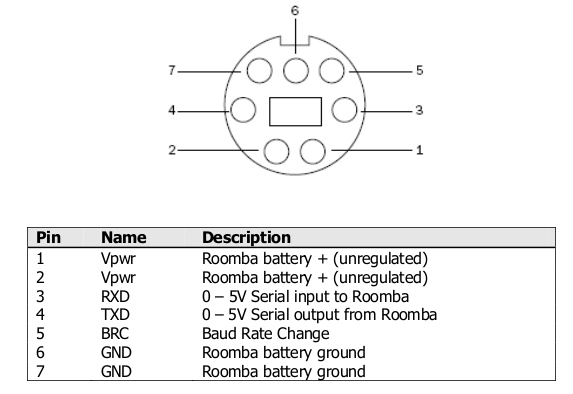
Roomba serial pinout
Use this sketch (download: roombaschedule.ino):
/*

Set a schedule on an iRobot Roomba 500 series, using just an Arduino.

Mads Chr. Olesen, 2015.

*/
const byte currentDay = 3;
// 0: Sunday, 1: Monday, 2: Tuesday, 3: Wednesday, 4: Thursday, 5: Friday, 6: Saturday
const byte currentHour = 2;
const byte currentMinute = 58;
// Schedule
const byte SUNDAY = 0x01, MONDAY = 0x02, TUESDAY = 0x04, WEDNESDAY = 0x08, THURSDAY = 0x10, FRIDAY = 0x20, SATURDAY = 0x40;
const byte daystorun = SUNDAY | MONDAY | WEDNESDAY | FRIDAY;
const byte times[14] = {
3, 0, // Sunday time
3, 0, // Monday time
3, 0, // Tuesday time
3, 0, // Wednesday time
3, 0, // Thursday time
3, 0, // Friday time
3, 0, // Saturday time
};
const int ledPin = 13;
void setup() {
Serial.begin(115200);
pinMode(ledPin, OUTPUT);
digitalWrite(ledPin, 0);
Serial.write(128); //Start
delay(1000);
Serial.write(131); //Safe mode, turns off Roomba light
delay(1000);
Serial.write(128); //Start, back to passive mode
delay(500);
//Set day time
Serial.write(168);
Serial.write(currentDay);
Serial.write(currentHour);
Serial.write(currentMinute);
delay(500);
//Set schedule
Serial.write(167);
Serial.write(daystorun);
for (int i = 0; i < 14; i++) {
Serial.write(times[i]);
}
}
void loop() {
digitalWrite(ledPin, 1);
delay(1000);
digitalWrite(ledPin, 0);
delay(1000);
}
You need to modify the variables at the top: set currentDay, currentHour, currentMinute according to the present time.
The pre-programmed schedule is to clean at 03:00 on Sunday, Monday, Wednesday and Friday. You can change this if you wish, by altering the daystorun and times variables.
If you don't modify the schedule, the Roomba should start automatically after 2 minutes.
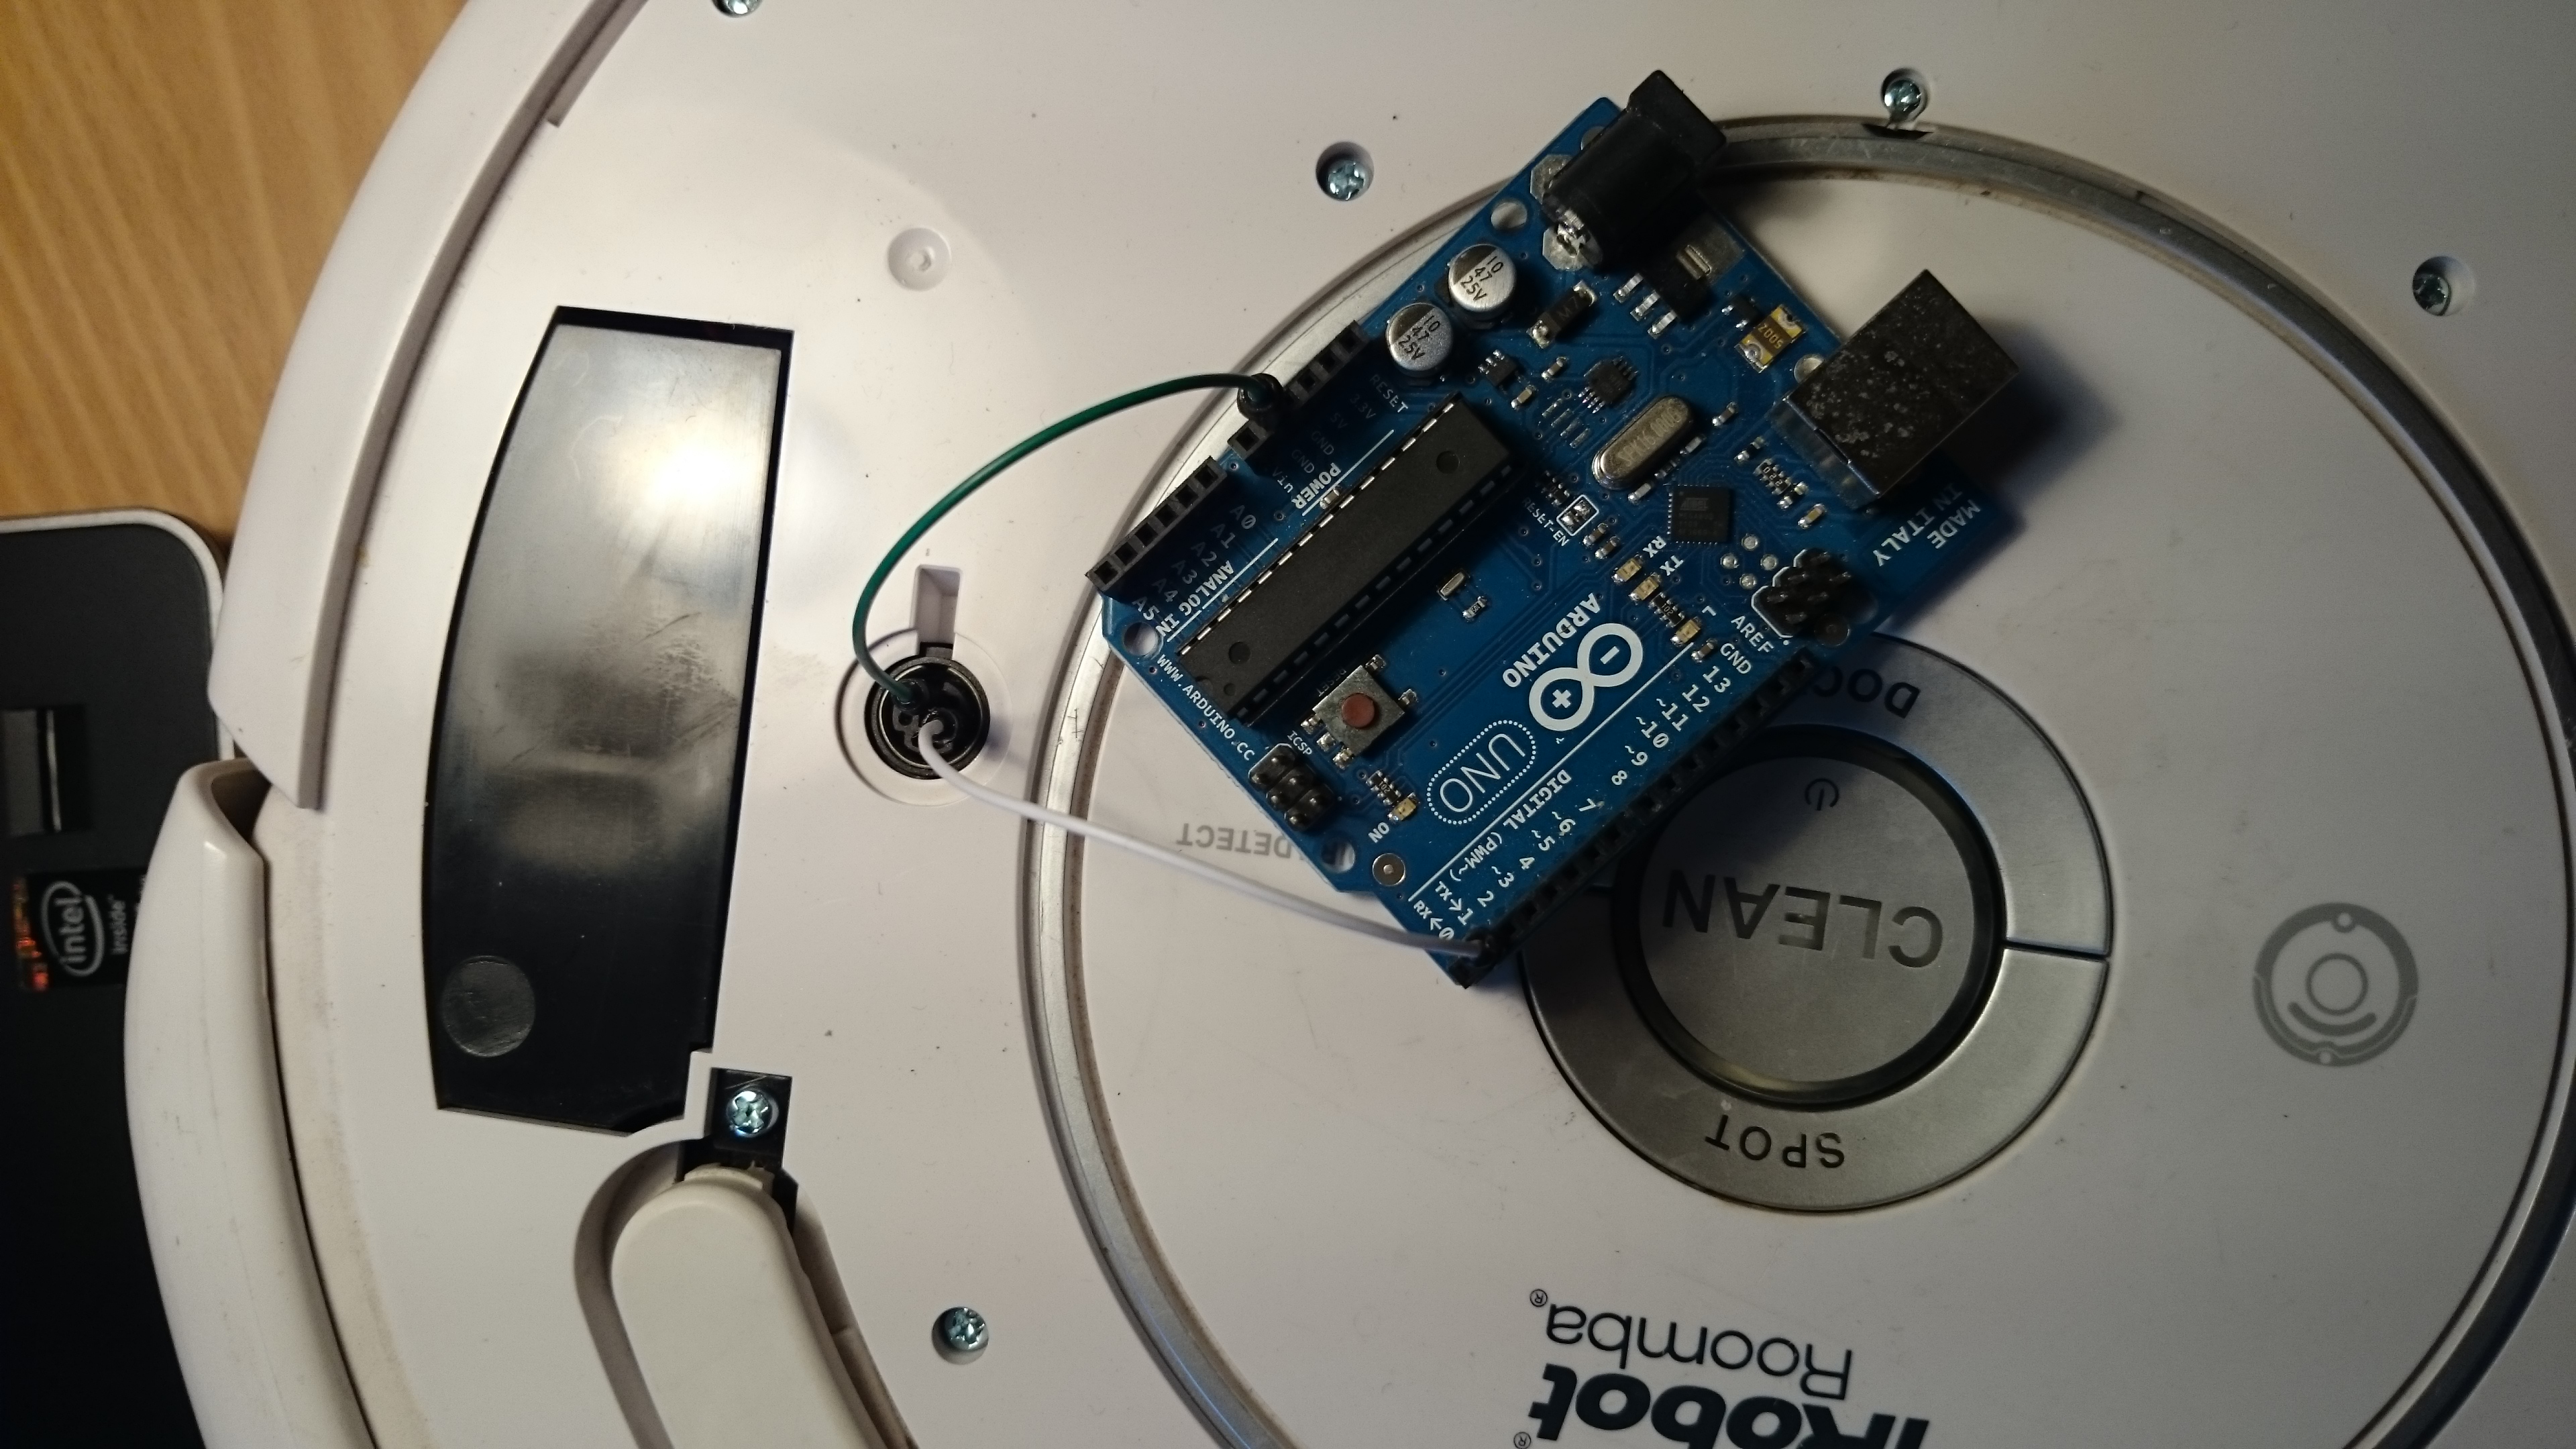
You should now have a partially undressed Roomba, and a programmed Arduino. Now it is time to connect them. With both unpowered, connect the following:
It should look like this:
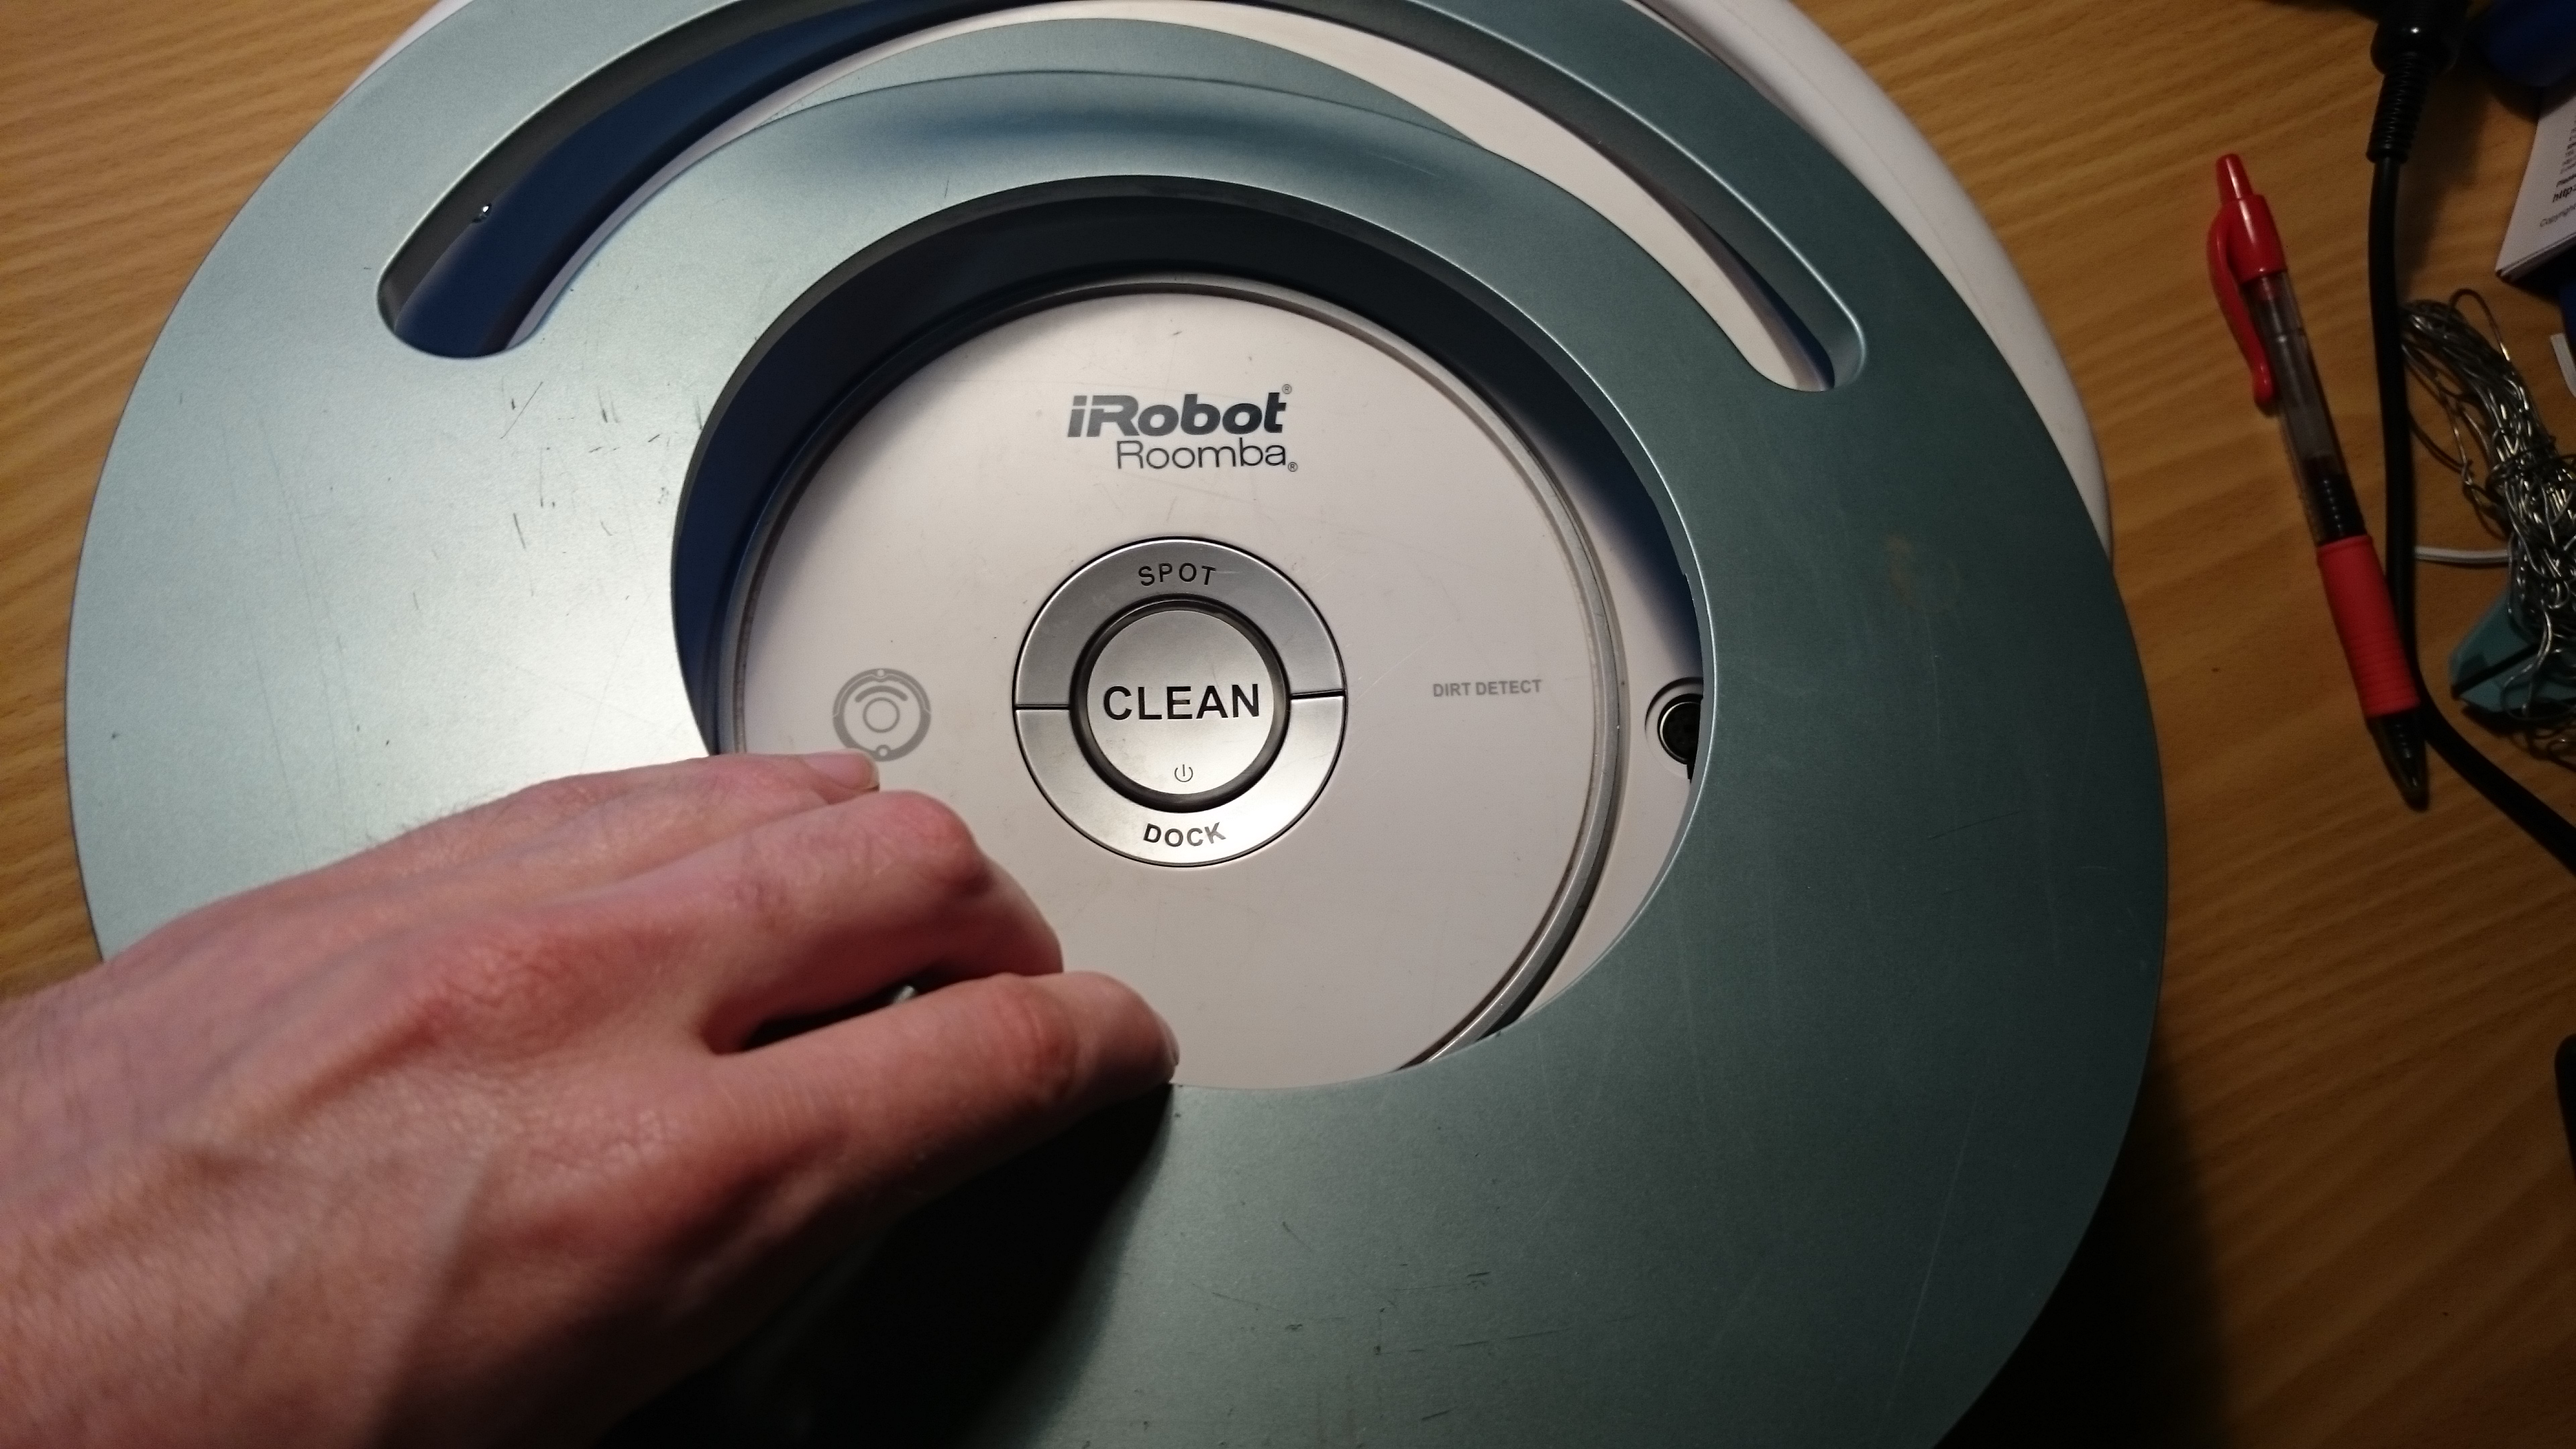
Now, the moment of truth. Press the "CLEAN" button on the Roomba, the light should go on. Plug in the USB for the Arduino. The Roomba light should turn off briefly, and after a few seconds the Arduino should blink it's LED. The schedule is now programmed, all done!
22 feb
For nogen tid siden fik vi fat i understellet til en elektrisk kørestol. Vi syntes det var oplagt at bygge den om til en robot. Der fulgte ingen batterier med, men vi havde en hel del 12V blyakkumulatorer. To af dem i serie blev monteret (sammen med et nødstop), og så gik vi i gang med at lave reverse engineering af protokollen mellem joystick og motorstyring.
Ret hurtigt kunne vi dekode nok til at lave denne fine graf ved at bevæge joystick’en i en cirkel:
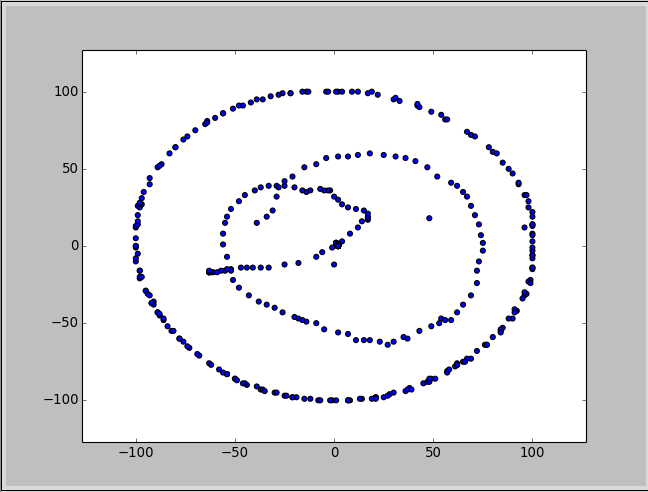
Næste skridt var selvfølgelig at prøve at sende data til motorstyringen. Der blev lavet en server i node.js, som modtager data fra en virtuel joystick (dvs. en klient på en touch-device) via WebSockets og sender serielle data til motorstyringen (via en Arduino, som primært fungerer som USB -> seriel konverter). Med dette setup kan man fjernstyre stolen:
05 jun
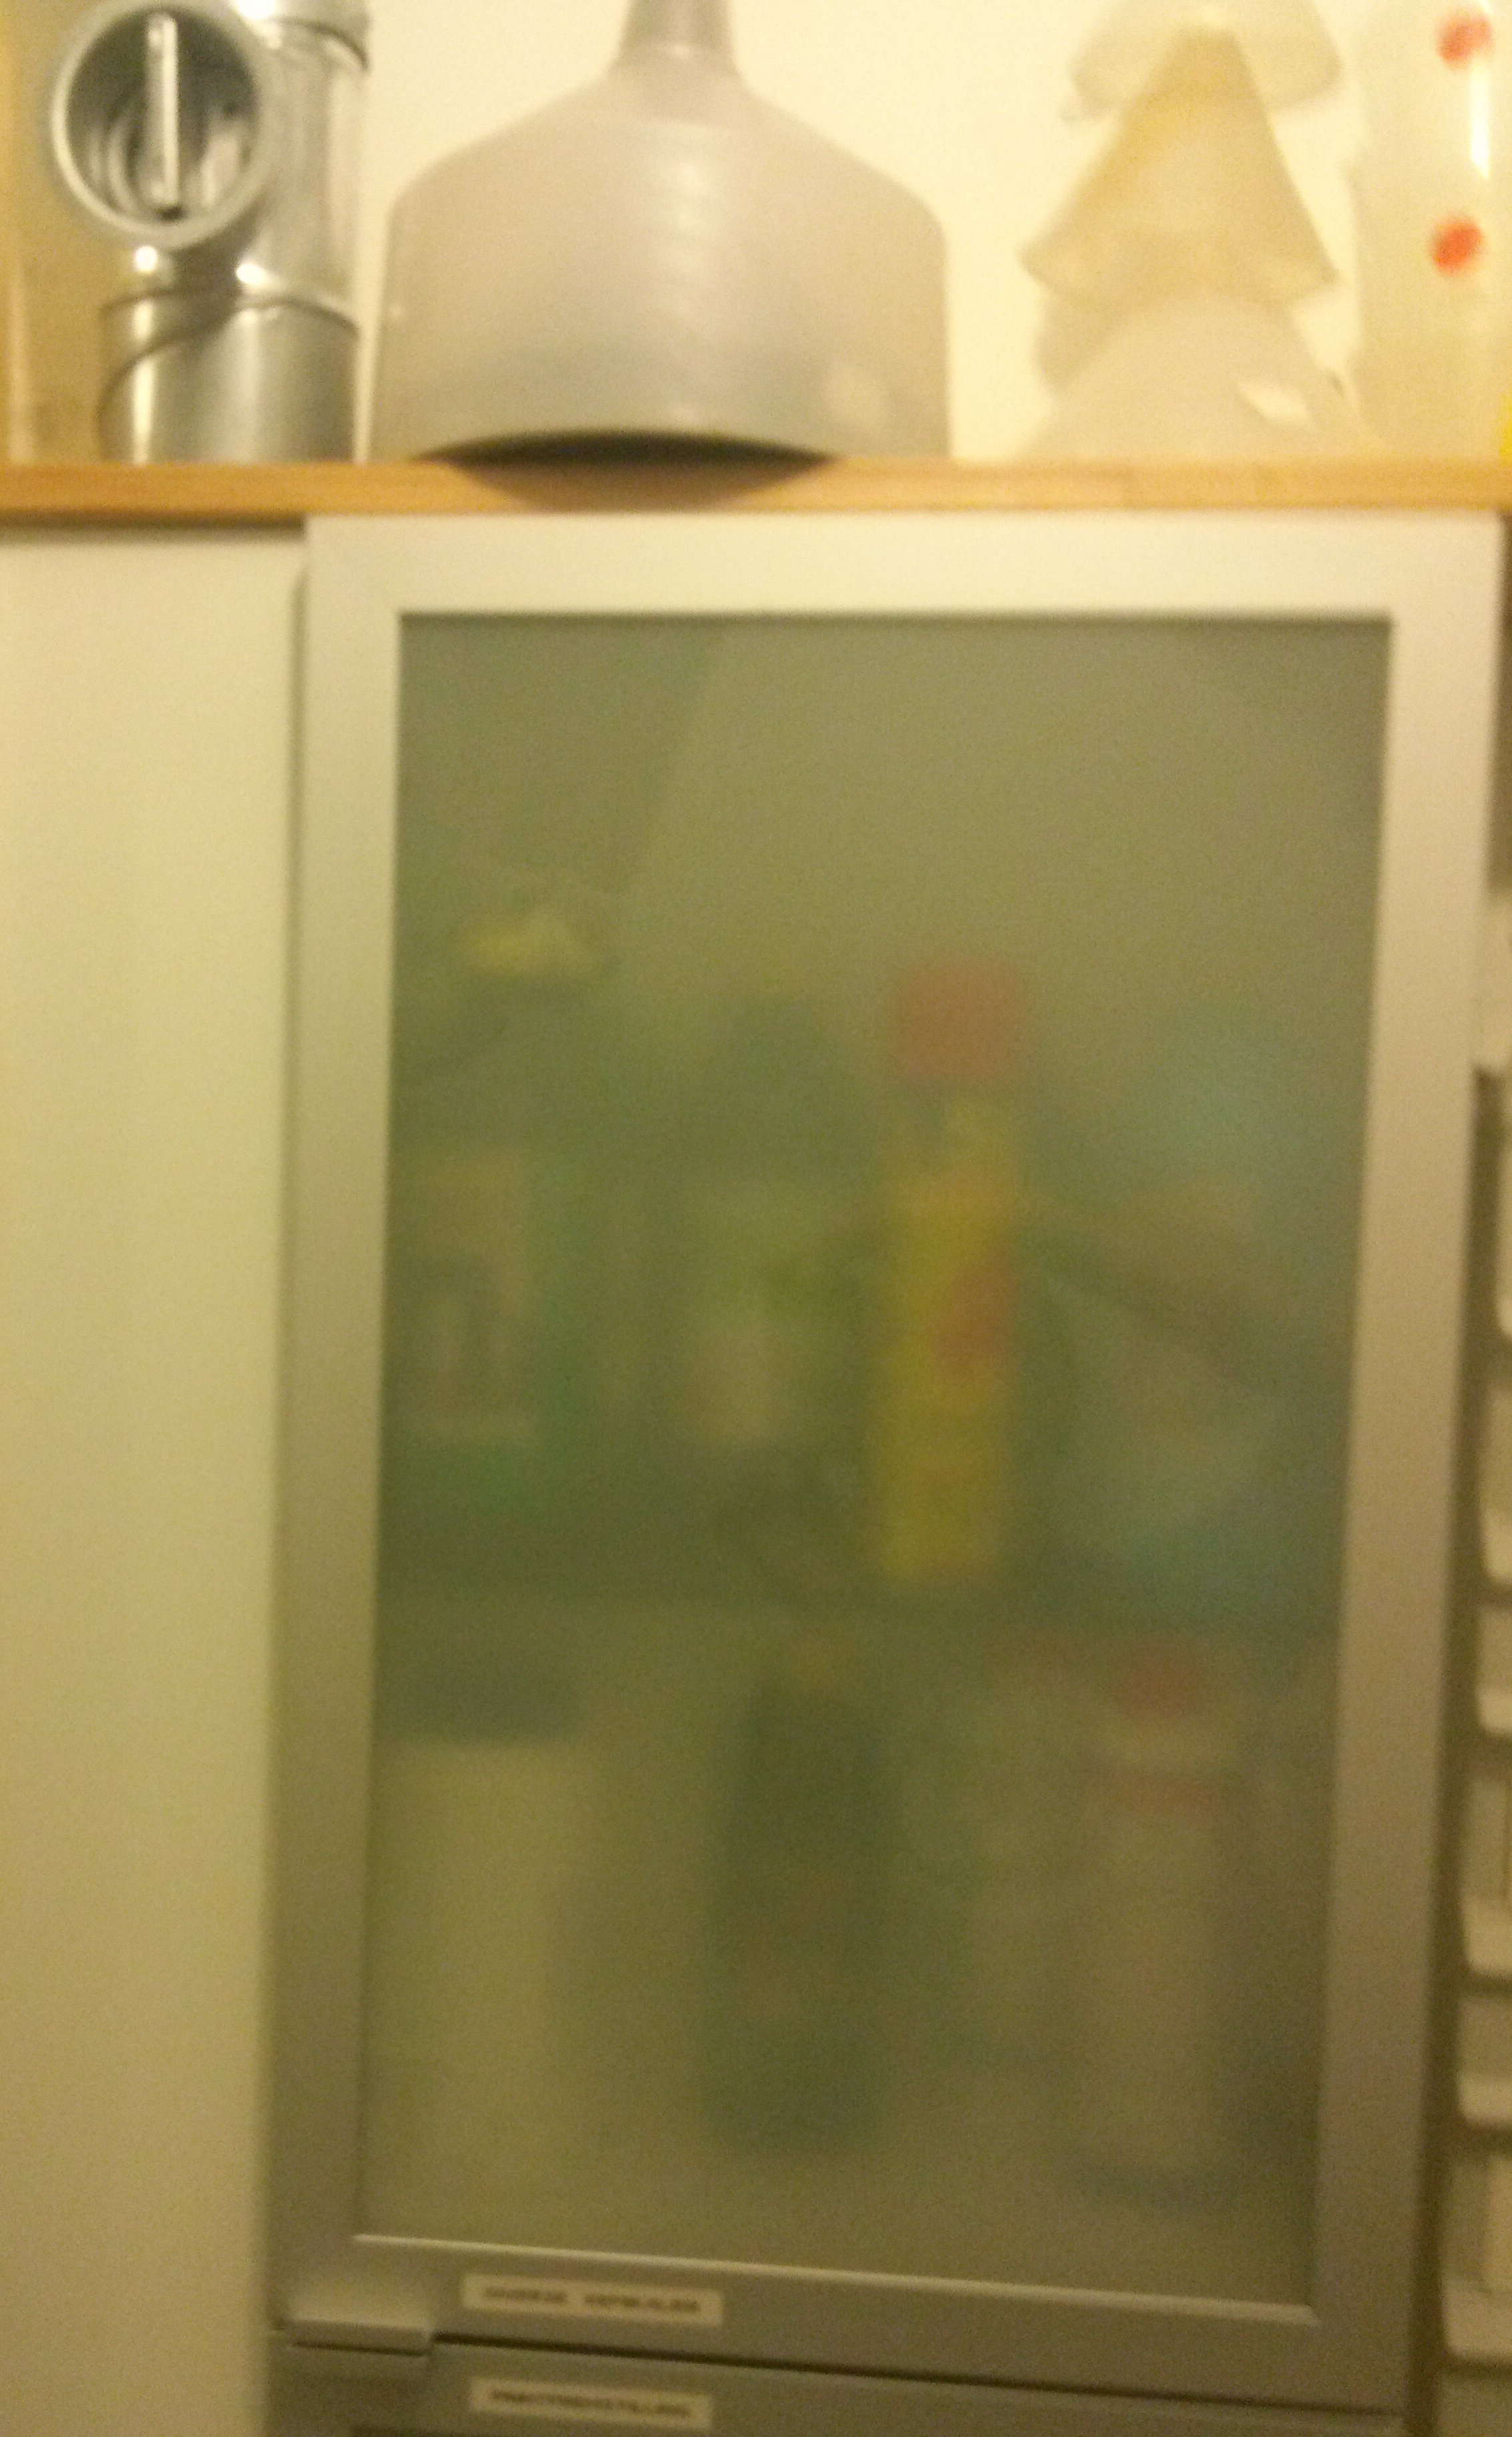
For snart lang tid siden begyndte vi at indrette et kemilab i det lille rum hvor elmåleren sidder, og nu begynder det at være brugbart.
Efter en stor indsats fra Alex, Emil med flere har vi nu et fint kemikalieskab med udsugning:
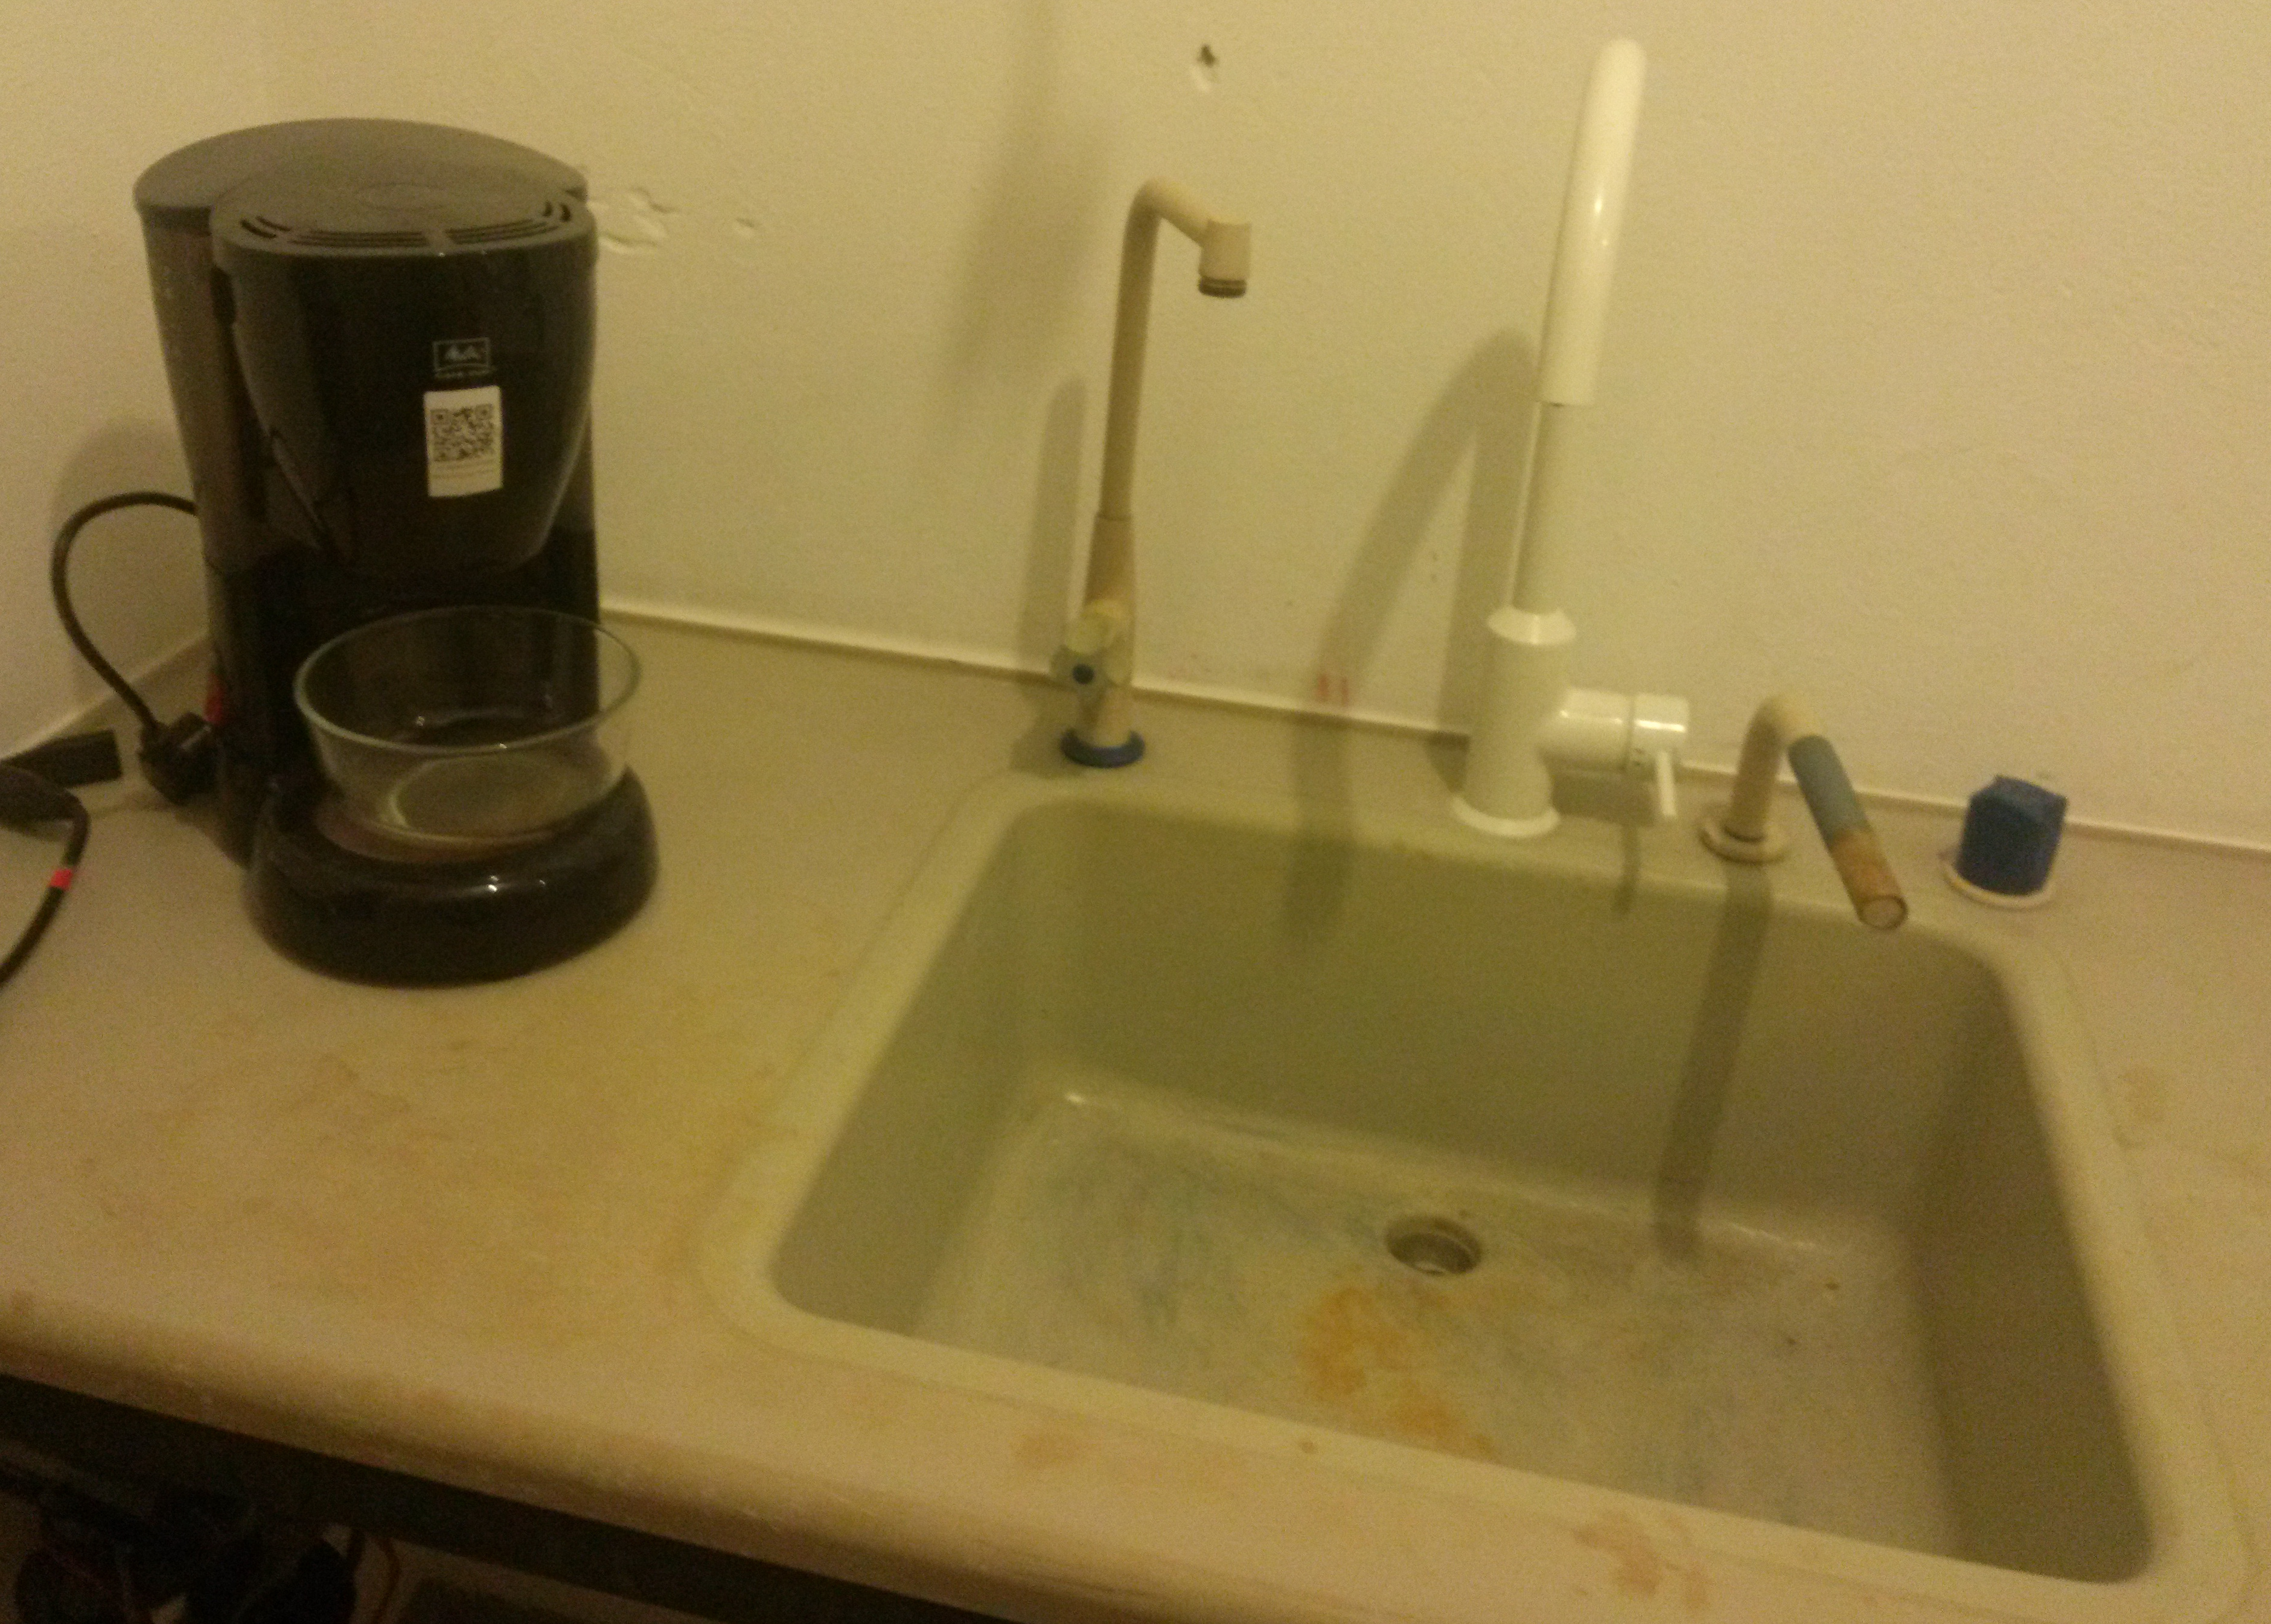
Langs den modsatte væg er der en emaljeret vask:
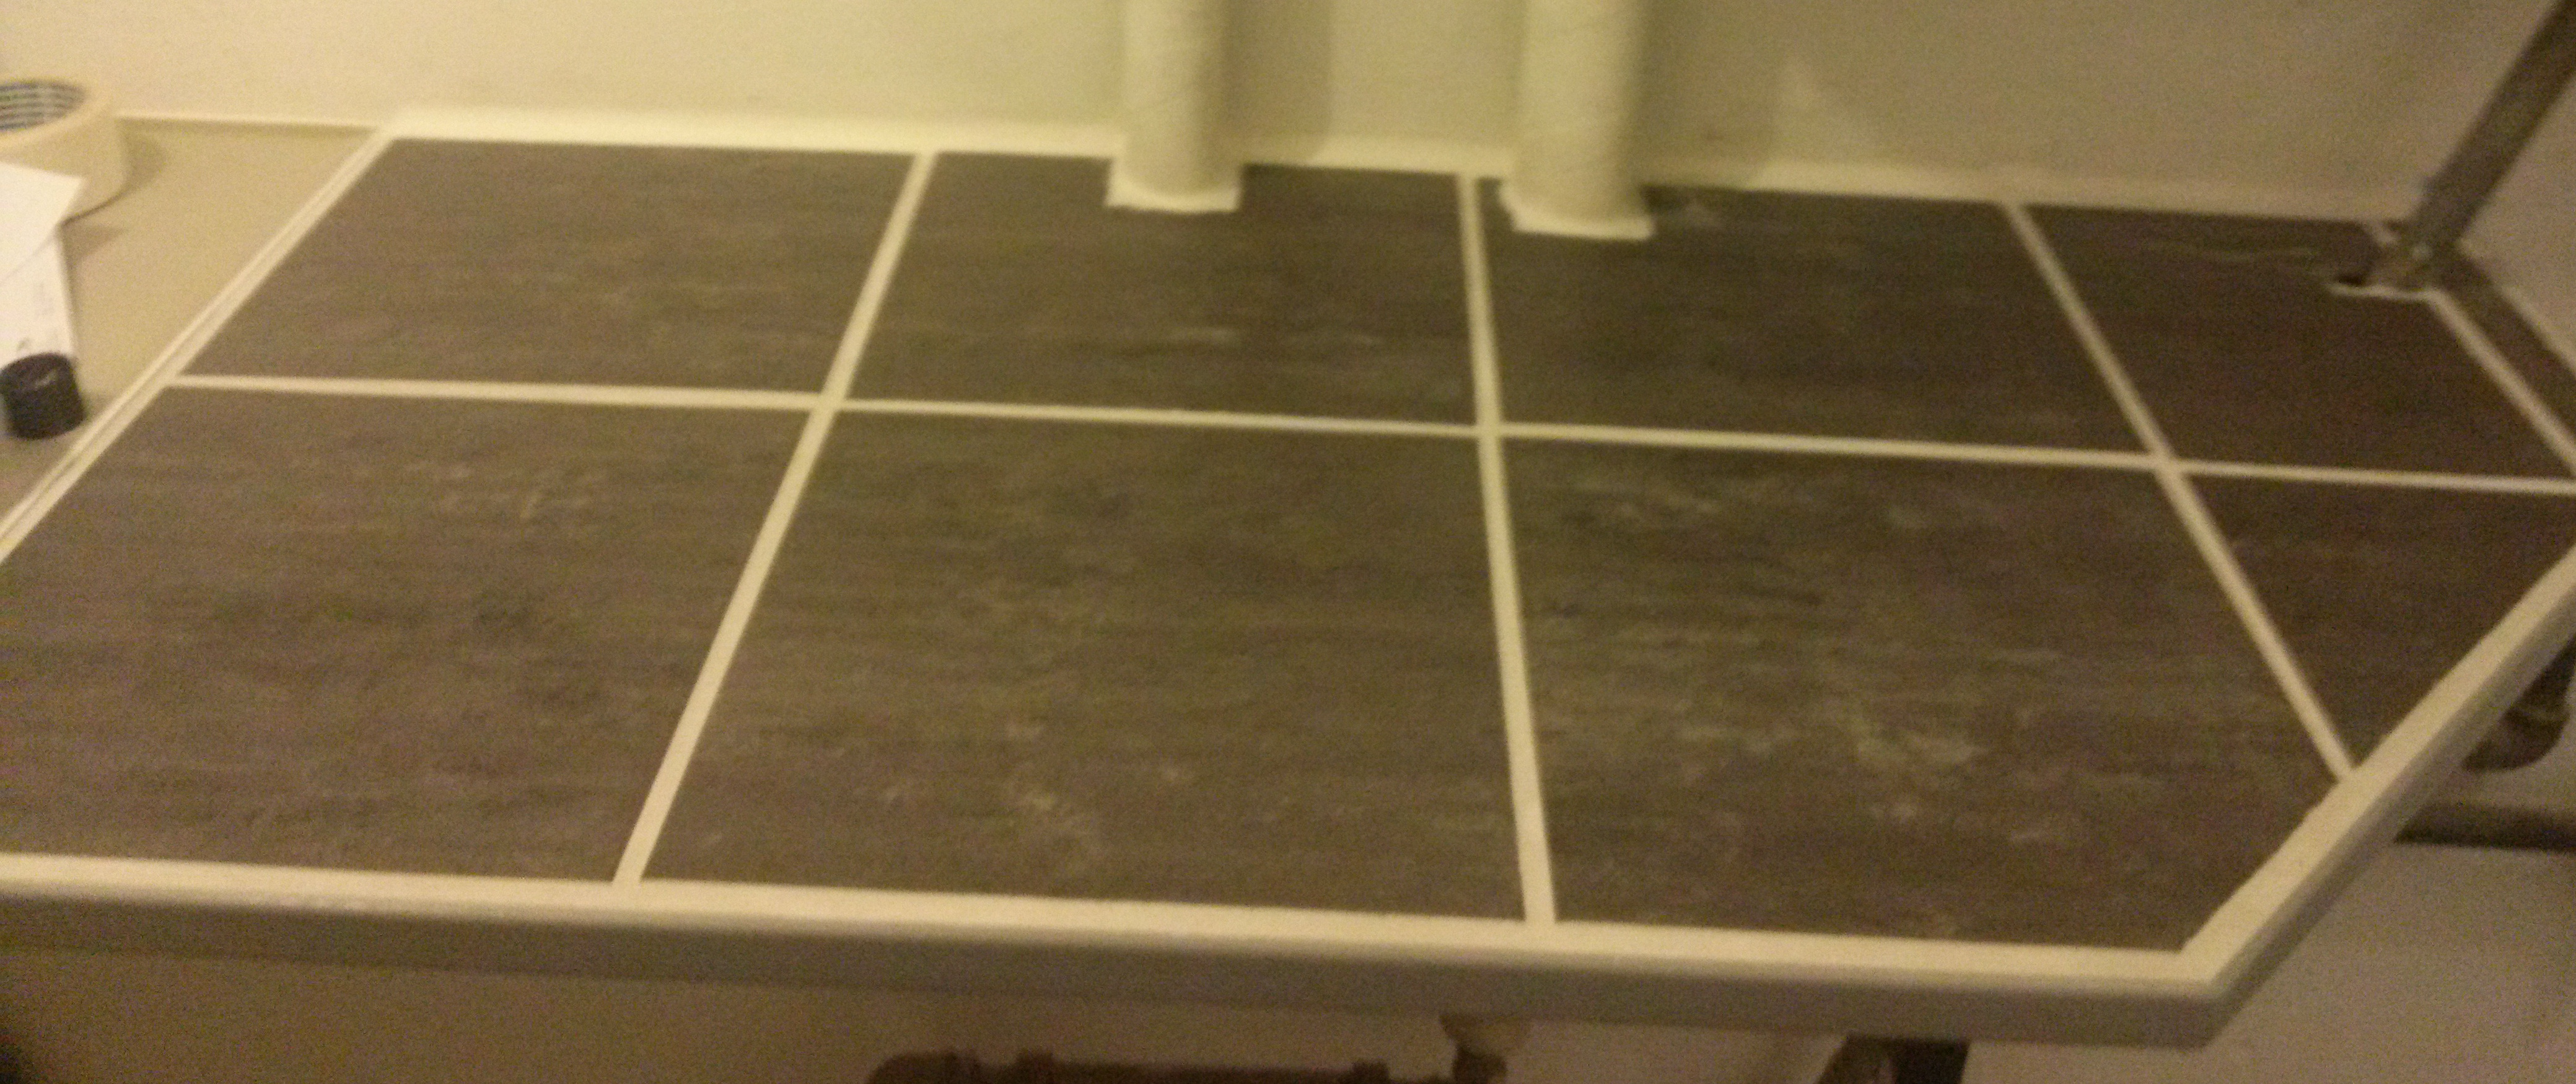
samt en bordplade med fliser:
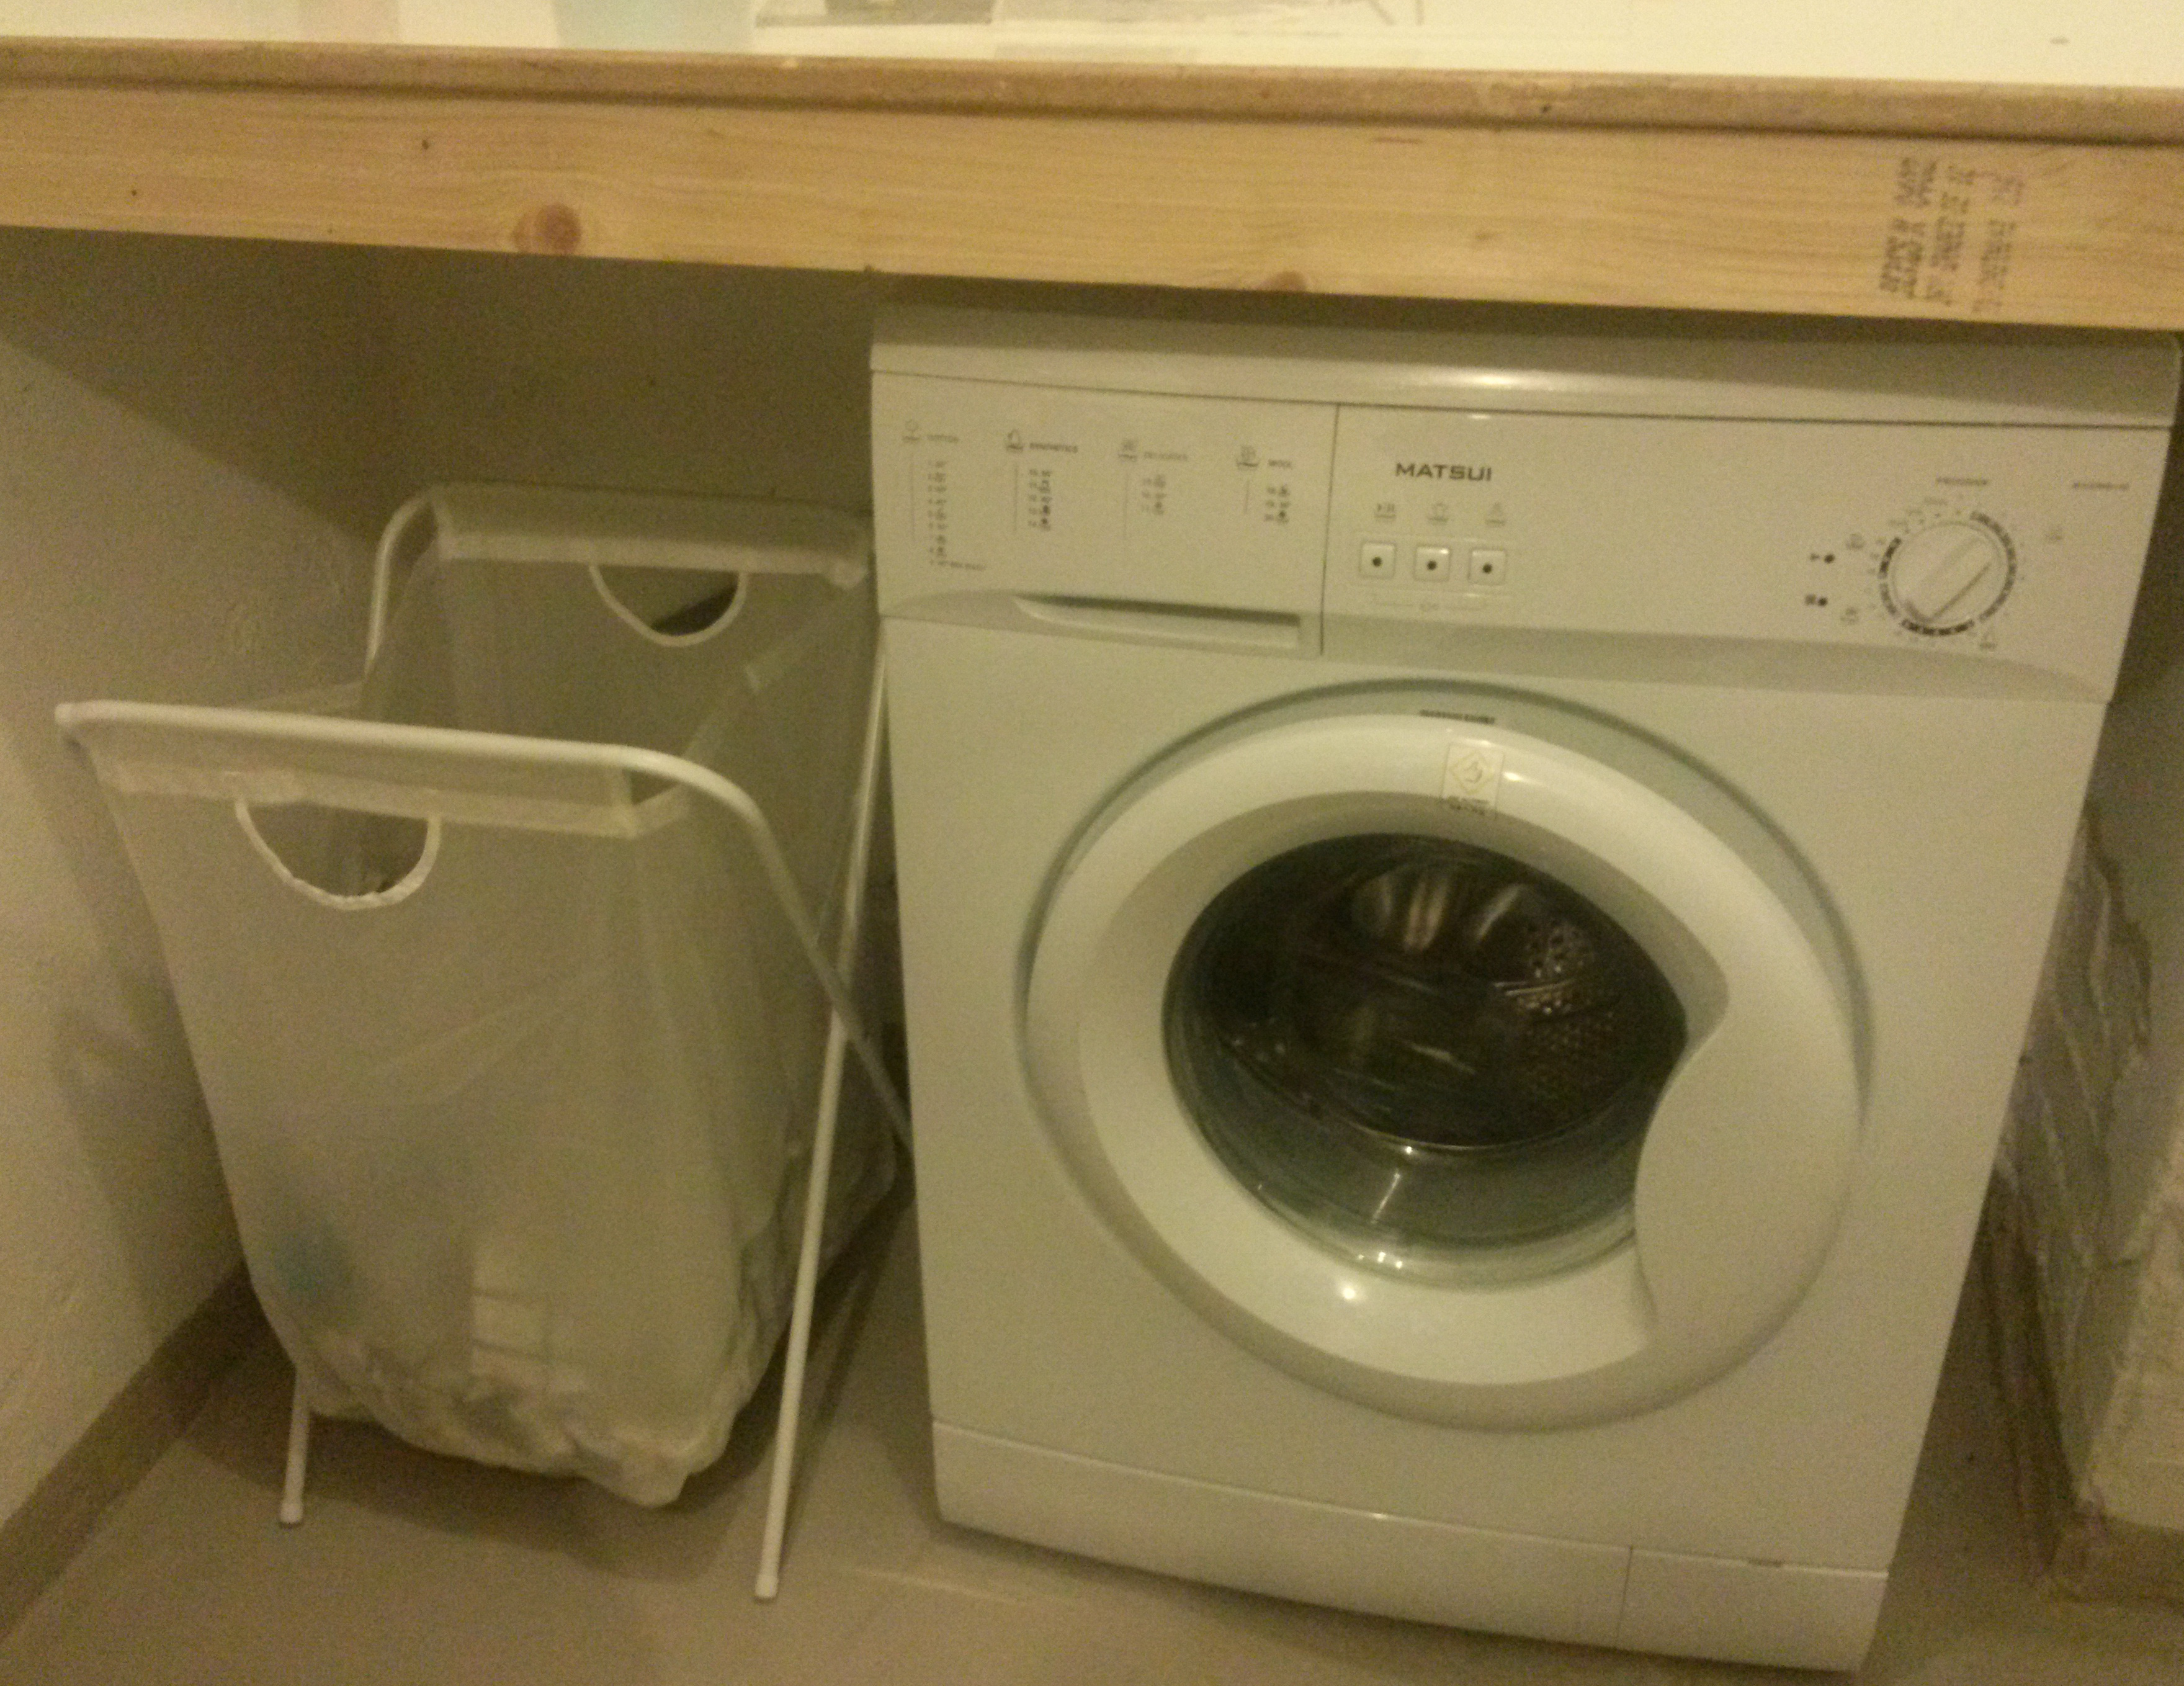
For at det ikke skal være løgn, har vi også fået installeret vaskemaskine med tilhørende kurv:


18 jul
0 Comments