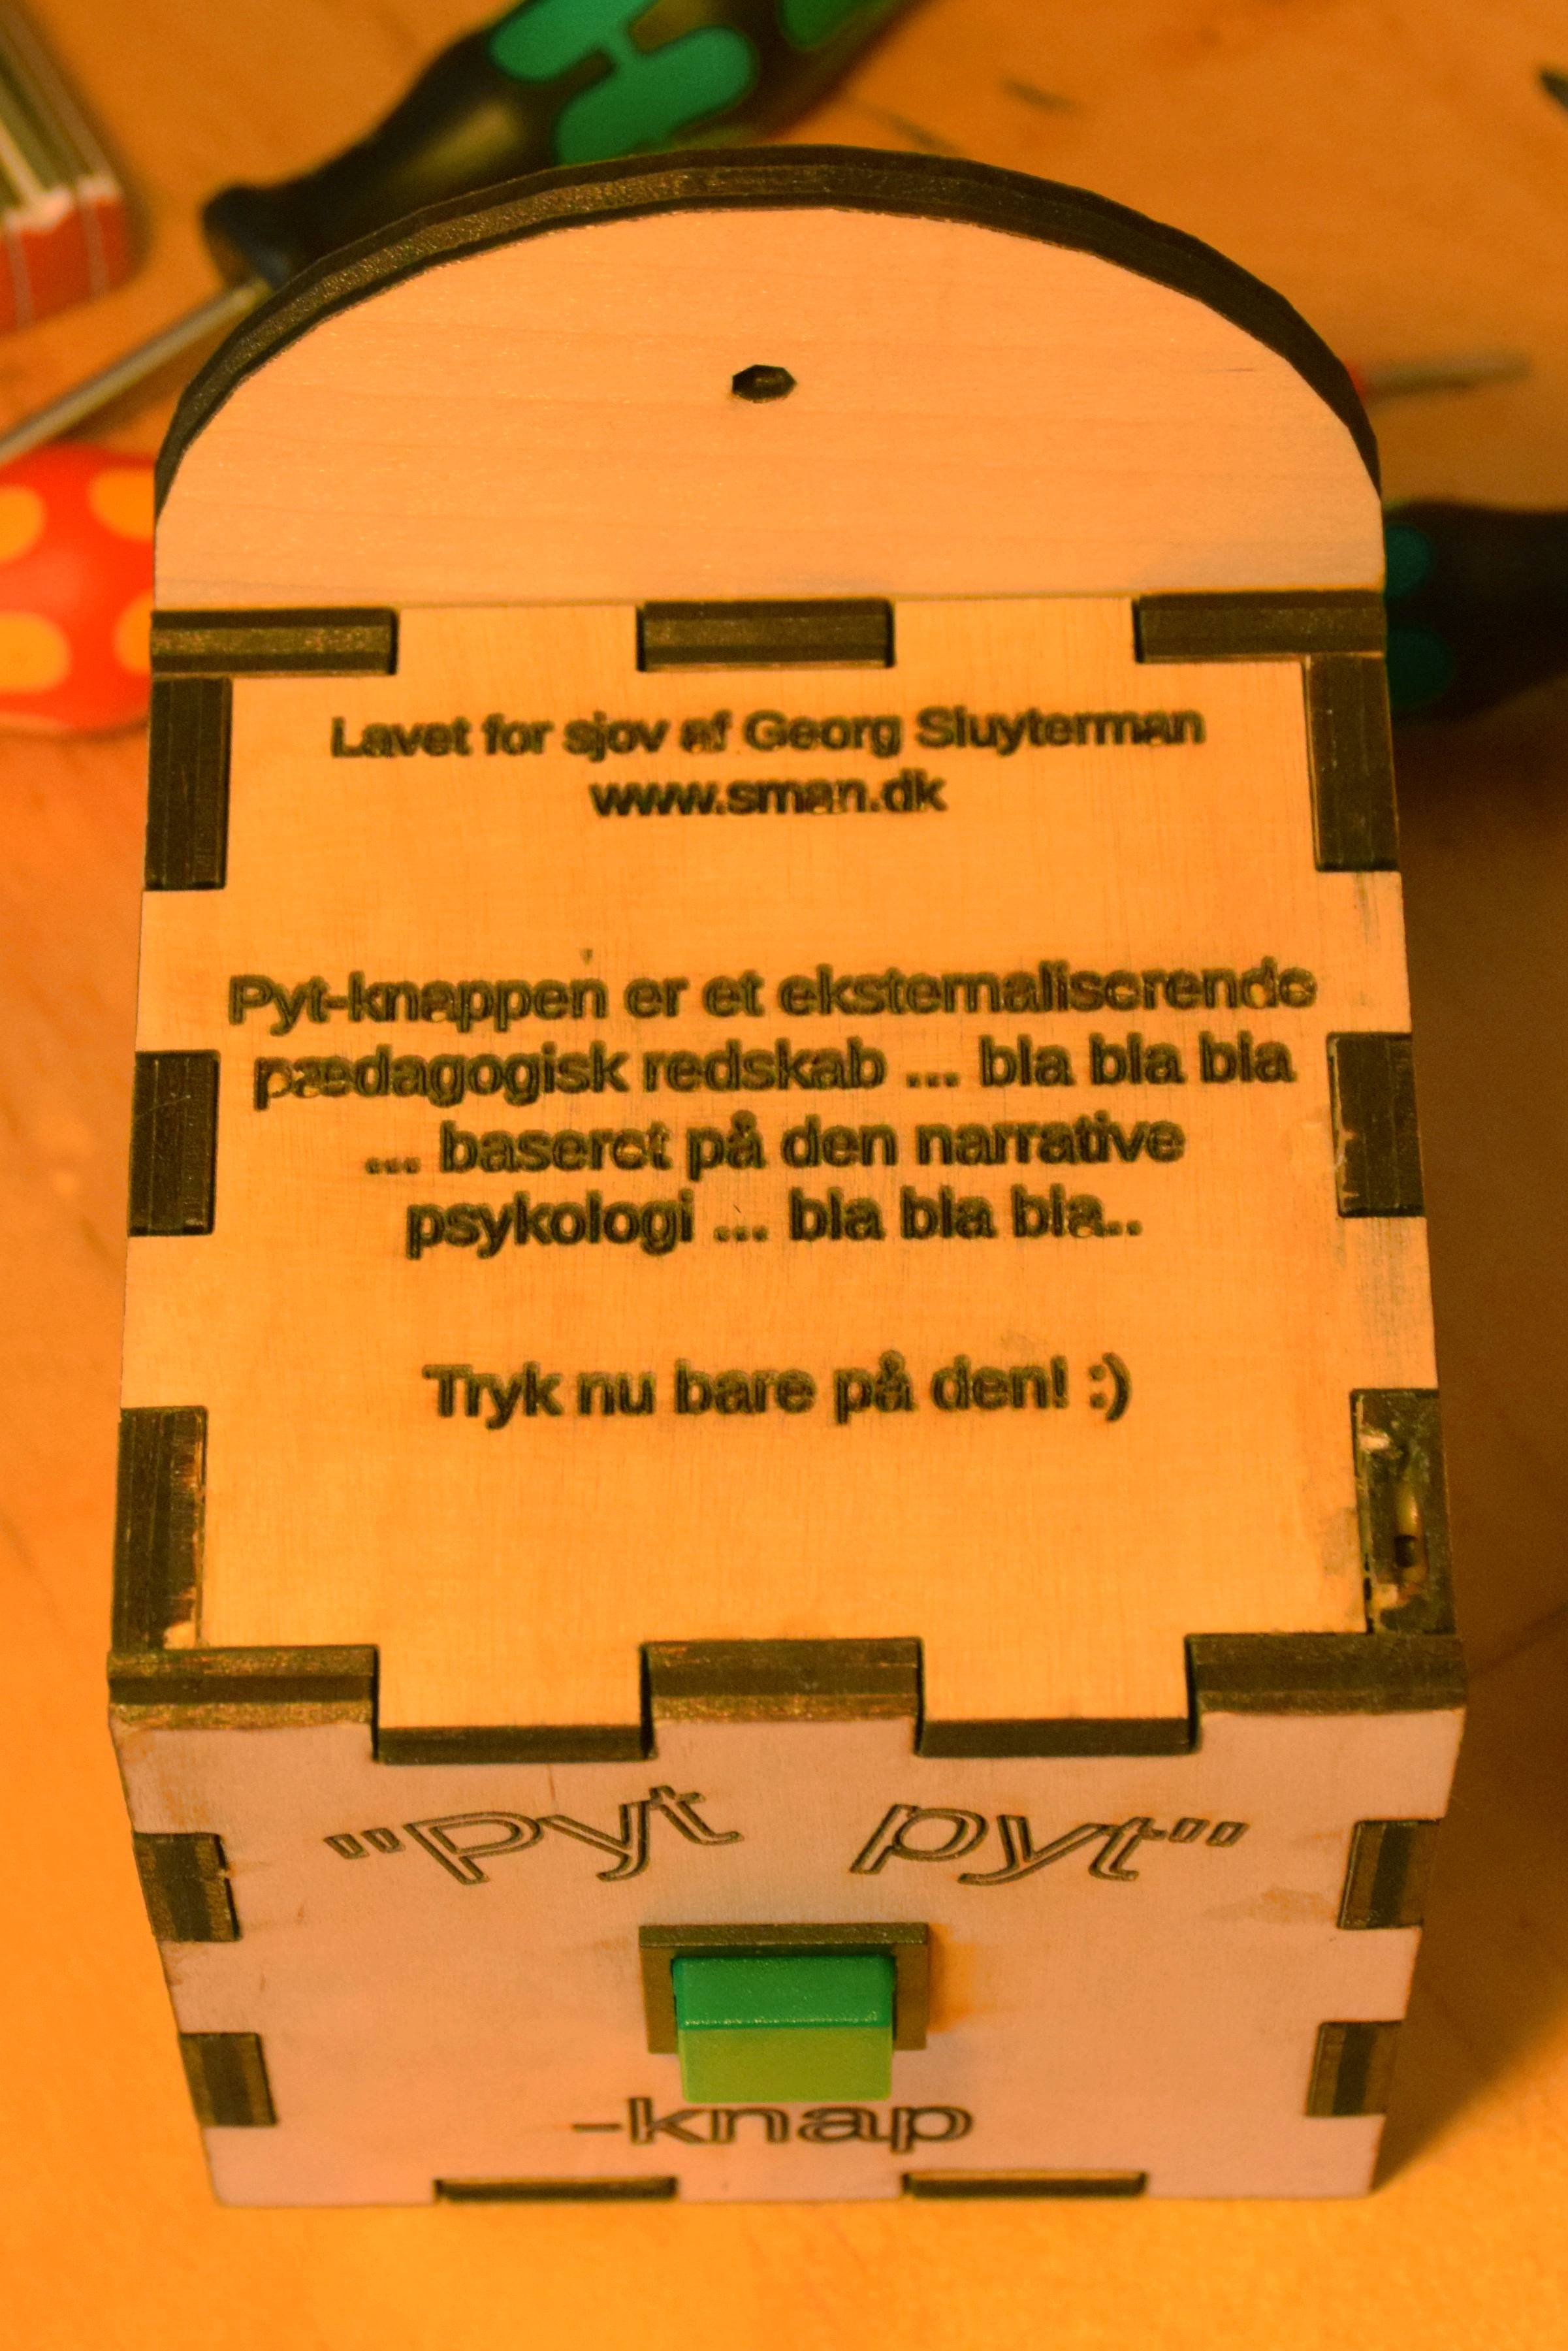
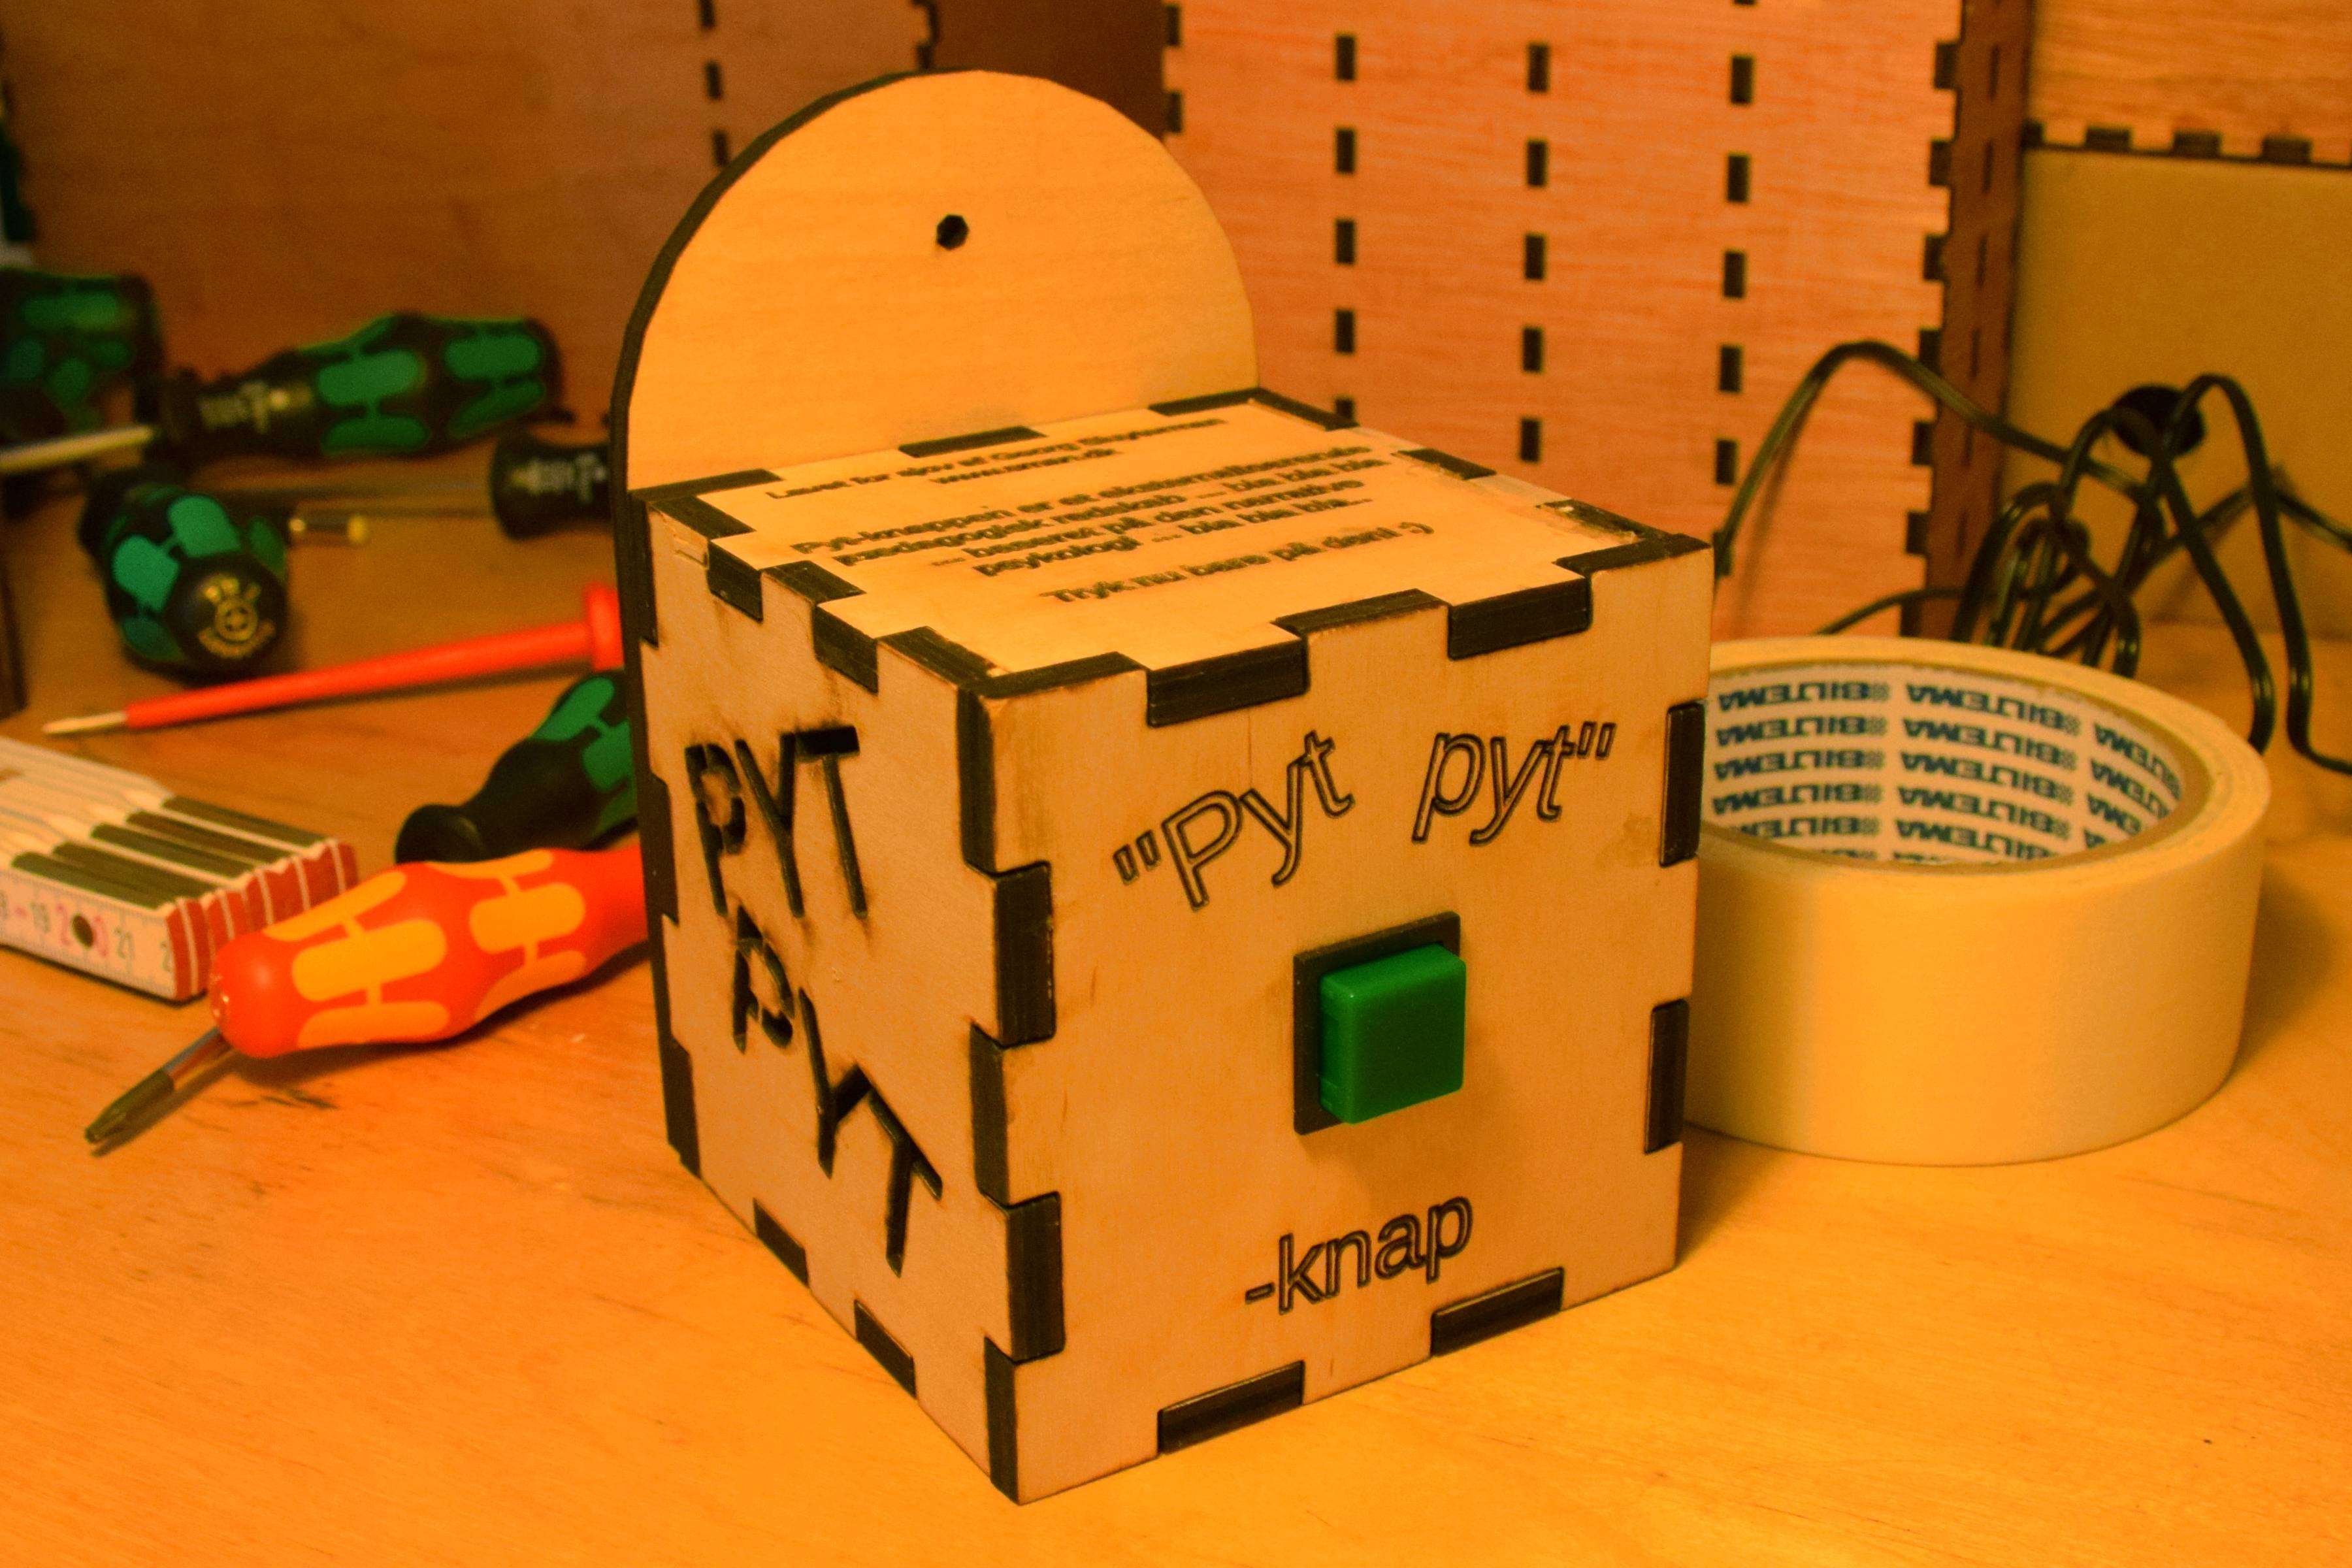
A woman working in a kindergarten told me about a button they had for the kids. Whenever there was some dispute between some kids, an adult could ask them to press the button, in order to easen the kids ability to act by the meaning of the danish word “pyt” (meaning something along the words “never mind”).
However it turned out turned out the button was not a button after all but just a sticker! I thought the idea behind the so called “button” and the usage of it was fun, so I decided to make one for the kindergarten.
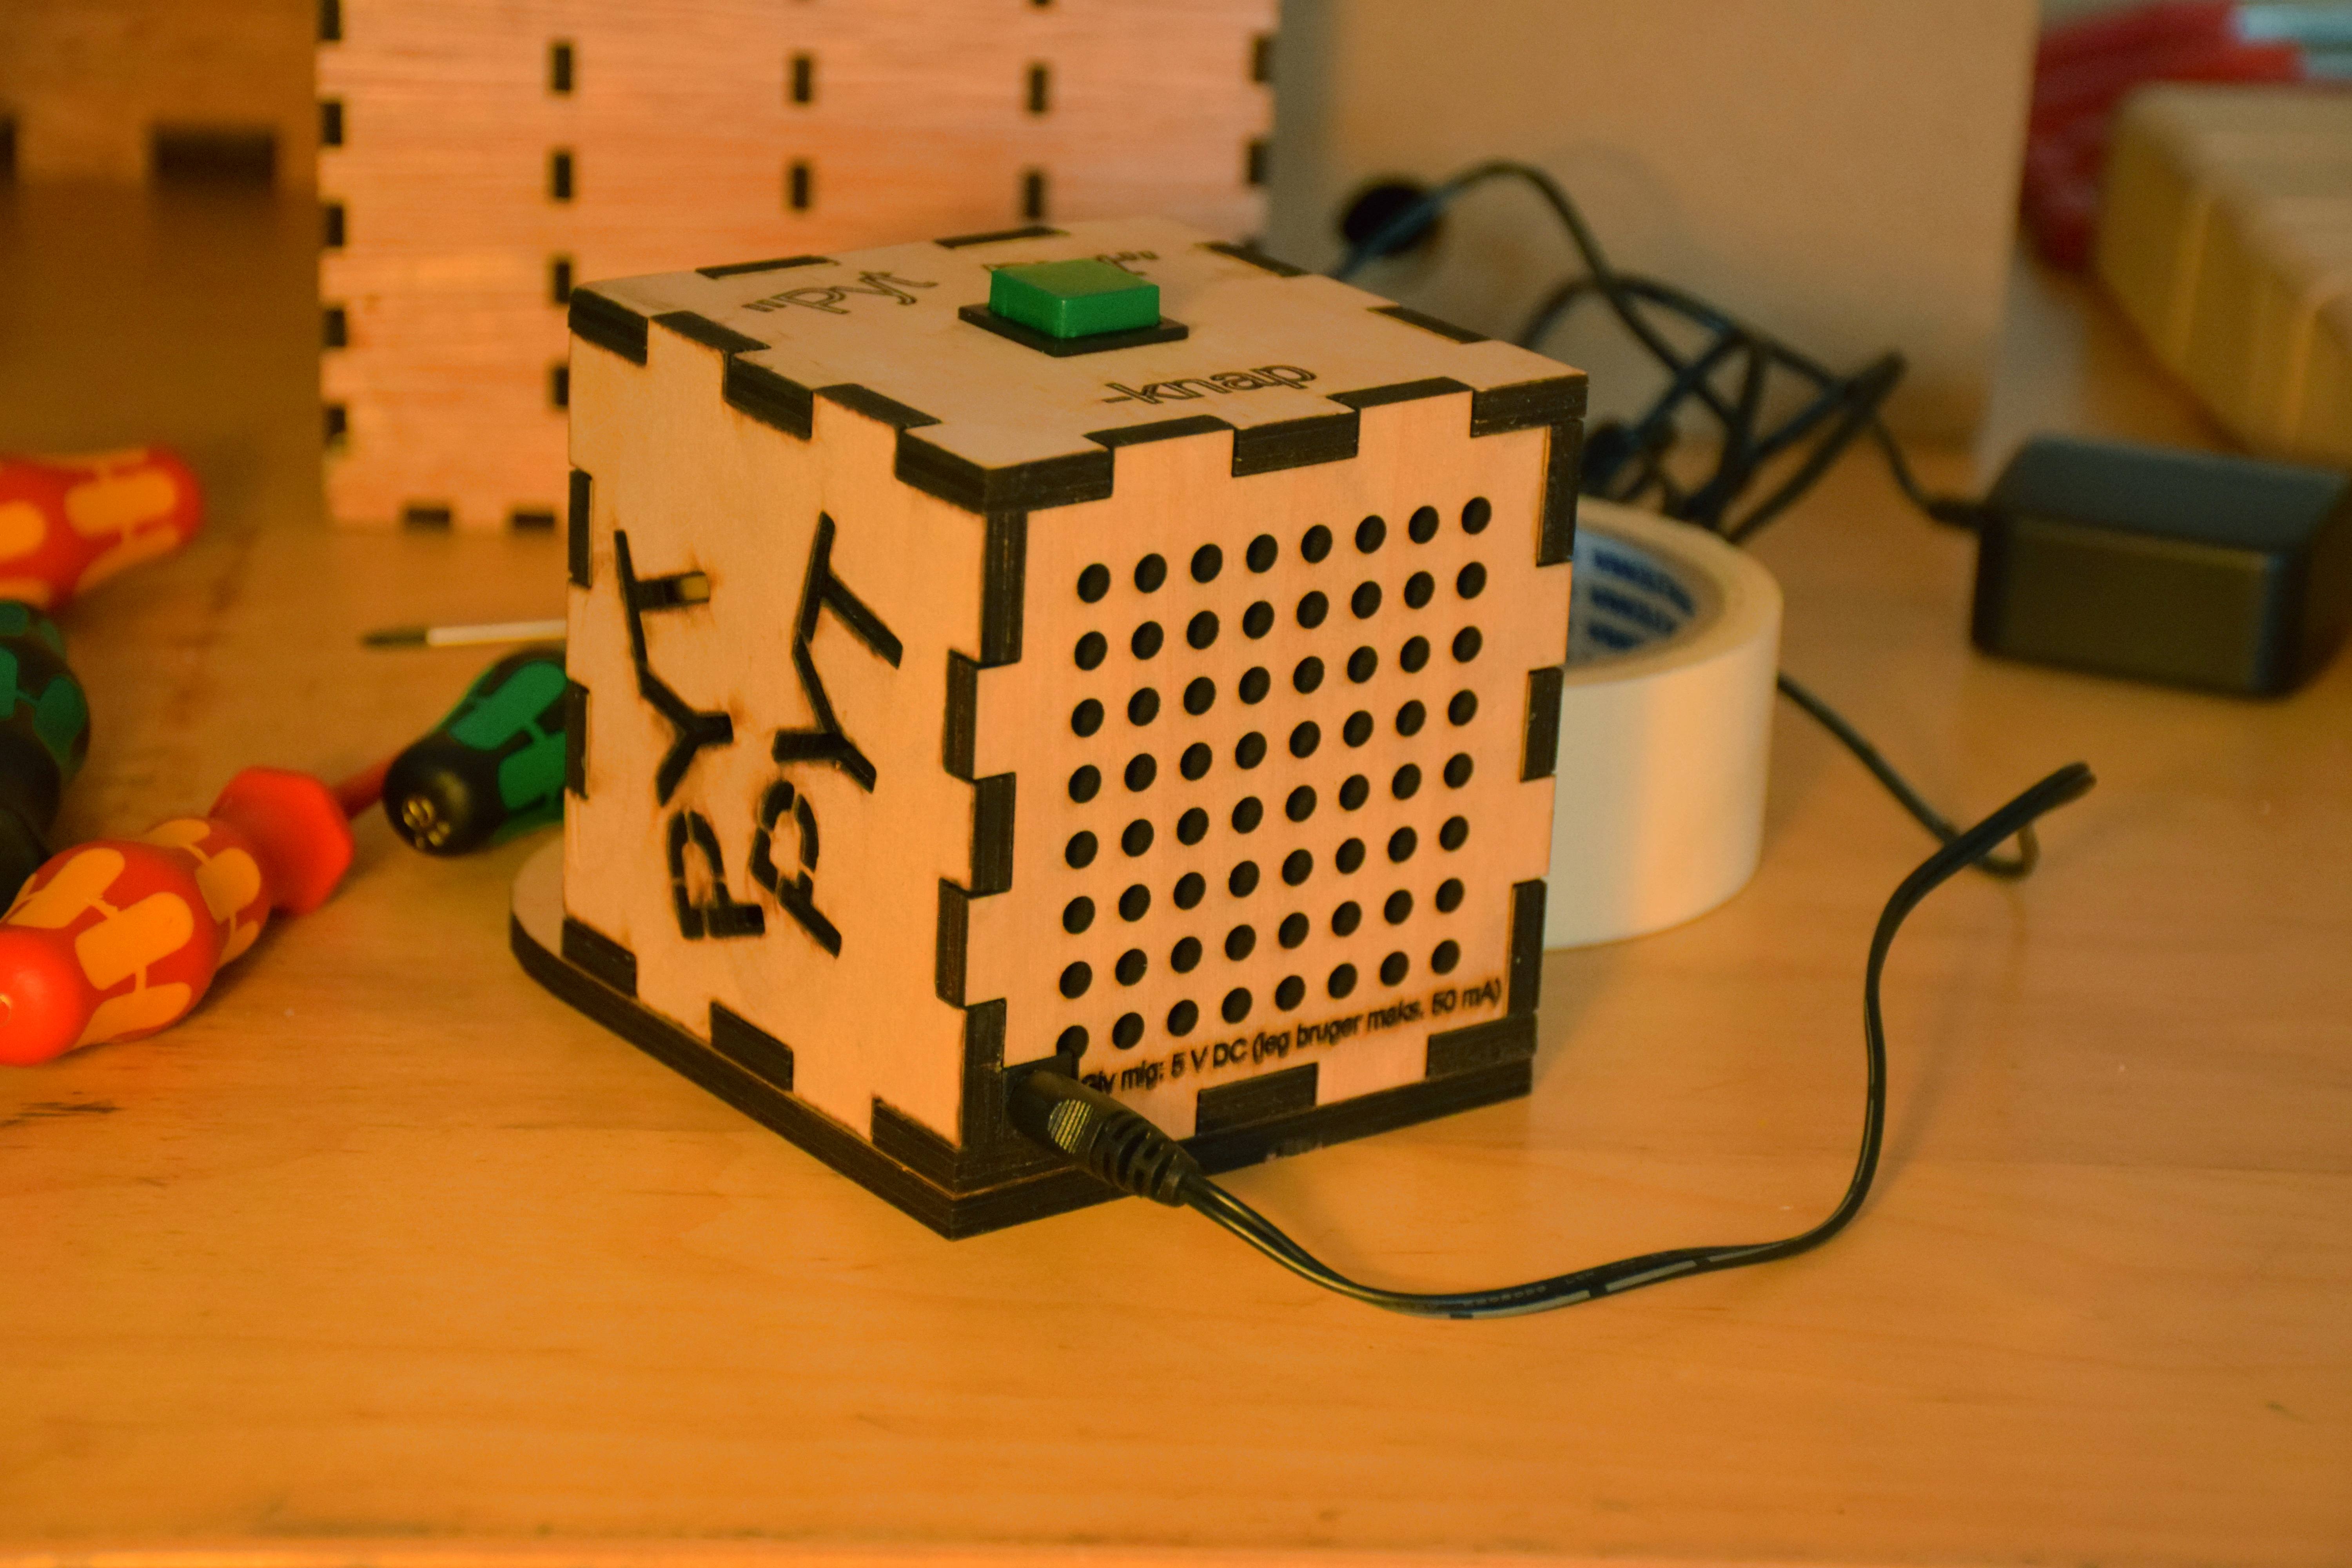
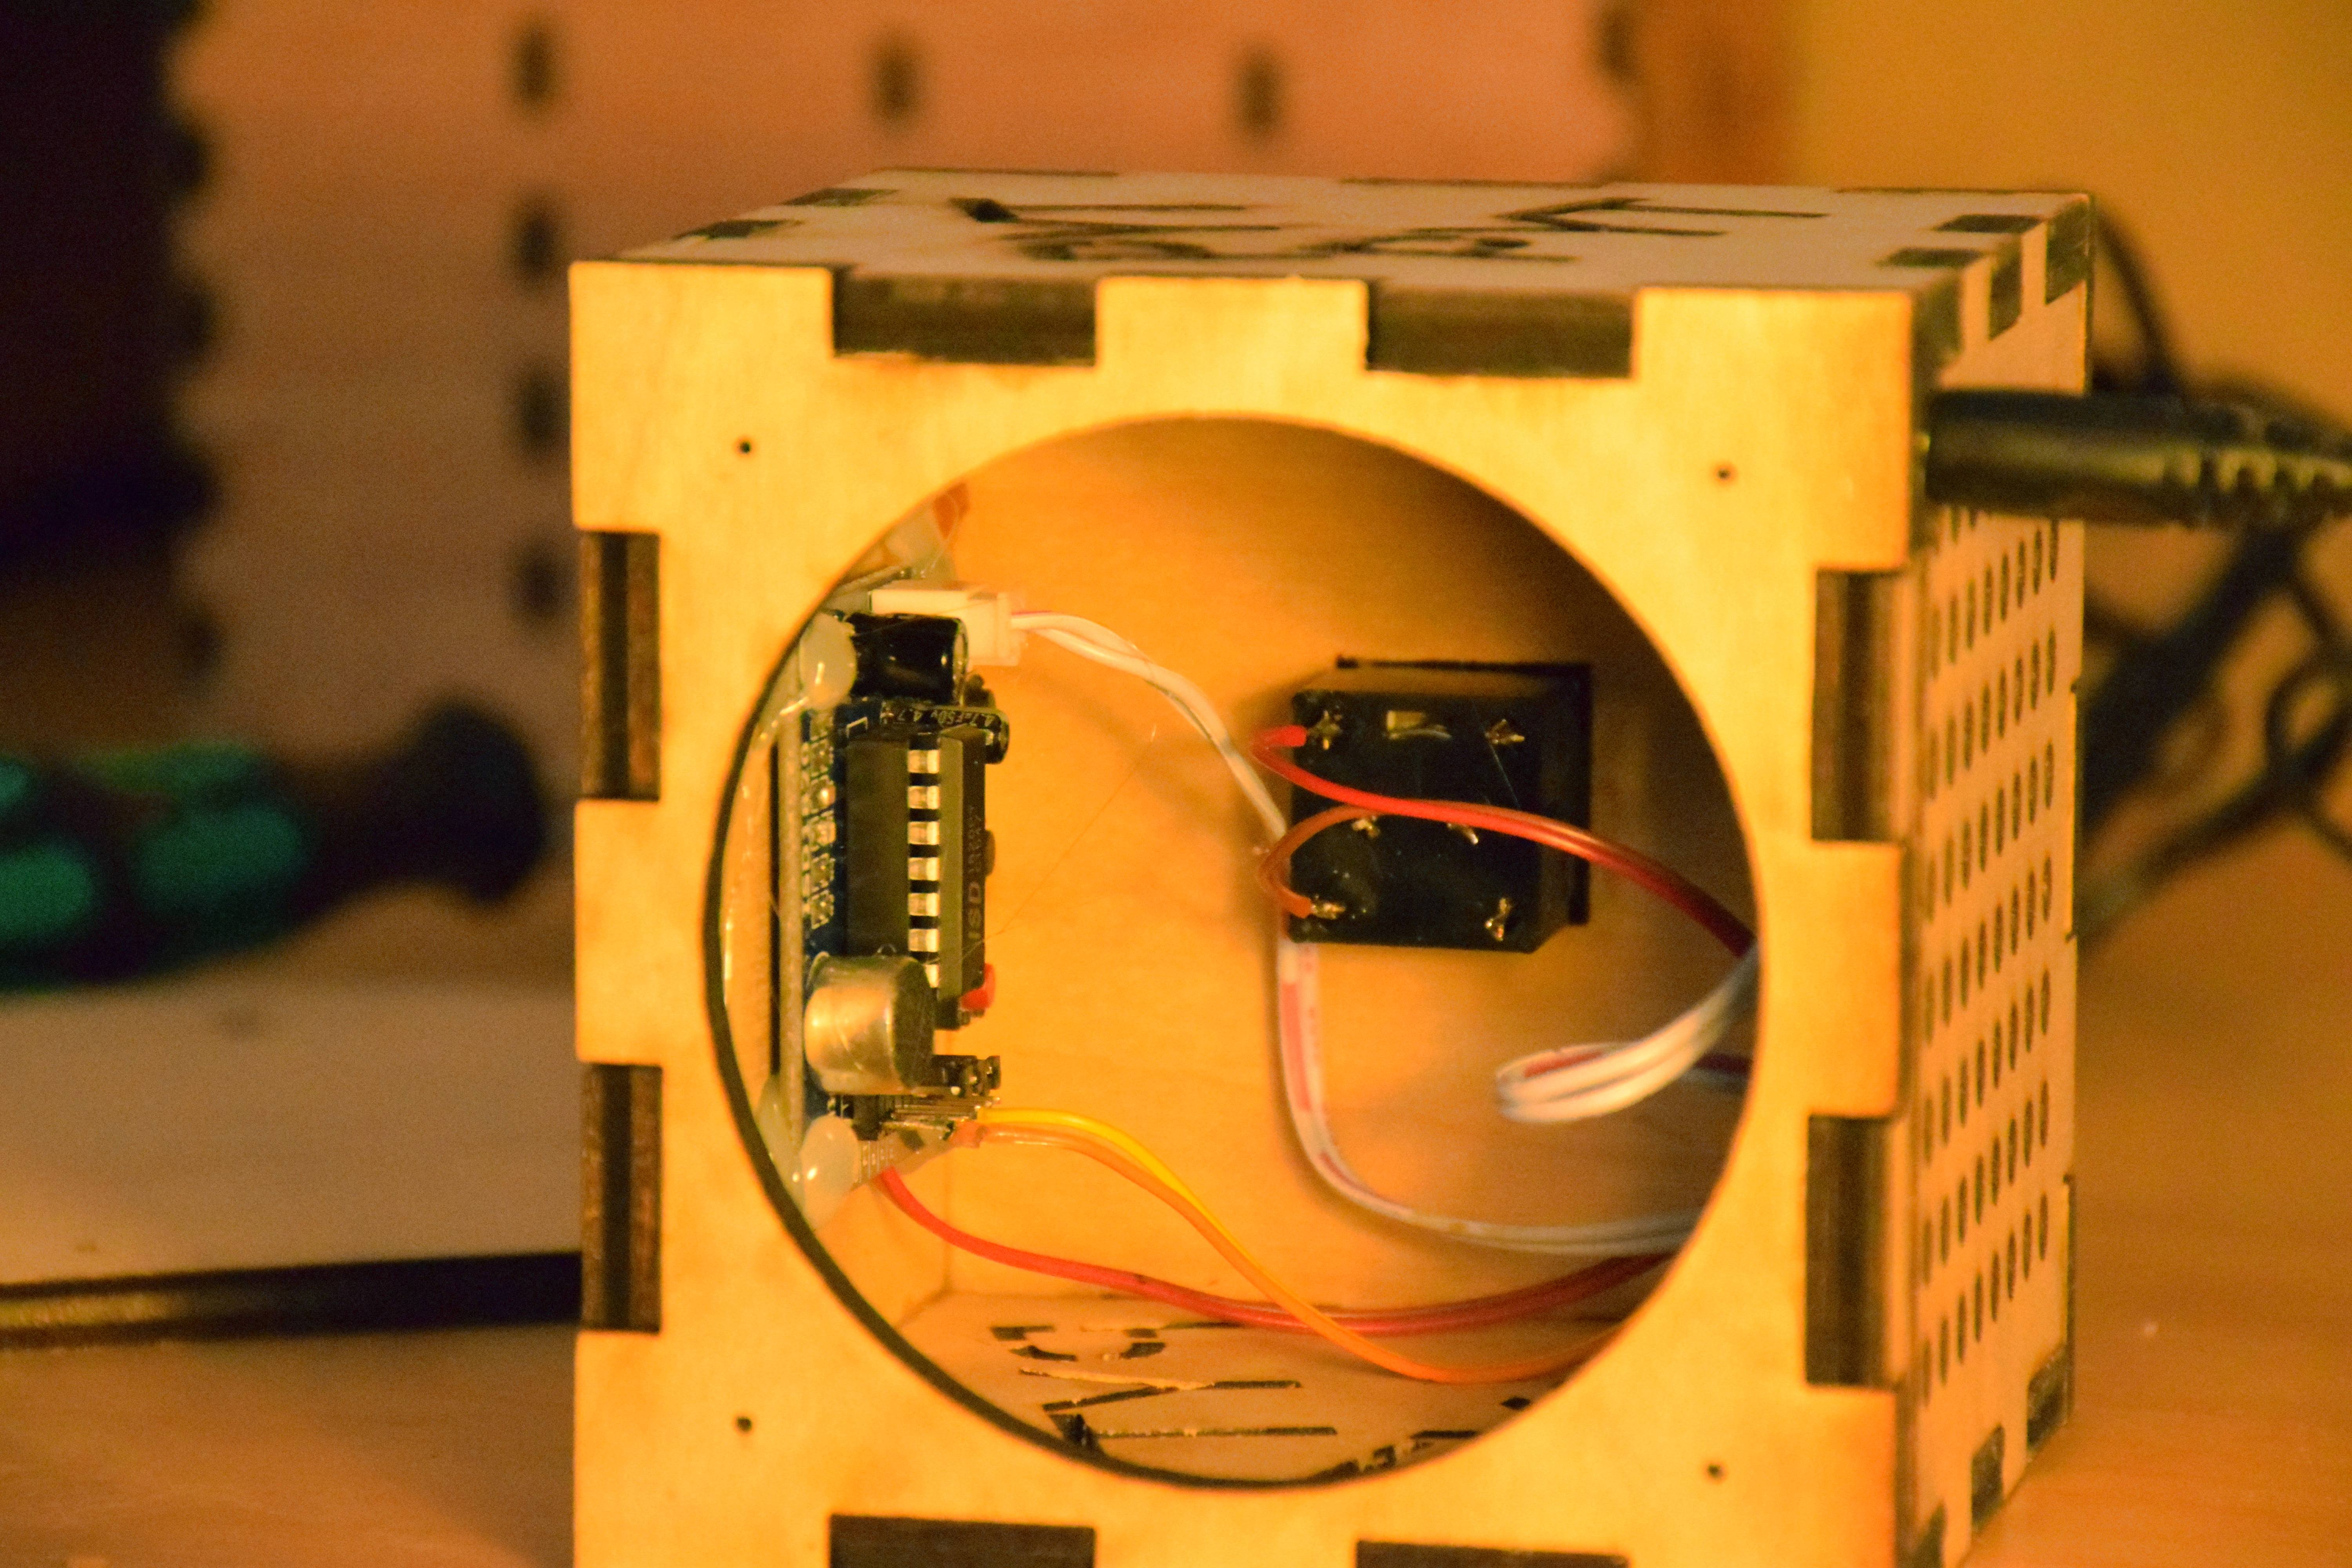
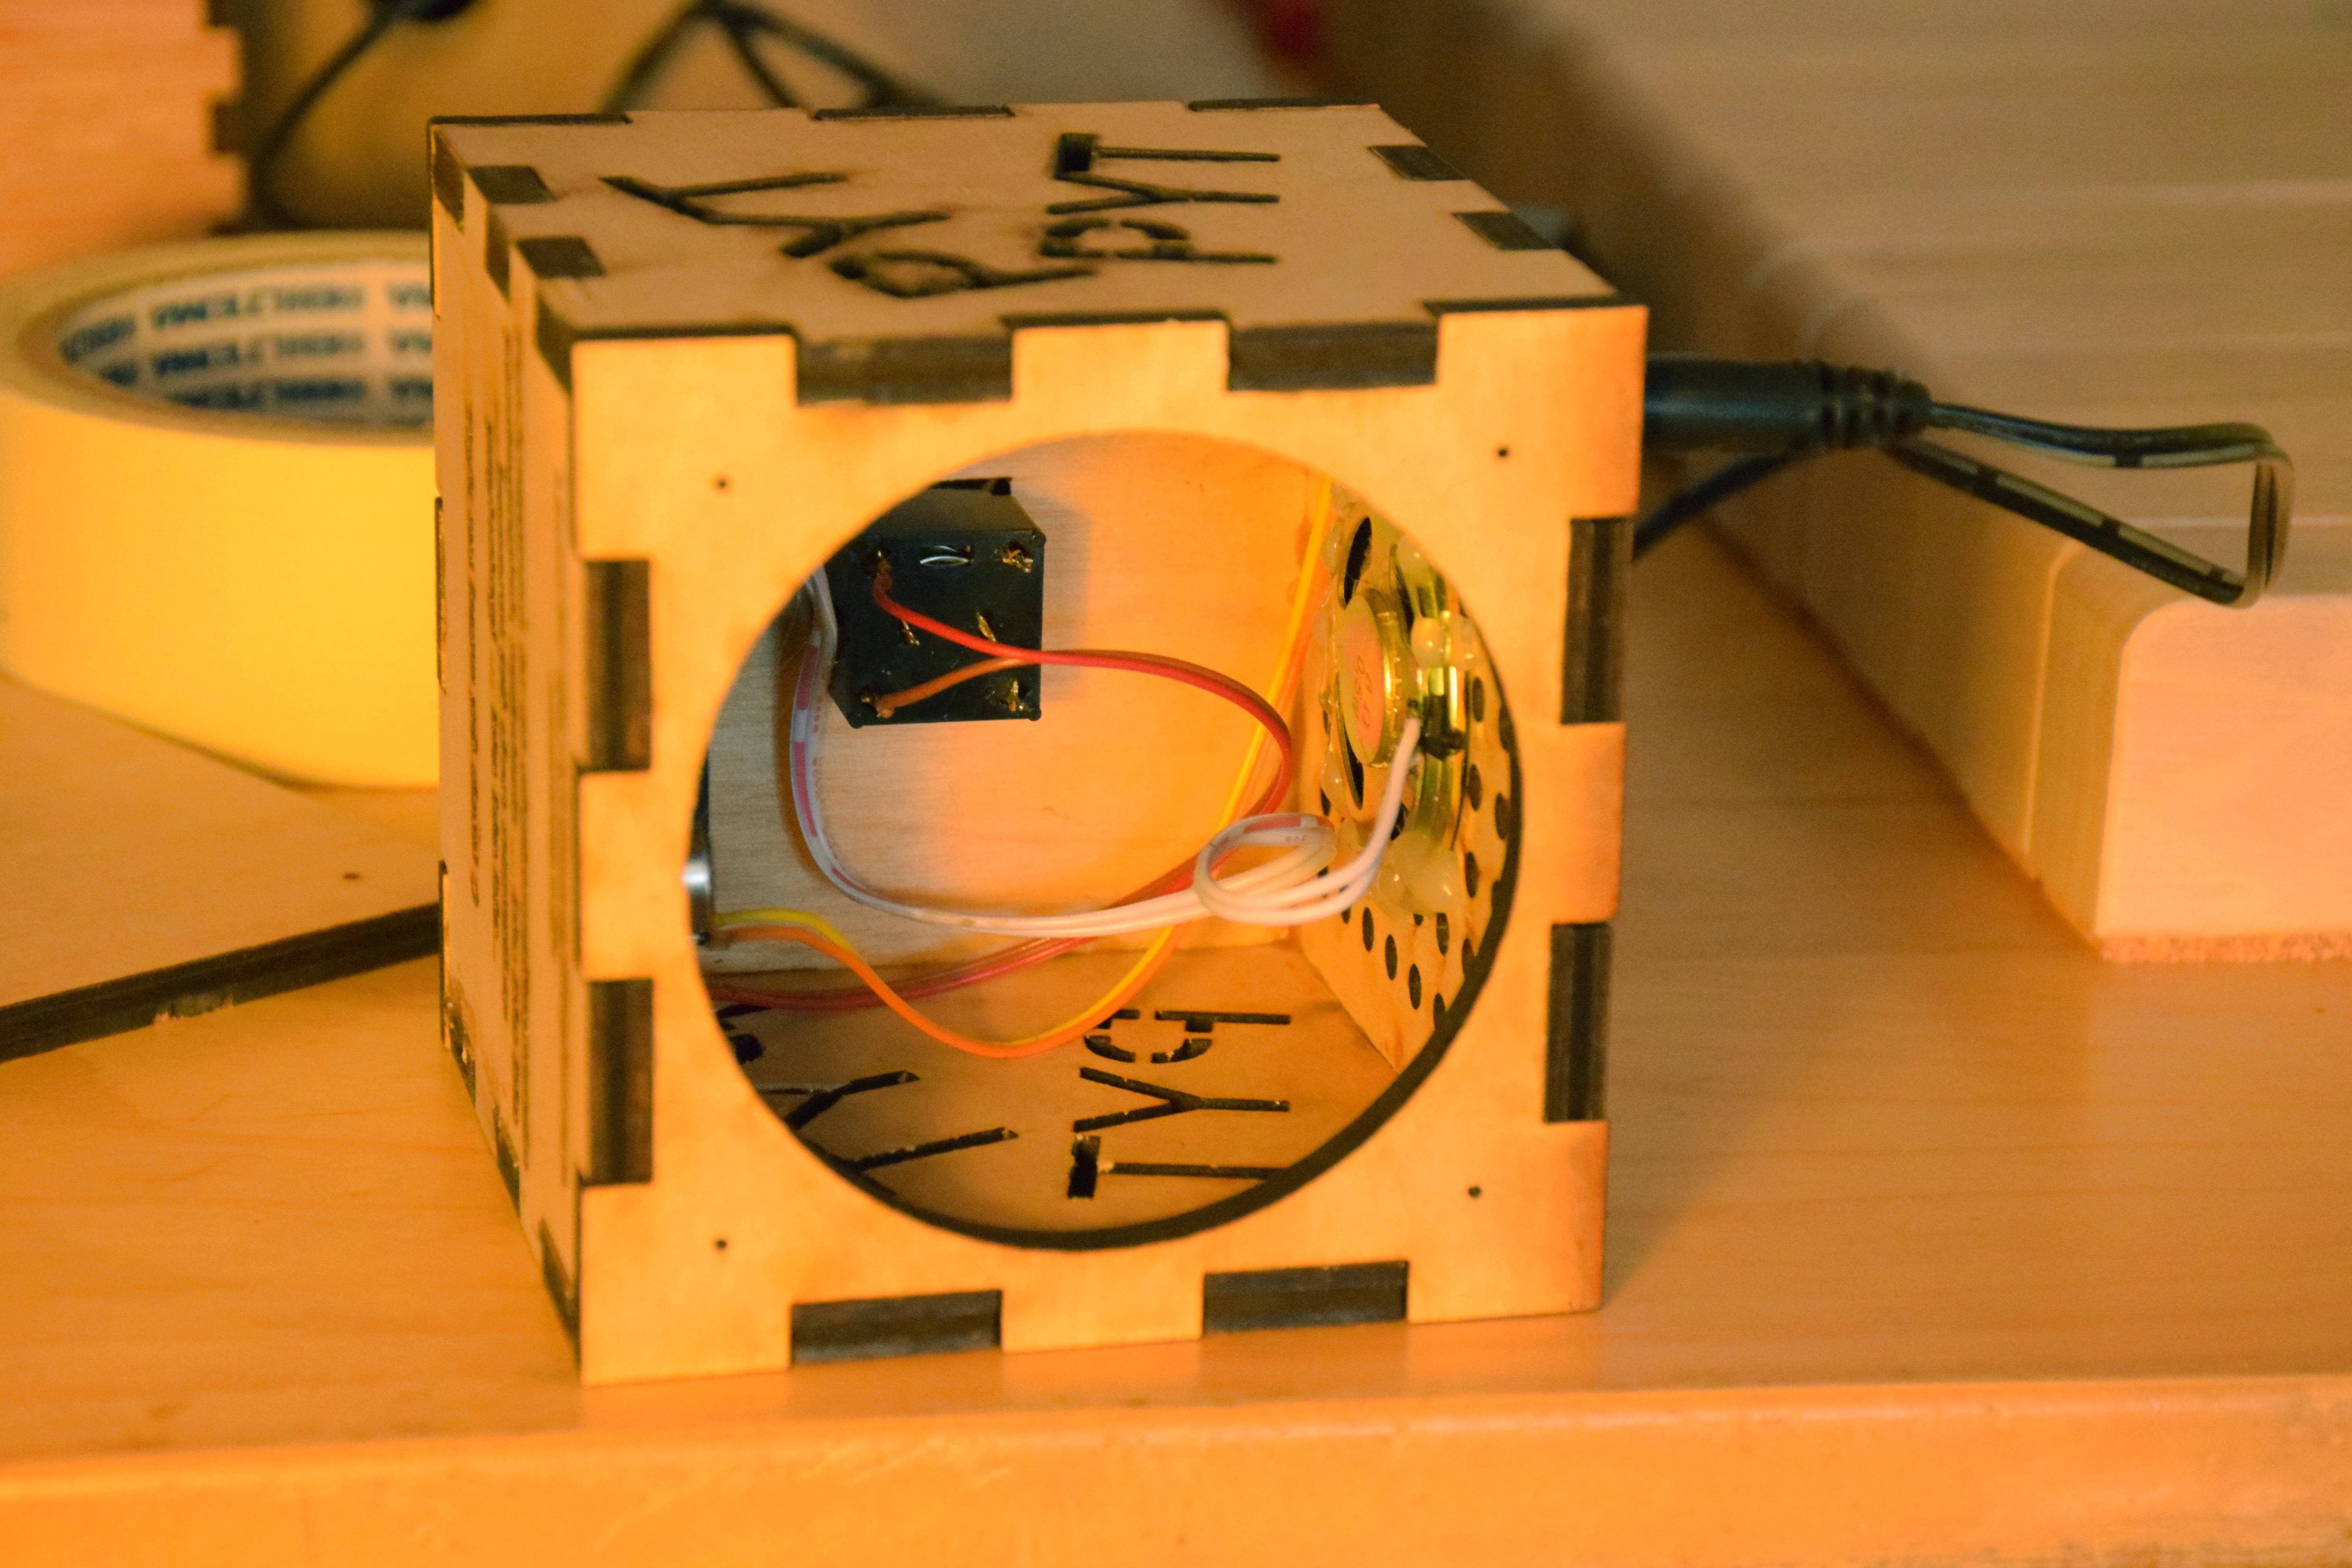
The solution was straight forward: Make a little box with a laser cutter, an isd1820, a button, a dc plug for the case, a lot of hot snot glue and a 5 V power supply. The box is made of 6 mm ply wood and measures 9x9x9 cm. The hole on the back is covered by the back plate where the screw in the wall is screwed in. To finish it all up I gave it two layers of varnish. If you want to build one your self, the OpenSCAD file is available here and an SVG (the green color should only be engraved) is available here (the green color in the SVG should only be engraved).
If I later on get a picture or a small video clip of the button in use in the kindergarten, I will update this post.
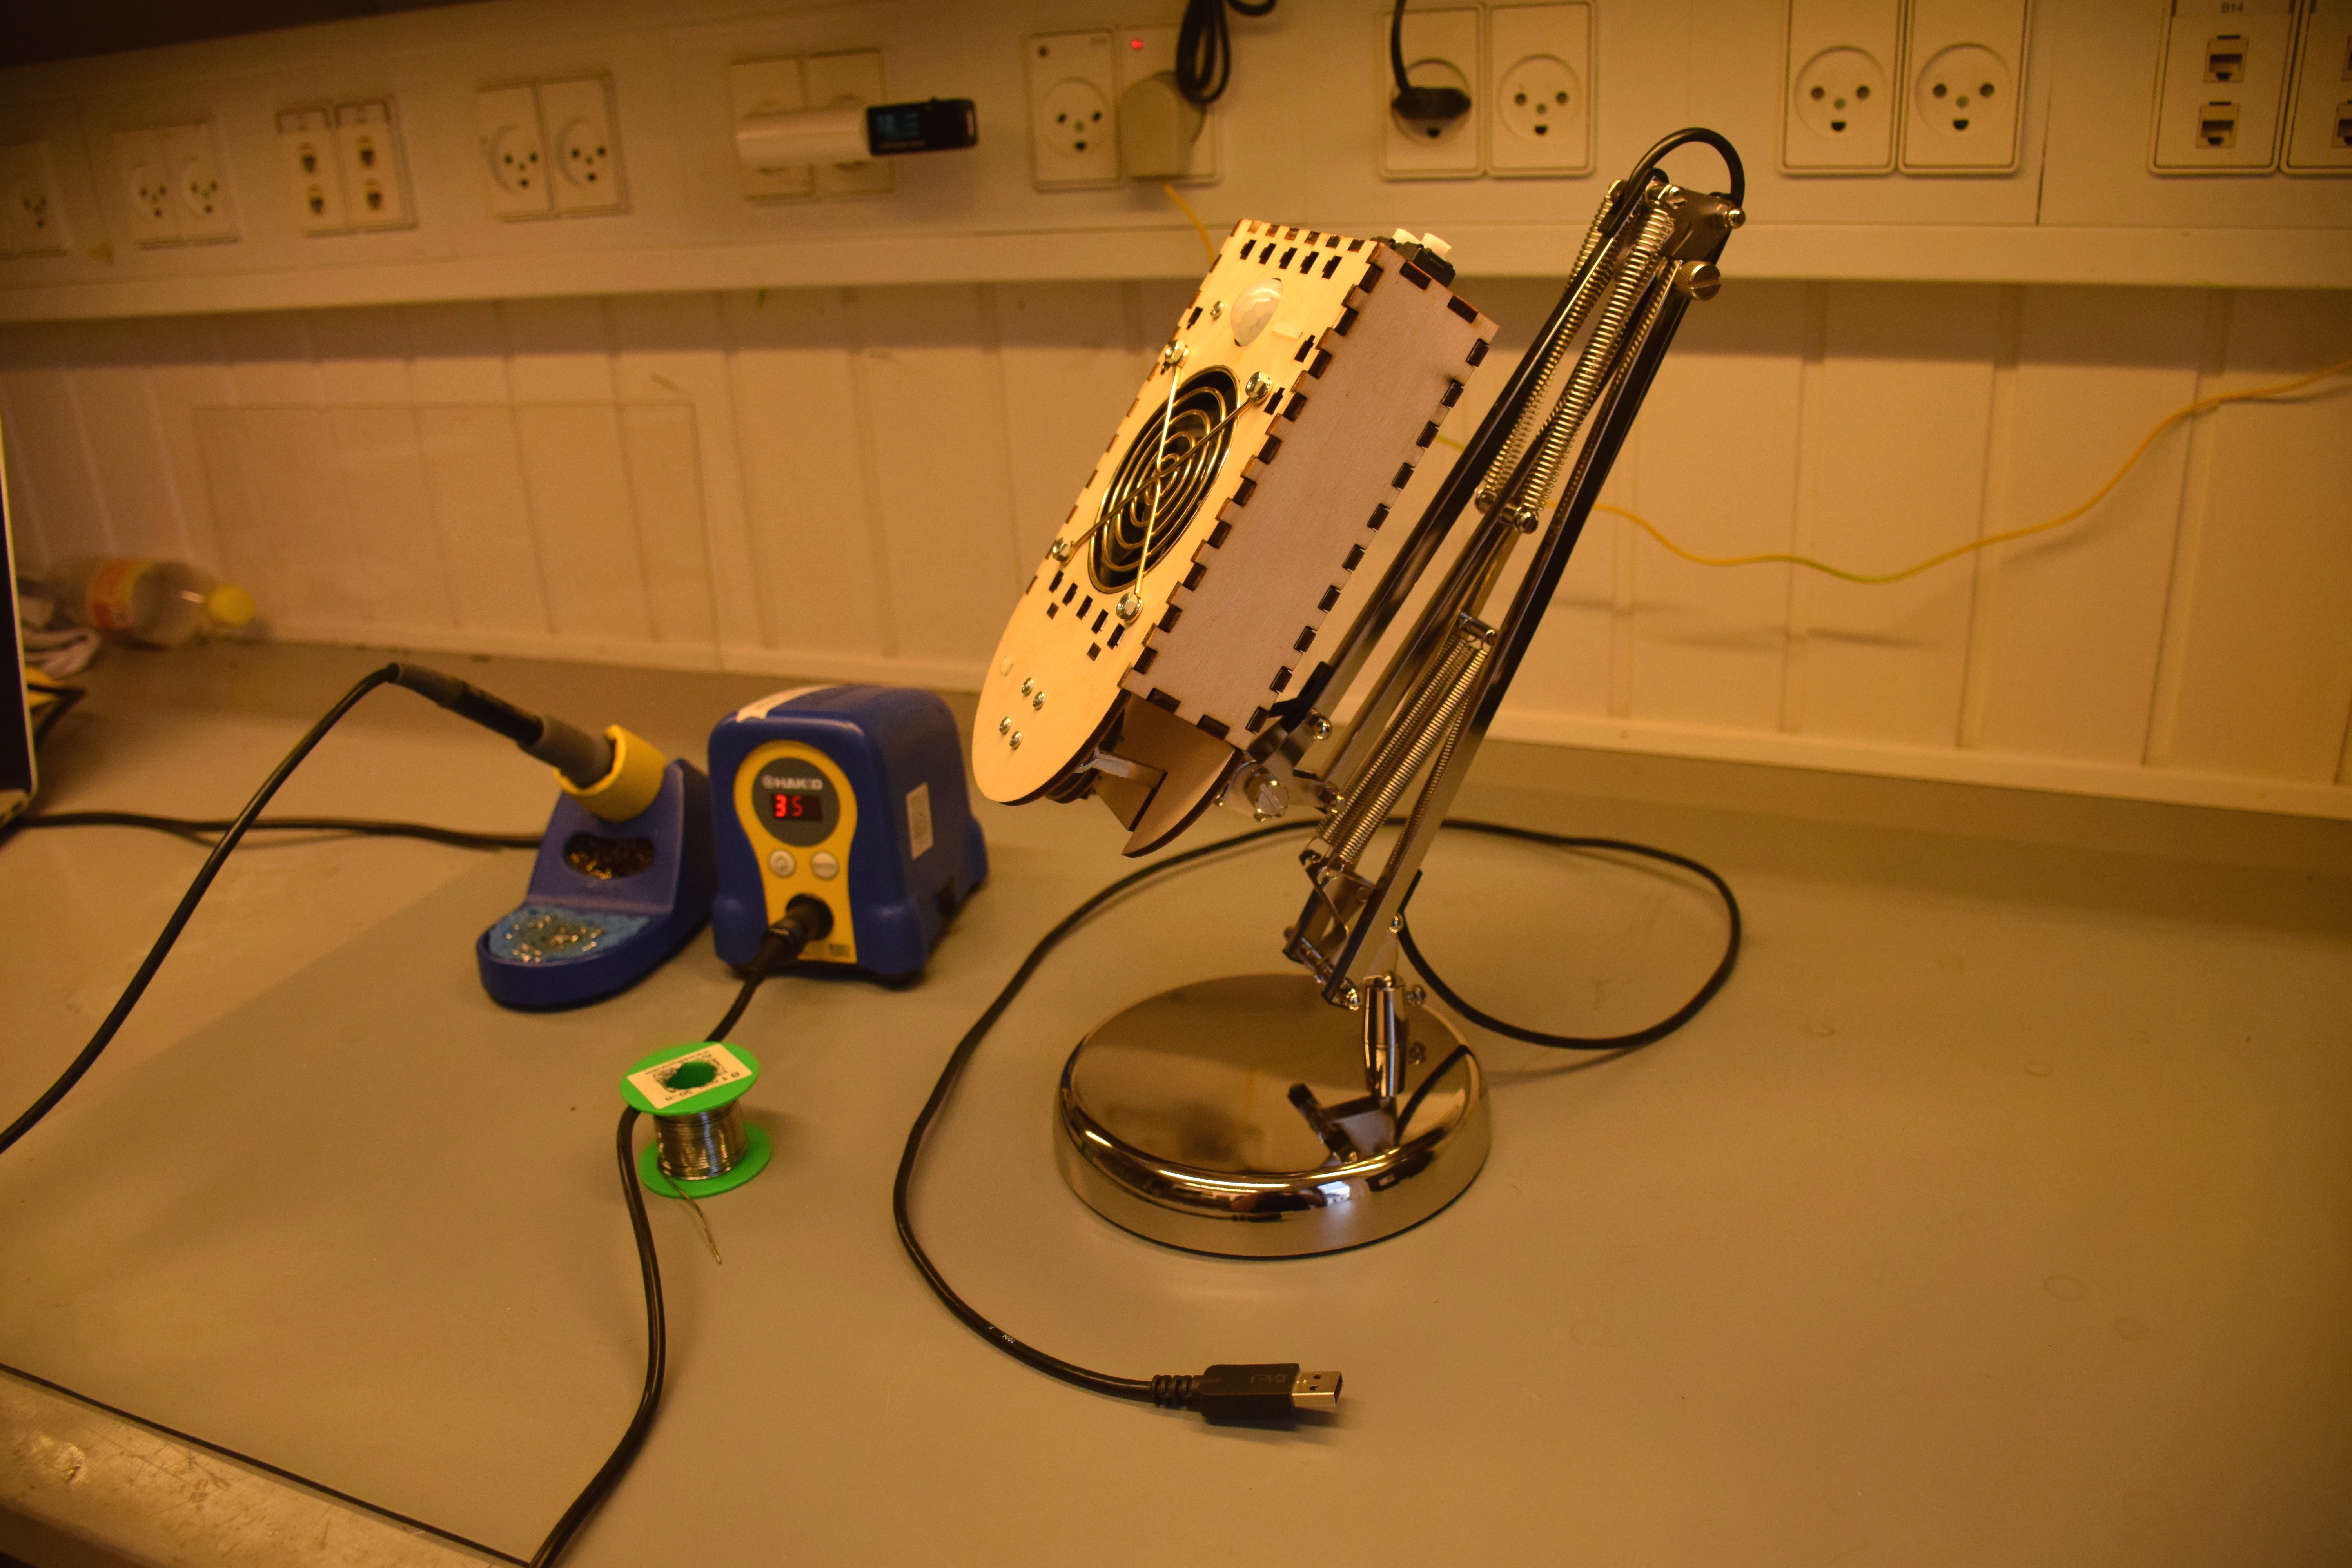
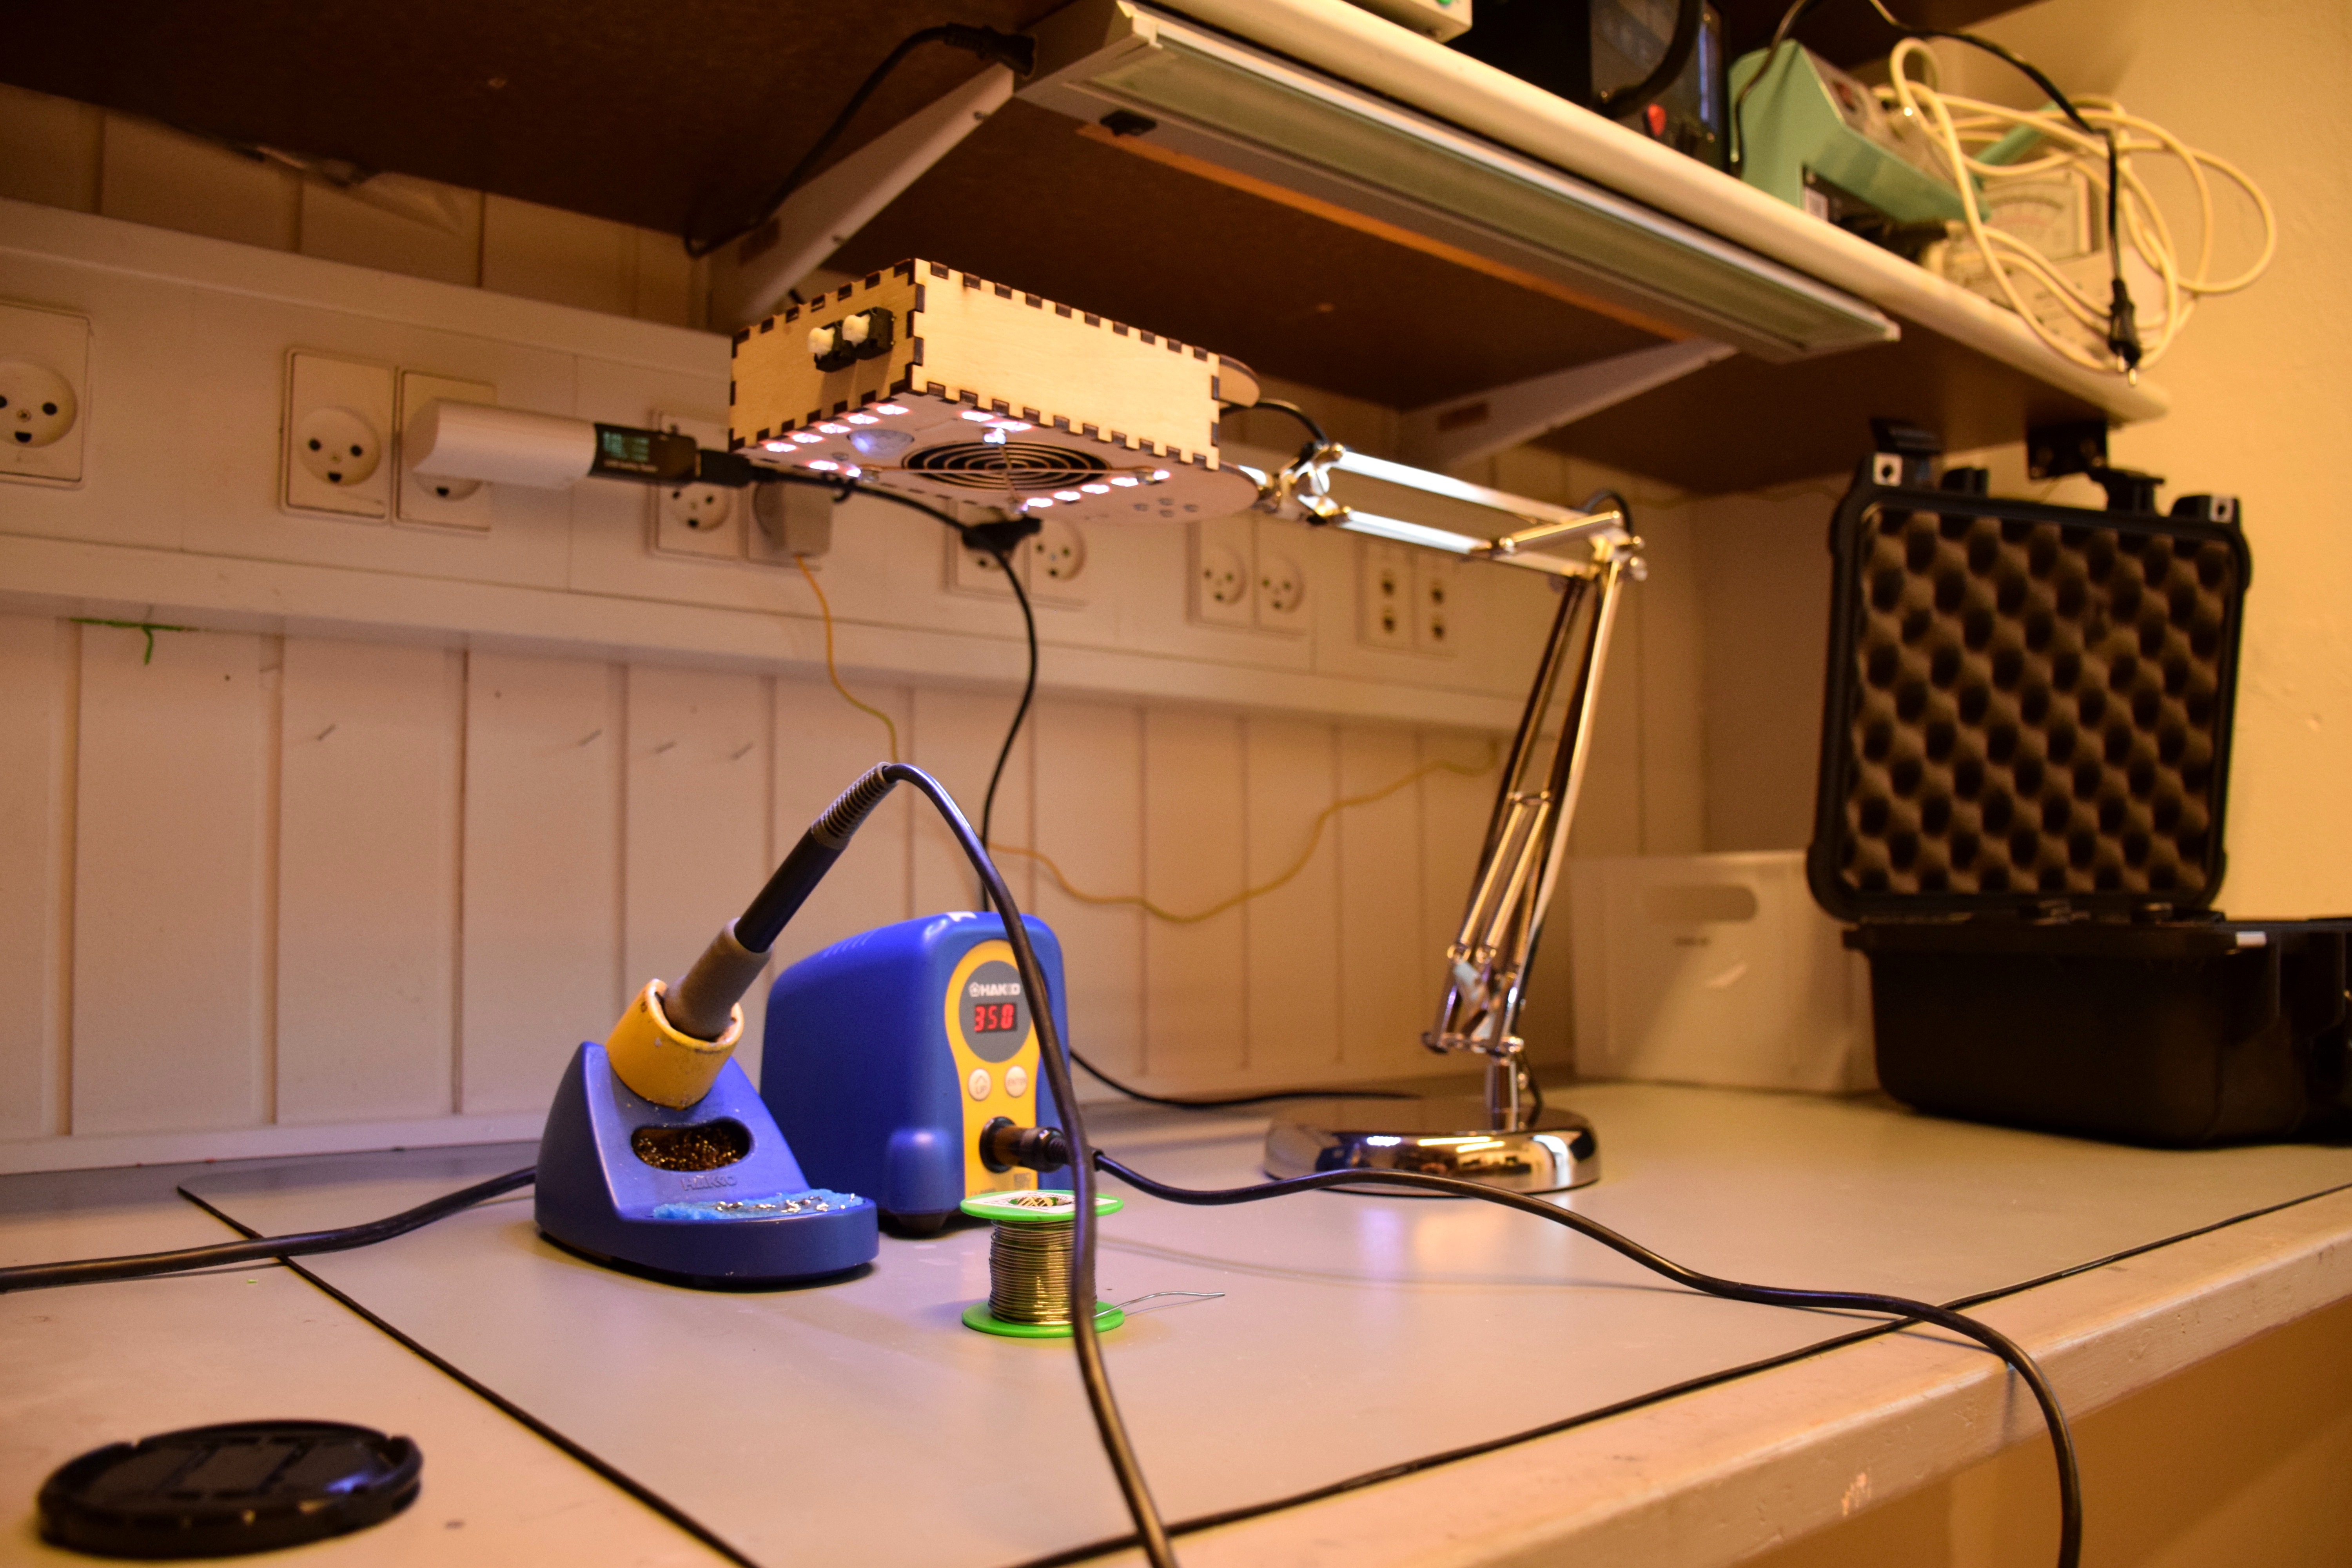
I needed something to remove the smoke when soldering and build this USB powered solder fume fan lamp with an ESP8266 arduino, WS2812b/Neopixels, a fan with an active coal filter and a PIR sensor.
When there is no movement beneath the lamp the fan turns off after e.g. 60 seconds (can be extended to e.g. 1800 when holding down the fan button) and the LED turns off after 1800 seconds of inactivity. The LED intensity can be dimmed by holding down the LED button.
Parts list:
* 4 mm plywood for the laser cutted case
* Ikea Forså lamp ( http://www.ikea.com/us/en/catalog/products/80146777/ )
* WS2812b / Neopixel strip (30 LED/m, 12 LED’s are used for the lamp. I bought it on Ali Express)
* Level shifter from 3.3 V to 5 V for the 3.3 V output from the PIR sensor (https://www.adafruit.com/product/757 I bougt it on AliExpress)
* 1.5 mF capacitor betwen +5 V and ground near the Neopixels, for evening out voltage drops and ripple from the USB power.
* PIR sensor (https://www.adafruit.com/product/189 I bought it on AliExpress)
* Fan (80 mm, 12 V. It was just laying around)
* Wemos D1 mini (https://www.wemos.cc/product/d1-mini.html)
* Wemos ProtoBoard (https://www.wemos.cc/product/protoboard.html)
* Wemos RelayShield for turning the fan on and off (https://www.wemos.cc/product/relay-shield.html)
* MT3608 DC-DC Step Up Power Module from AliE for the power for the 12 V fan
* Activated coal filter (adjusted the size with a scissor) (https://www.conrad.de/de/aktivkohlefilter-3teilig-toolcraft-79-7201-588546.html i bought it on AliE)
* two push buttons, connecting the pins from the ESP8266 to ground.
* USB cable
* A few strips, pig tail wires, bolt and nuts etc.
The case is glued together with normal wood glue and the PIR sensor and the WS2812b Neopixel strips are glued against the case with cyanoacrylate. The DC-DC converter is fixed with a cable tie. The Wemos D1 mini is fixed with a small bolt through a drilled hole in the ProtoBoard. The capacitor and the level shifter is glued with a hot glue gun. Be aware that there is very little room for the boards and the wires. If I were to build it again I would make some more room. Also the “stack” of the Wemos ProtoBoard, D1 mini and RelayShield is higher than the fan + activated coal filter, so it sticks out of the top, which I think is fine. All the parts do not need to be hidden away for the eye to see
Since the ESP8266/Wemos D1 mini has wifi it can be made controllable via your smartphone etc. At the time of this writing I have no use of this, so for now I have not implemented anything fancy yet
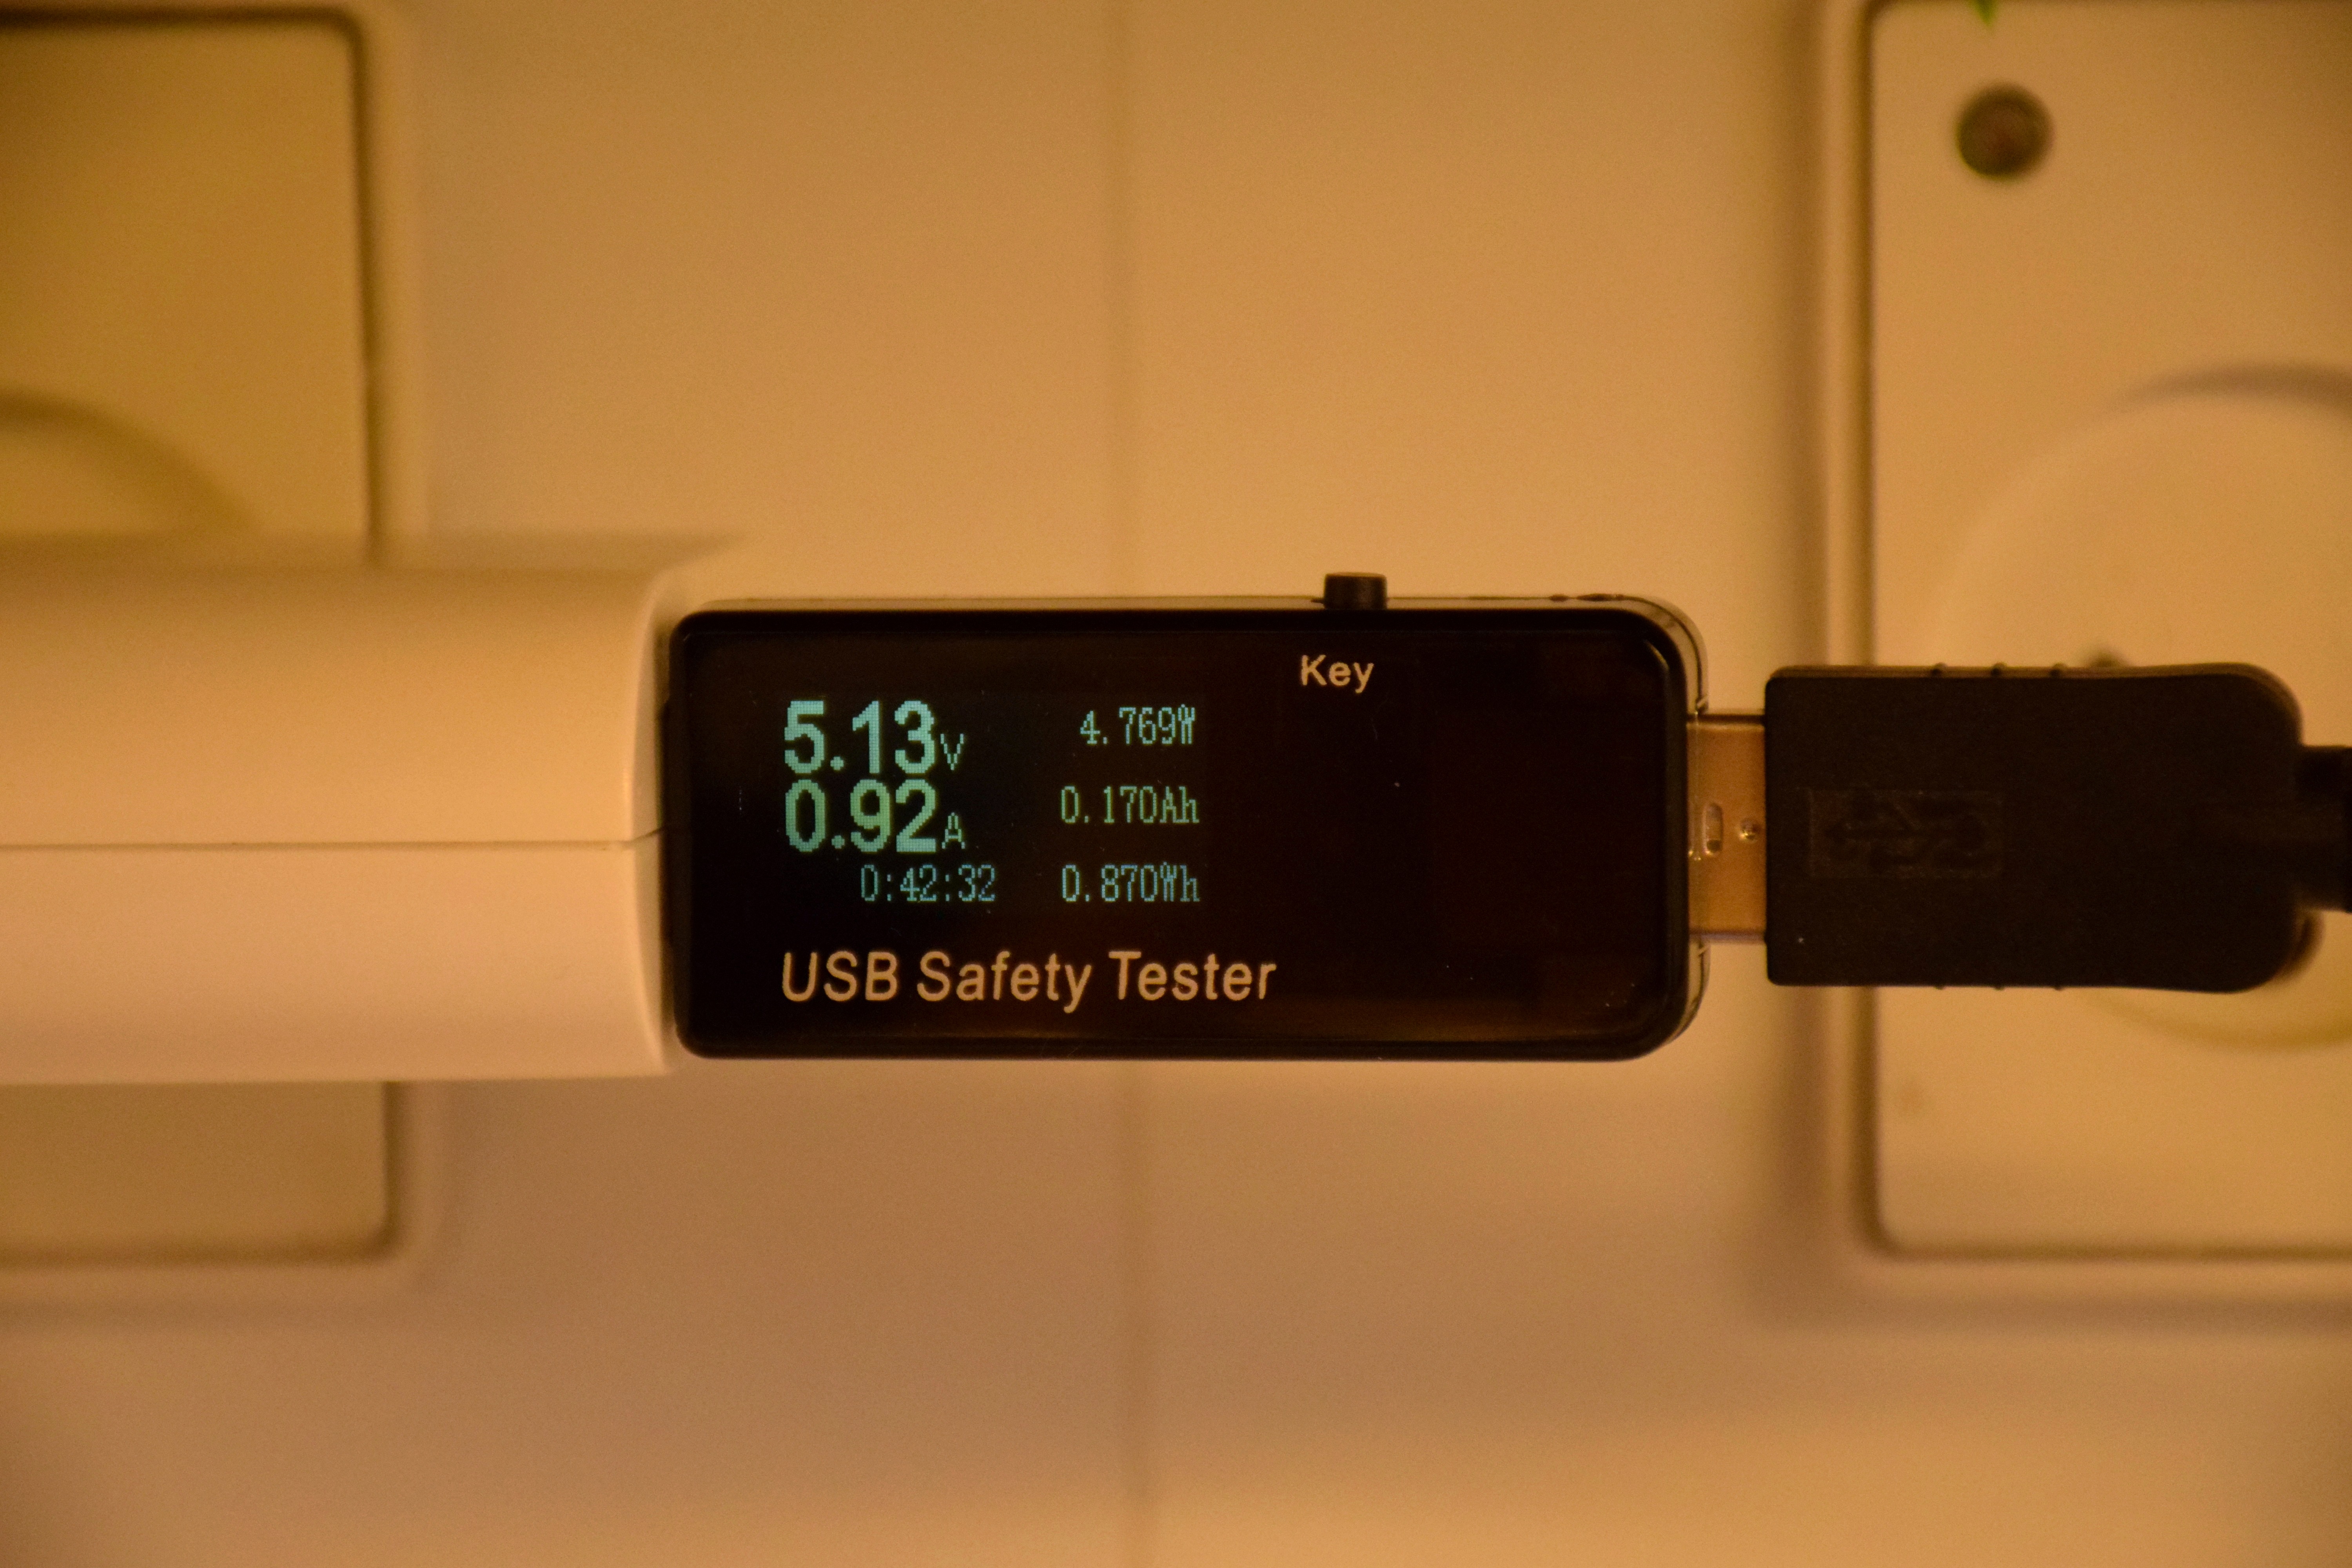
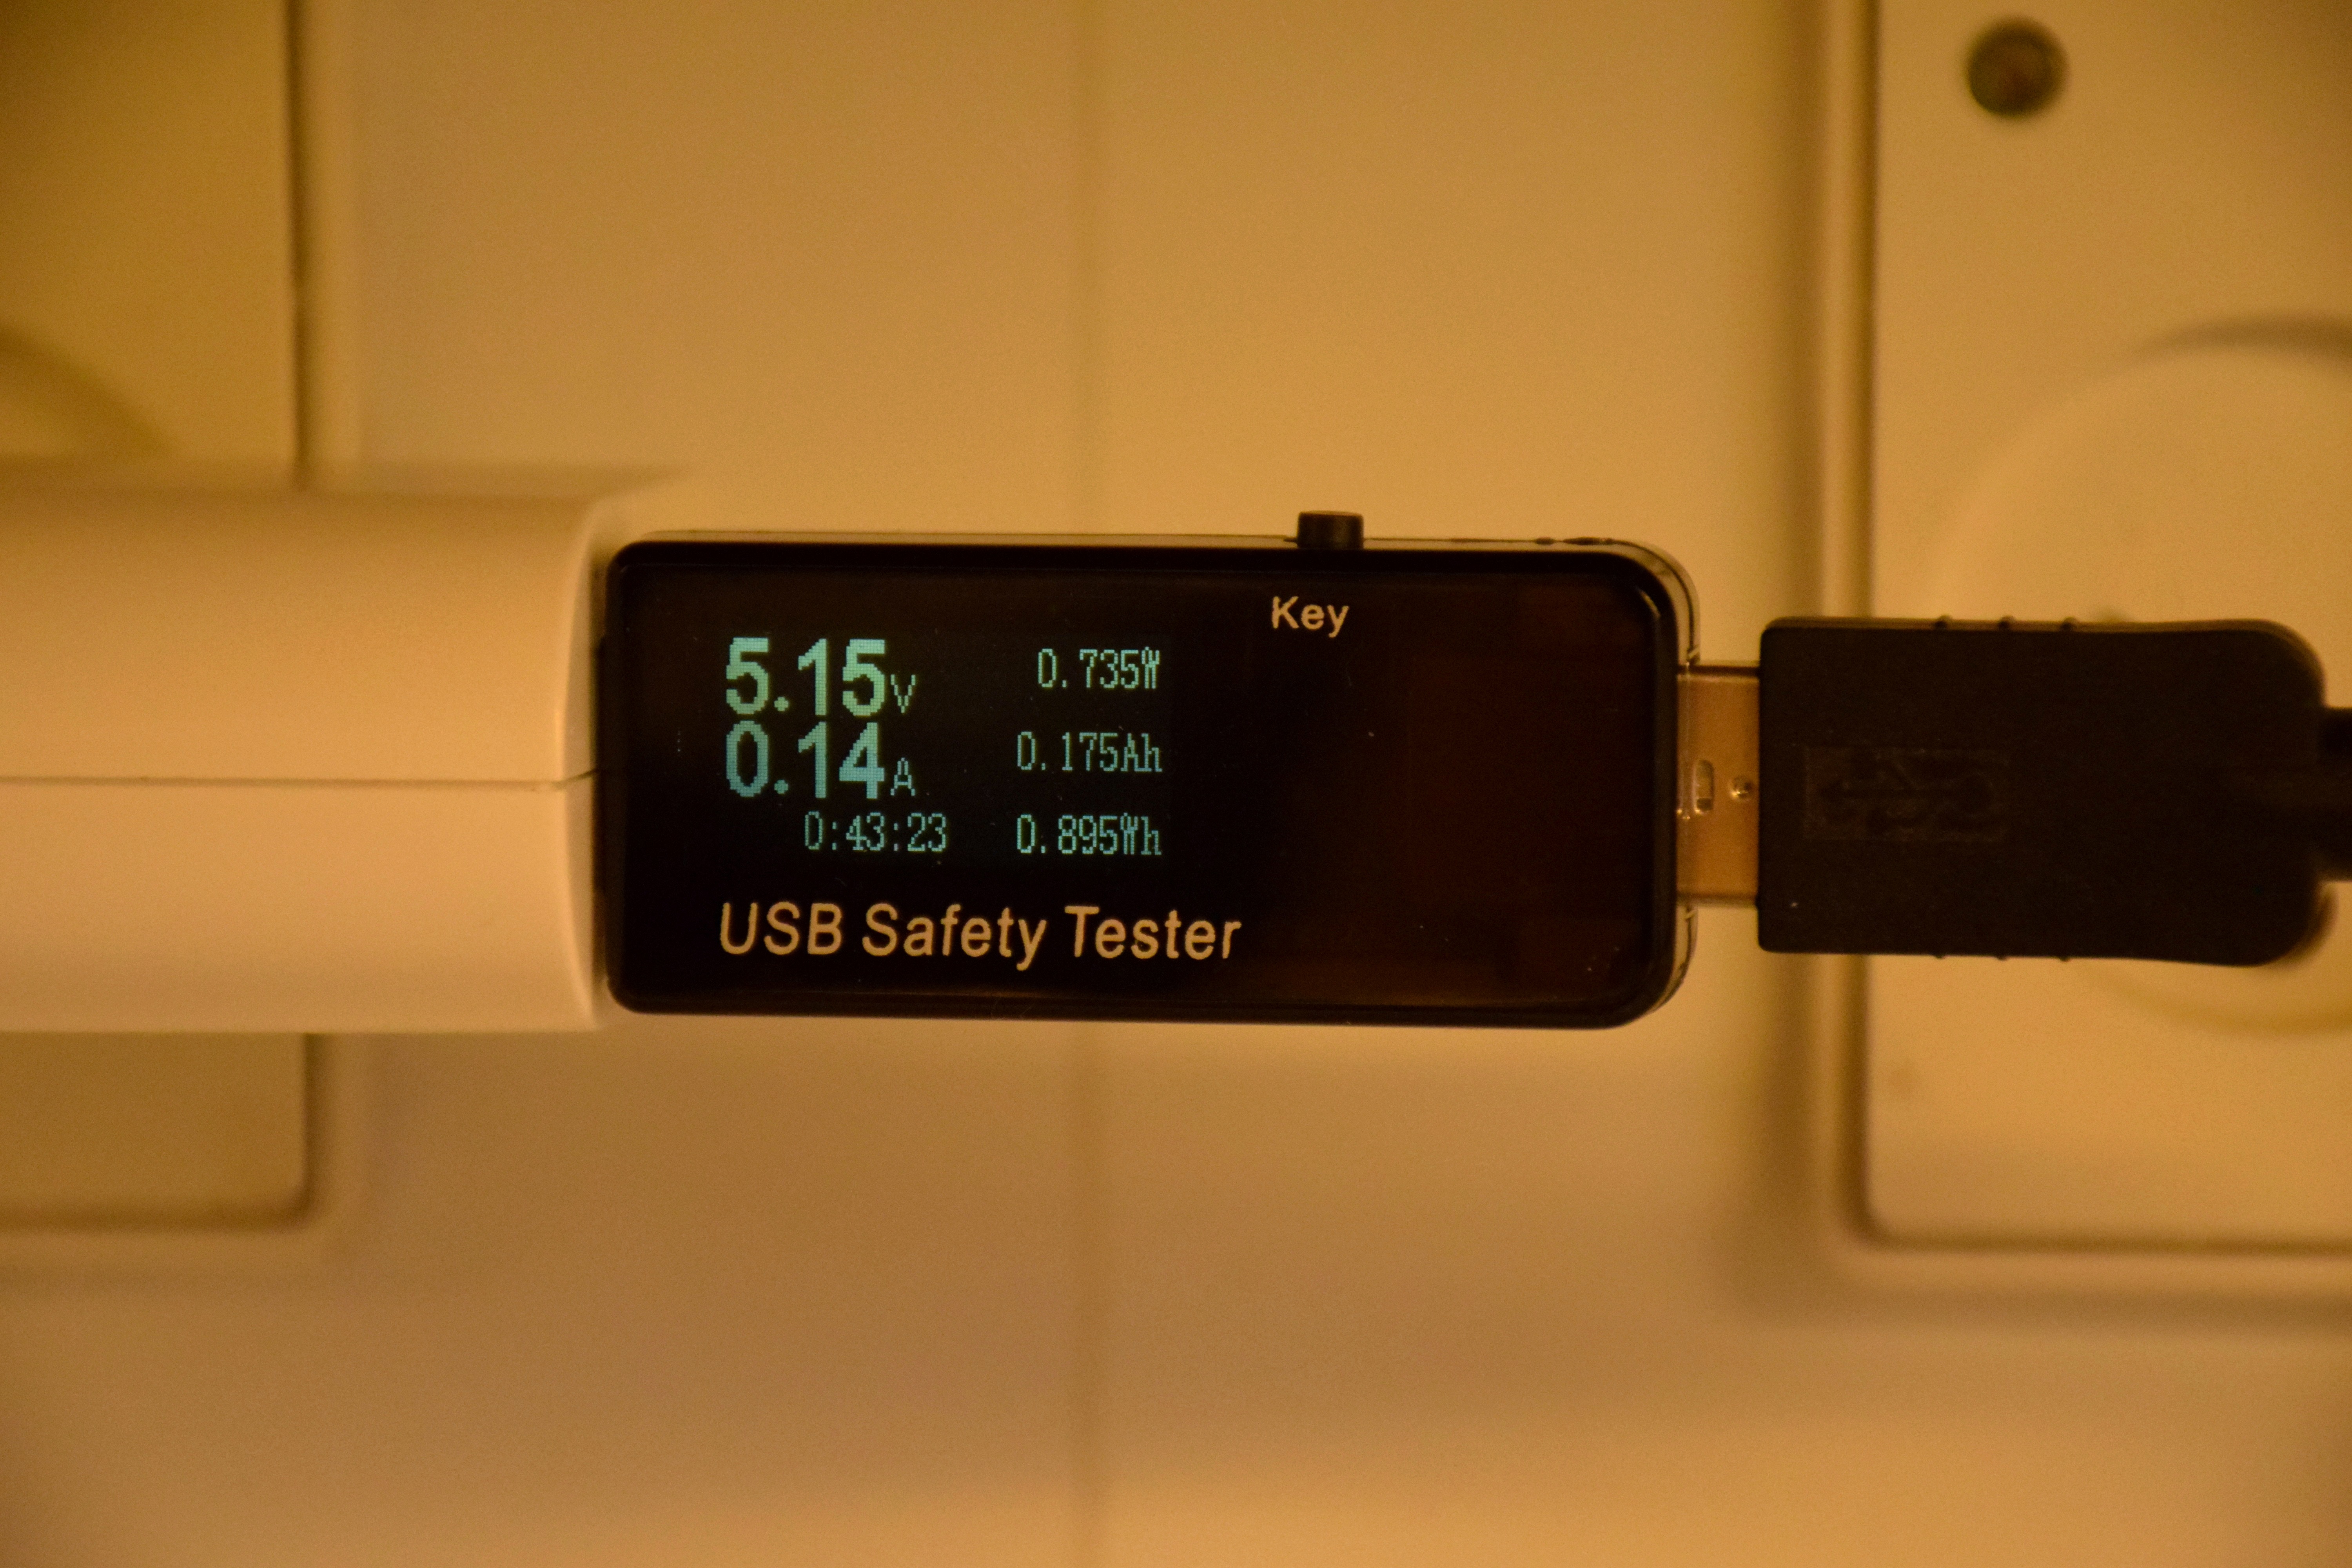
Power usage when the lamp and fan is activePower usage when idle
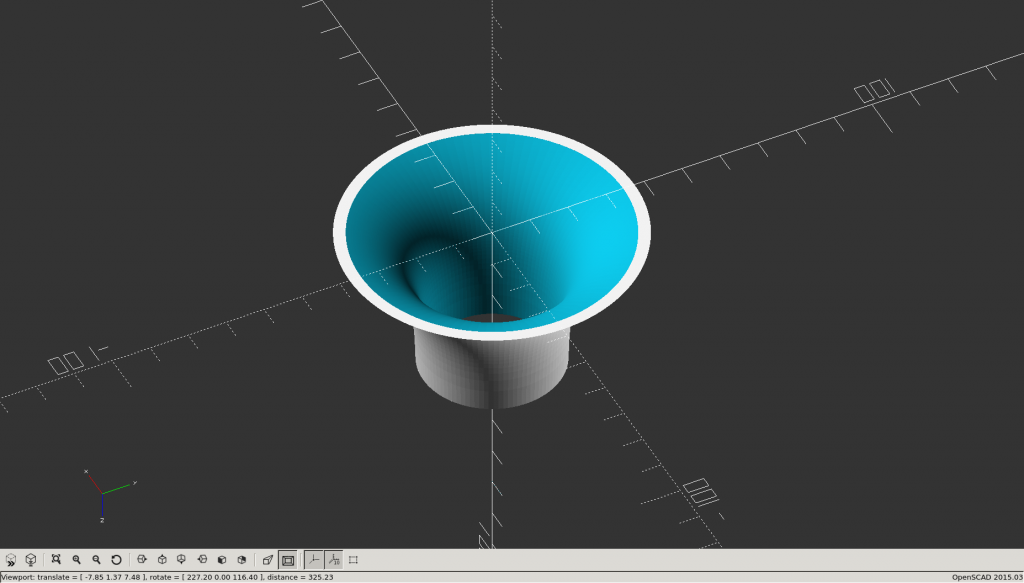
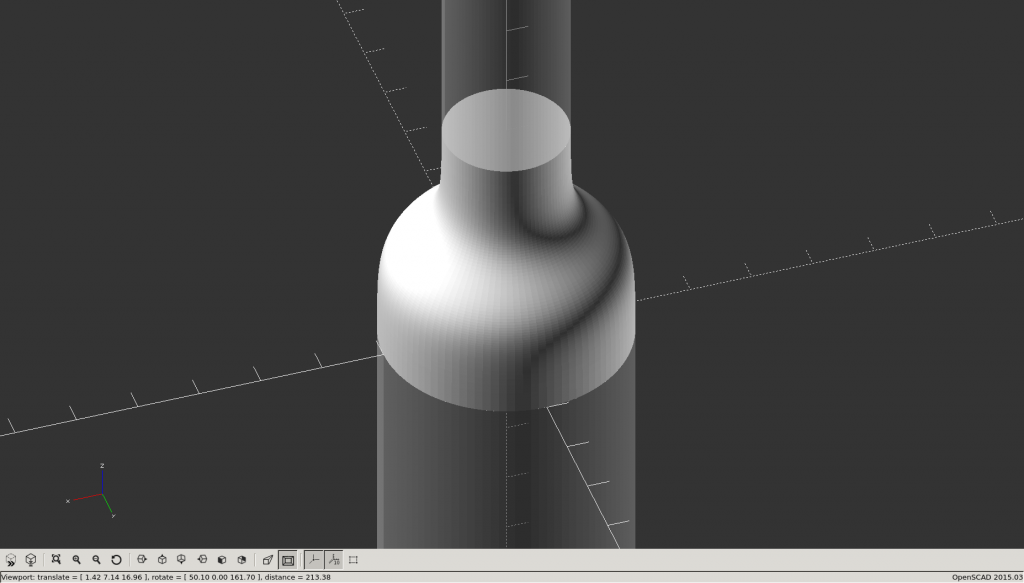
As part of another project, I found myself in need of a funnel shape as well as a cylindrical coupling in OpenSCAD. Now, the straight forward approach would be to make a first-order approximation using a cylinder with two different radii to create a cone. While this solution would surely work for most cases, it is not as aesthetically pleasing as the real things, at least in my mind. As I couldn’t find any existing reference designs online, I decided to make and share a solution. The modules can be found on my GitHub: https://github.com/alexbirklykke/openscad
Both solutions use the rotate_extrude function in OpenSCAD, which takes a 2D polygon and rotates it around the z-axis. For the funnel I used a 2D version of the funnel surface function and for the coupling I used a selection of sigmoid functions. In both cases, the modules behave like the native cylinder module, but with additional shape and slice parameters that control the contour and number of polygon points of the drawn objects. For the cylindrical coupling it is also possible to choose between different sigmoid kernels (the standard sigmoid function, tanh, linear, and two other algebraic sigmoids) to tweak the contour even further.
I had this old POS (Point Of Sale) receipt printer laying around for some time and thought it could be fun to play a bit with it. Printing plain text is simply done by sending it as characters via a serial connection. Cutting the paper is some ESC code which i found in a manual online. Printing images was a bit more tricky, since it is requires some specific codes, depending on how the dots in a vertical bar, equal to the height of a character, must be composed. I wrote a small Python module integrating the ability to print images, text etc. since I could not find anything online simliar to what i wanted.
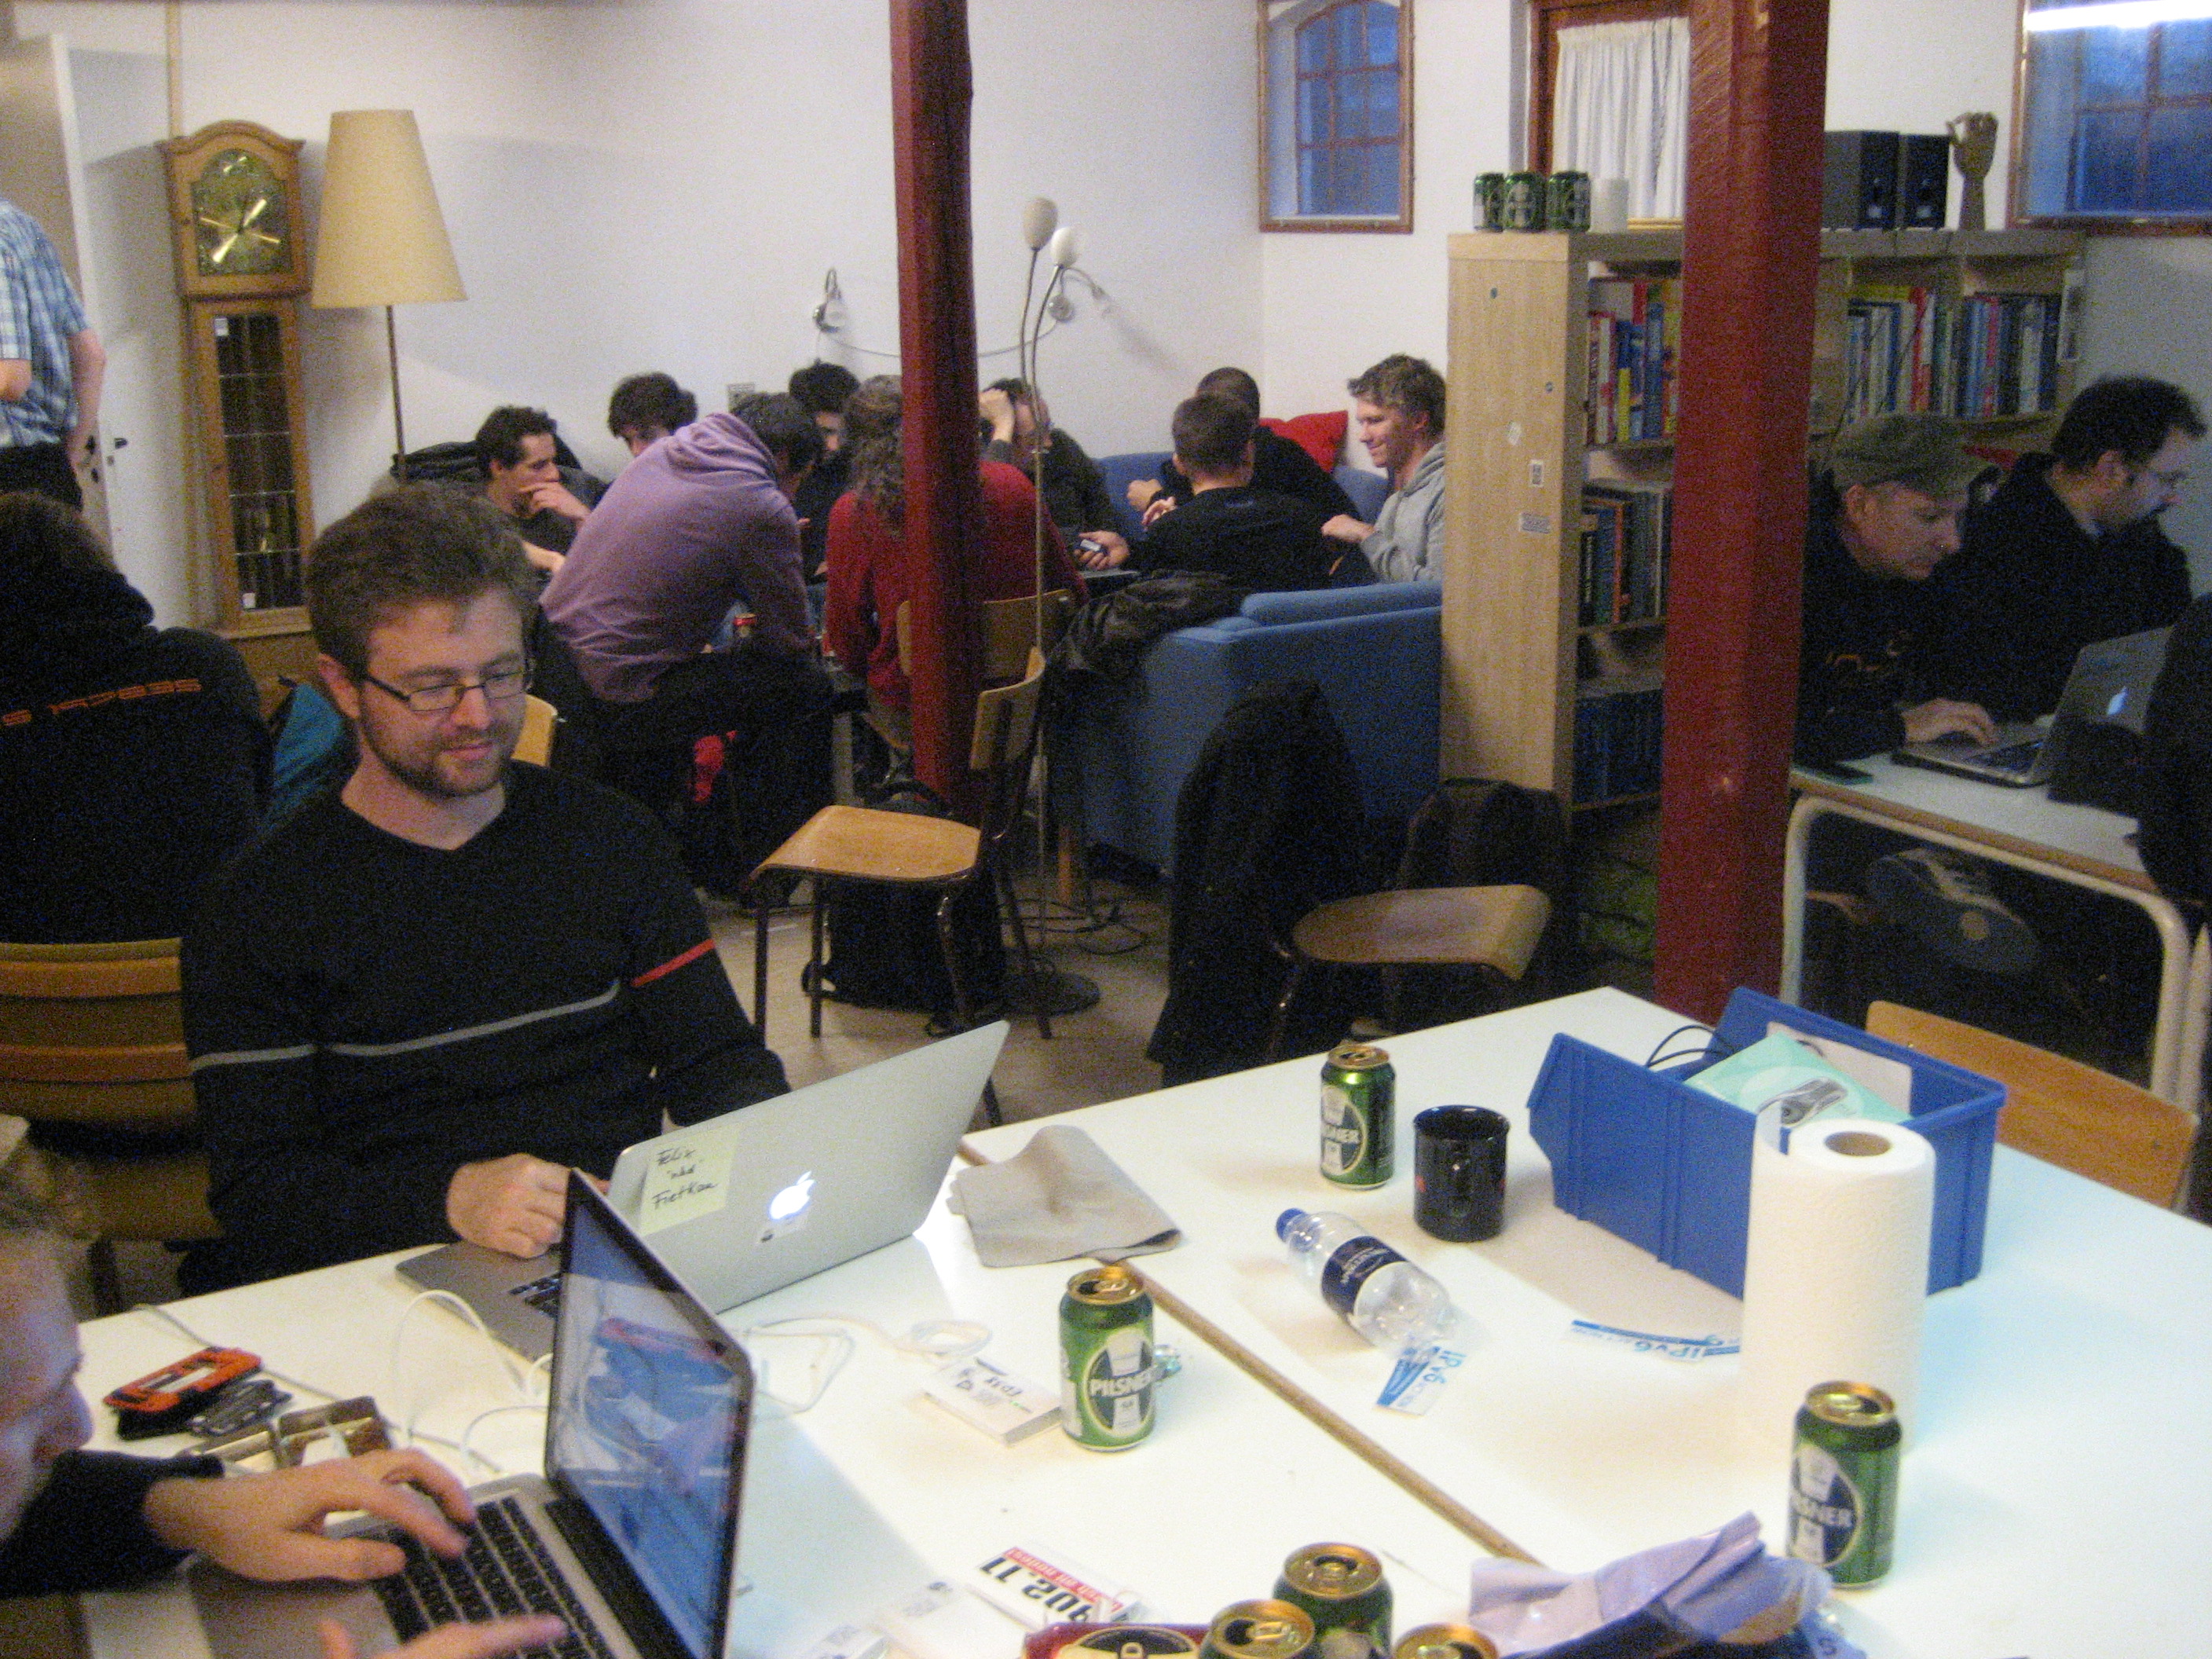
At the local hacker space (HAL9k) we have now received a large box full of used receipt printers, VFDs etc. and some of the members have asked for the module for printing images so I have uploaded pyPOSprinter to GitHub. It makes use of pySerial for communicating with the printer and Python Image Library for reading image files. The included example also shows how to use pyQRNative to print QR-codes (bar codes are soo last centory 🙂 ).
from pyqrnative import PyQRNative
qr = PyQRNative.QRCode(5, PyQRNative.QRErrorCorrectLevel.Q)
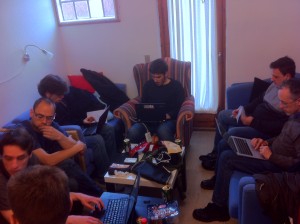
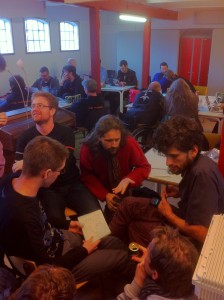
Hal9k er Aalborgs hackerspace. Et åbent højteknologisk værksted, hvor man kan lave (næsten) alt. Udover en masse forskellige værksteder, oser Hal9k af viden, kreativitet og varmt socialt fælleskab.
Alle der kommer i vores lokaler risikerer at lære en masse, og ikke mindst få nogle gode oplevelser.
Der er fast klubaften hver torsdag fra kl. 19 til ud på aftenen, hvor alle er velkomne til at kigge forbi!


09 feb
2 Comments