Indretningen af træværksted i laden er nok et af de længstvarende projekter i foreningens historie. Siden sidste gang vi skrev om det her på siden, har projektet været forsinket både af et pludseligt krav til byggetilladelse og derefter COVID-19-restriktioner, men det sidste stykke tid har der været ganske god fremdrift.
Og hvad har vi så lavet?
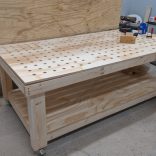
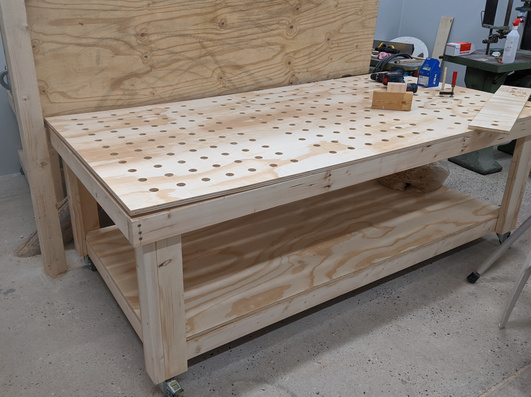
Der er blevet bygget et solidt arbejdsbord (på hjul) i voksenstørrelse, med masser af huller så det er let at fastspænde ting.
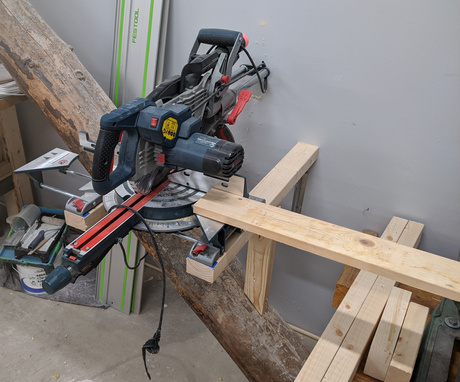
Rundsaven har fået en fast placering…
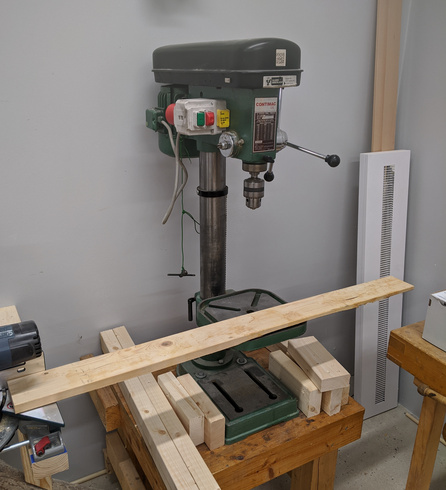
…ved siden af søjleboremaskinen, som også kan bruges som understøttelse af lange brædder.
Båndsaven er også blevet flyttet.
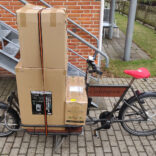
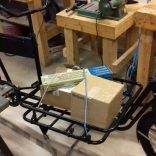
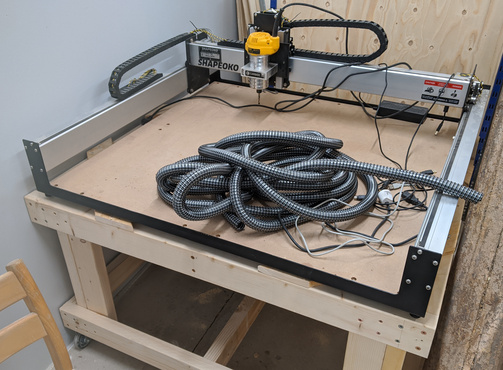
Der er også blevet bygget et bord til Shapeoko CNC’en, naturligvis også på hjul. Som det ses på billedet mangler der stadig udsugning osv.
Årets generalforsamling bliver den 2. juli klokken 19:00 (bemærk at dette strengt taget er en overtrædelse af vedtægterne, som foreskriver “inden udgangen af andet kvartal”, men bestyrelsen påkalder sig force majeure pga. usikkerhed i forhold til COVID-19).
På grund af de gældende restriktioner mht. antal personer per kvadratmeter beder vi om at man tilkendegiver over for bestyrelsen om man planlægger at deltage i GF eller ej, for at vi kan få en ide om antal deltagere.
Forudsat at vi ikke bliver mere end 32 personer, afholdes GF i BMX-klubbens lokaler på den anden side af gården. Hvis vi bliver flere end dette, afholdes GF udendørs.
Bemærk: Forslag, der ønskes behandlet på generalforsamlingen, skal være bestyrelsen i hænde senest syv dage før generalforsamlingen.
Forslag om vedtægtsændringer, der ønskes behandlet, skal være bestyrelsen i hænde senest syv dage forinden generalforsamlingen.
Vi hackes ved!
Bemærkning fra bestyrelsen: Som udgangspunkt genopstiller mchro, jener, mide og torsten. nuc og fusk genopstiller som suppleanter. andersv209 genopstiller hvis der ikke er andre kandidater.
Indkomne forslag
Fra Jesper Brix Rosenkilde:
Efter at være blevet tvunget til at nærlæse paragraf 4 stk 3. opdagede jeg at der er stk 3 står to gange med let anderledes ordlyd. Jeg foreslår her med at vi sløjfer den første og beholder:
“Stk. 3. Stemmeberettigelse på generalforsamlingen forudsætter medlemskab af foreningen i mindst fire uger.” Jeg har forsøgt at gætte på hvordan det er hændt, og jeg tror måske at den som jeg foreslår vi beholder var den originale, men at fordi da vi stiftede foreningen var vi meget nervøse for at blive kuppet, det var lige sket for Studentersamfundet, så derfor blev den anden hvor man ikke en gang havde møderet indført. Jeg synes nu hvor foreningen er relativt velfunderet at det er unfair at nye medlemmer (og offentligheden generelt) ikke må overvære GF, men det er nok stadig en god ide at man først har stemmeret efter man har været medlem i 4 uger. Derudover ville det være rart, uanset hvad resultatet af en afstemning bliver, at vedtægterne i fulde bliver ført til referat, det skete nemlig ikke ved hverken den stiftende GF eller i 2013 da de blev ændret sidst, så det er lidt af et detektivarbejde faktisk at skaffe en kilde til vores vedtægter uden at skulle stykke den sammen.
Fra Jesper Brix Rosenkilde:
Der er nu en del medlemmer der uden success har forsøgt at få indkøbt en Shaper Origin til spacet, fordi et par enkelte meget vokale medlemmer modsætter sig hver gang og mener at det er en meget stor investering som skal forbi på GF. Det sker hermed, prisen er ca. 30.000 kr leveret.
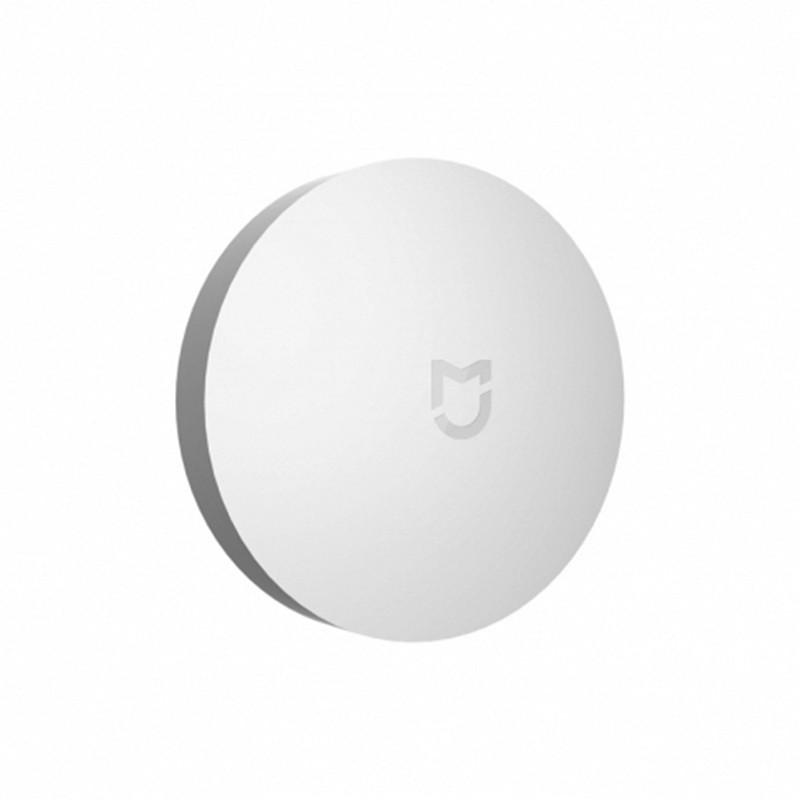
Jeg har igennem længere tid arbejdet med at lave home automation af lyset. Det hele startede med en arduino uno med ethernet shield, som så styrede nogle trådløse stikkontakter fra Harald Nyborg (link). Som udelukkende kunne styres via hjemmeside på arduinoen. Da jeg så ville have nogle flere funktioner skiftede jeg over til Openhab, som er lavet til home automation, hvor der er en app til smartphone. Men så smart det er med en app osv. så er der steder i dagligdagen hvor det er besværligt at man skal finde telefonen frem for at kunne tænde lyset. Så derfor købte jeg en Xiaomi gateway med tilhørende zigbee trykknapper.
Xiaomi zigbee knap
Deres enkelt tryk med 3 funktioner (kort tryk, dobbelt tryk, langt tryk) og deres dobbelt tryk med 3 funktioner (venstre tryk, højre tryk, venstre+højre tryk) men jeg var ikke helt tilfreds med dem, da de fylder en del i forhold til antal af trykfunktioner. Så det skulle jeg havde fundet/lavet en smartere løsning på.
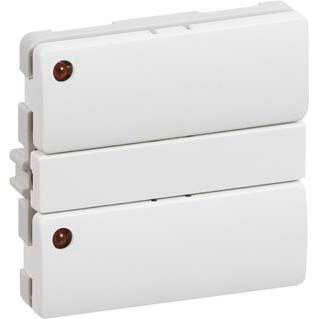
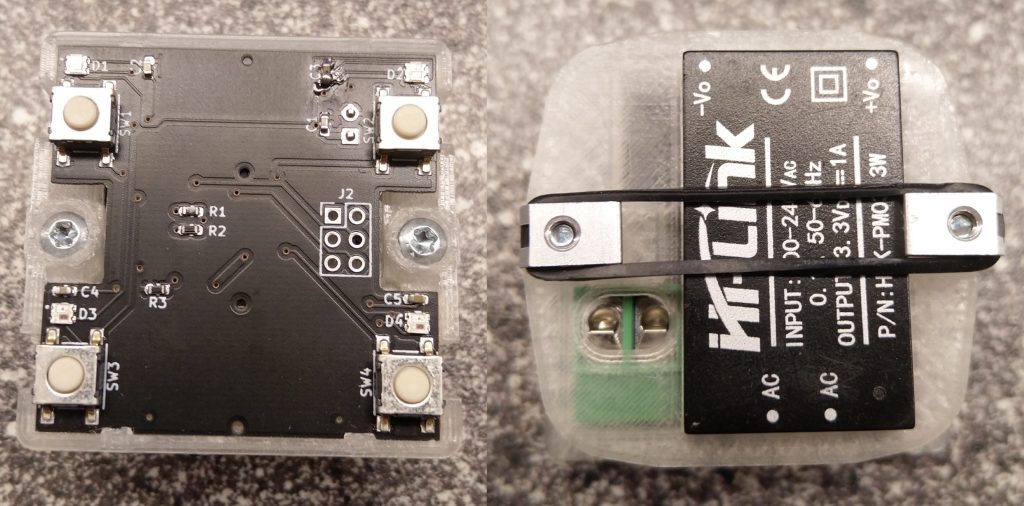
Fuga svagstrømstryk – 4 tryk 2 led
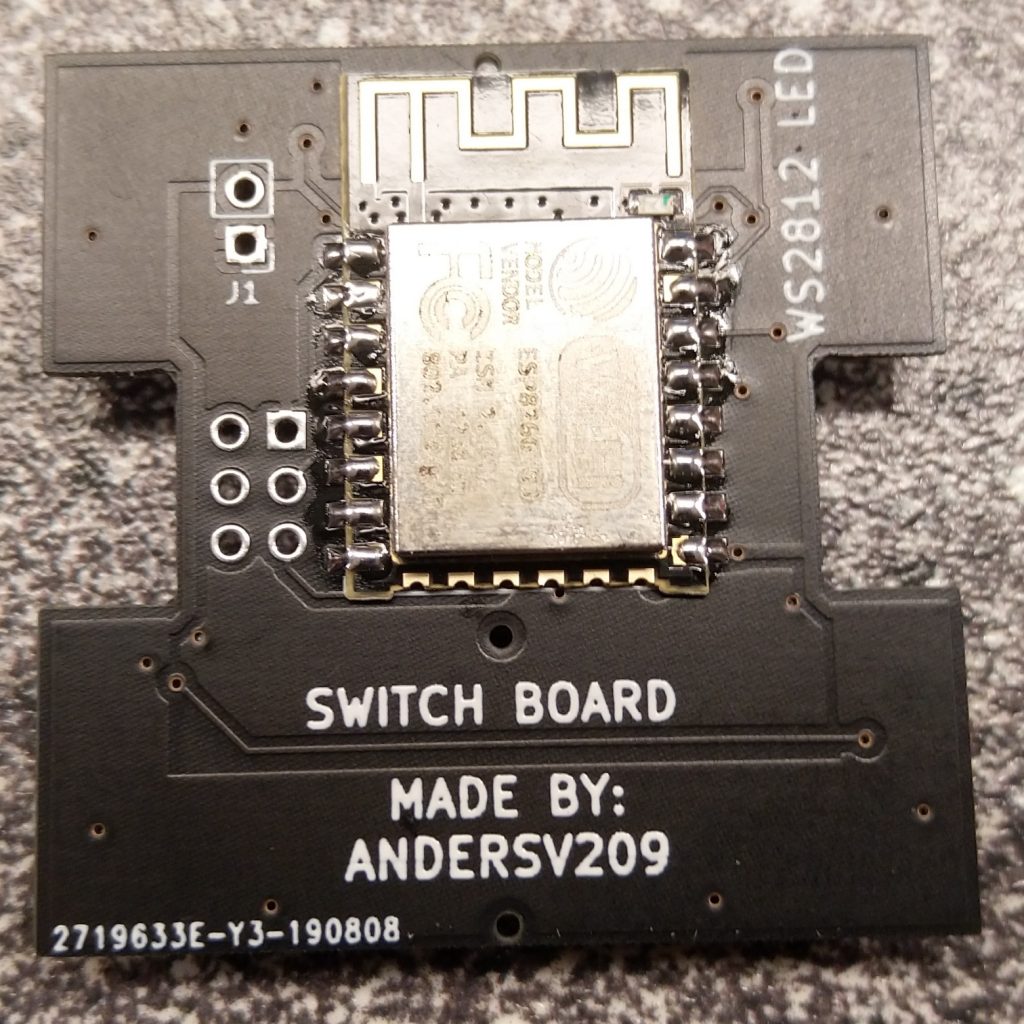
Jeg kiggede derfor efter noget der gerne skulle kunne erstatte afbryderen. Derfor kiggede jeg på hvordan LK’s svagstrømstryk til Fuga var lavet, og om det var muligt at bruge den, hvor elektronikken så blev stoppet ind i dåsen. Men det viste sig så at det ville være svært at få plads til + der var kun diode til de 2 af knapperne hvor jeg gerne ville have til alle 4. Så derfor begyndte jeg at kigge på at lave min egen version af svagstrømstrykket, hvor jeg fik målt op hvor stort det måtte være, hvor knapperne skulle sidde, hvor dioderne skulle sidde, samt et par styrehuller, så tangenten til LK’s svagstrømstryk også passer til min. Den oprindelige plan var at bruge nogle 3 mm dioder, men kort før jeg skulle til at bestille PCB opdagede jeg at der netop var kommet en ny udgave af den digitale RGB lysdiode WS2812B, nemlig i en meget mindre pakke (2020 i stedet for 5050, dvs at den er 2×2 mm mod standard-dioden på 5×5 mm). Så de blev skiftet ud til den lille RGB diode.
knapper og 2020 ws2812 led
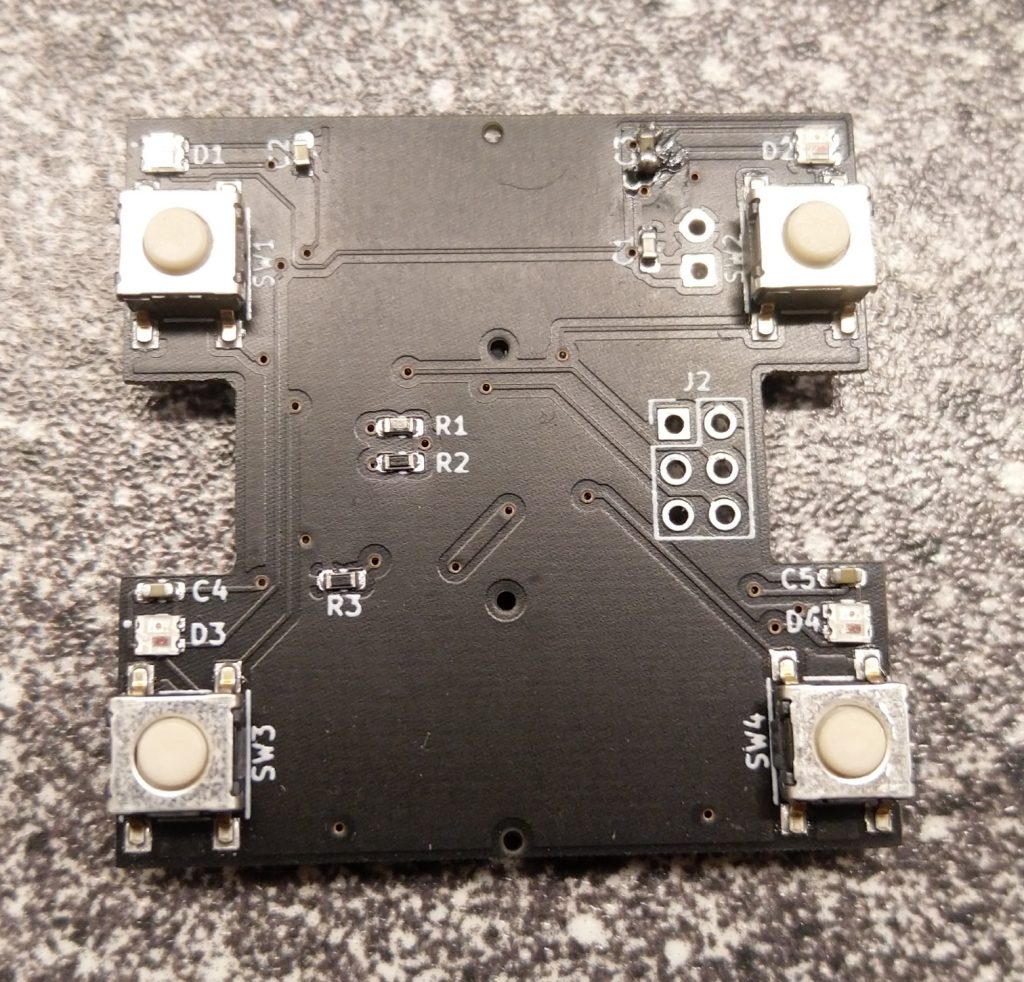
Da jeg ikke ville til at ændre helt vildt i el-installationen, valgte jeg at sætte en esp8266 microcontroller med indbygget wifi på bagsiden af printet som læser knapperne samt opdaterer dioderne.
ESP8266
Da jeg ikke er interesseret i at skulle skifte batterier hele tiden, skulle jeg have fundet en strømforsyning som skulle være PCB monterbar og passe ind i en Fuga dåse, der kiggede jeg straks på nogle fra Hi-link som jeg har brugt tidligere i andre projekter (i databladet står der at de er både UL og CE godkendte). De kunne lige nøjagtigt være der.
Efter som at der var ved at være styr på elektronikken, så skulle der også laves noget så det kunne gøres fast og passe i en Fuga ramme. Så var det i gang med at måle op (jeg tog udgangspunkt i hullet i Fuga rammen og en Fuga PIR sensor). Jeg havde exporteret PCB layoutet fra kicad som 3D model, så det kunne laves omkring den. Det blev hurtigt til flere versioner, som alle blev test printet på 3D-printeren for at se hvordan det passede i virkeligheden.
I 3D print
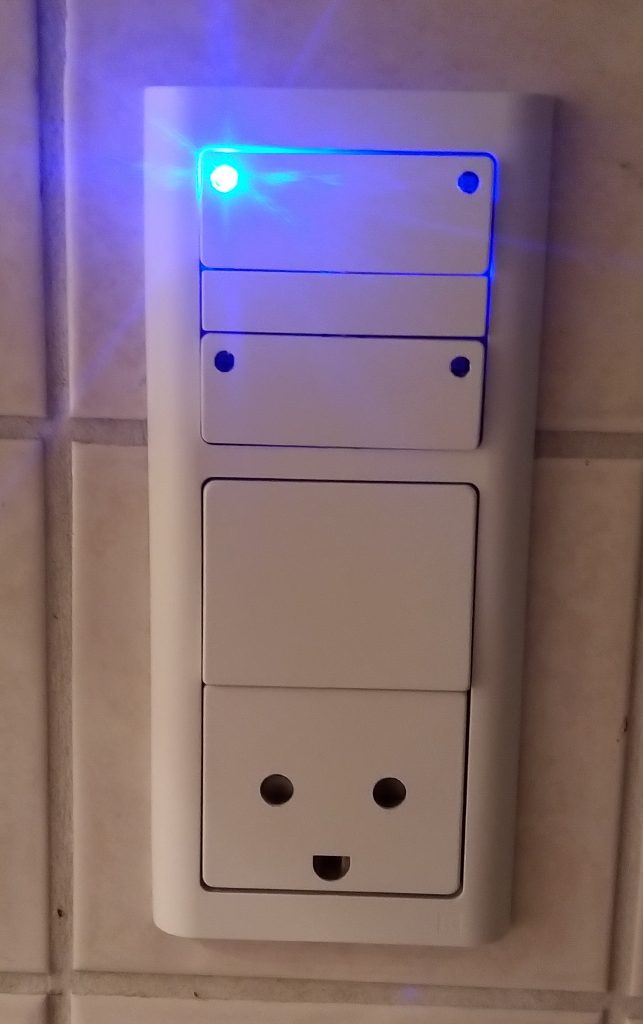
Da jeg endelig havde et PCB og 3D-print jeg var tilpas med så blev der bestilt stumper hjem. Da det hele var kommet hjem fik jeg samlet den første. Efter de første test var jeg meget tilfreds med den, så blev resten af de første samlet, og de begynder så småt at blive sat op derhjemme, som jeg får den programmeret til.
Mit fuga tryk
Hvert tryk står mig i ca 200 kr.
Jeg havde en demo med til Mini Maker Faire i århus, hvor der var flere der viste interesse i dem, så derfor valgte jeg at lave dette lille skriv omkring projektet.
Hvis du er interesseret i at få fat i nogle af dem så send mig en mail på andersv209 (a) hotmail.com med titlen “Fuga tryk esp model”. Når der er til mindst en 50 stykker vil jeg sætte bestilling i gang.
PS. der gøres opmærksomt på at de ikke er godkendt til brug i fast installation og derfor anvendes på eget ansvar. Da der rodes i fast installation skal de monteres af en elektriker.
Som det jo efterhånden er tradition, havde vi kørestolsrobotten, Kugleklokken og andre gammelkendte ting med – men også lidt nyt: En sandkunstmaskine og en Segway-lignende robot, som man kunne styre med et Wii Balance Board. Desuden en lille demo af vores adgangskontrolsystem.
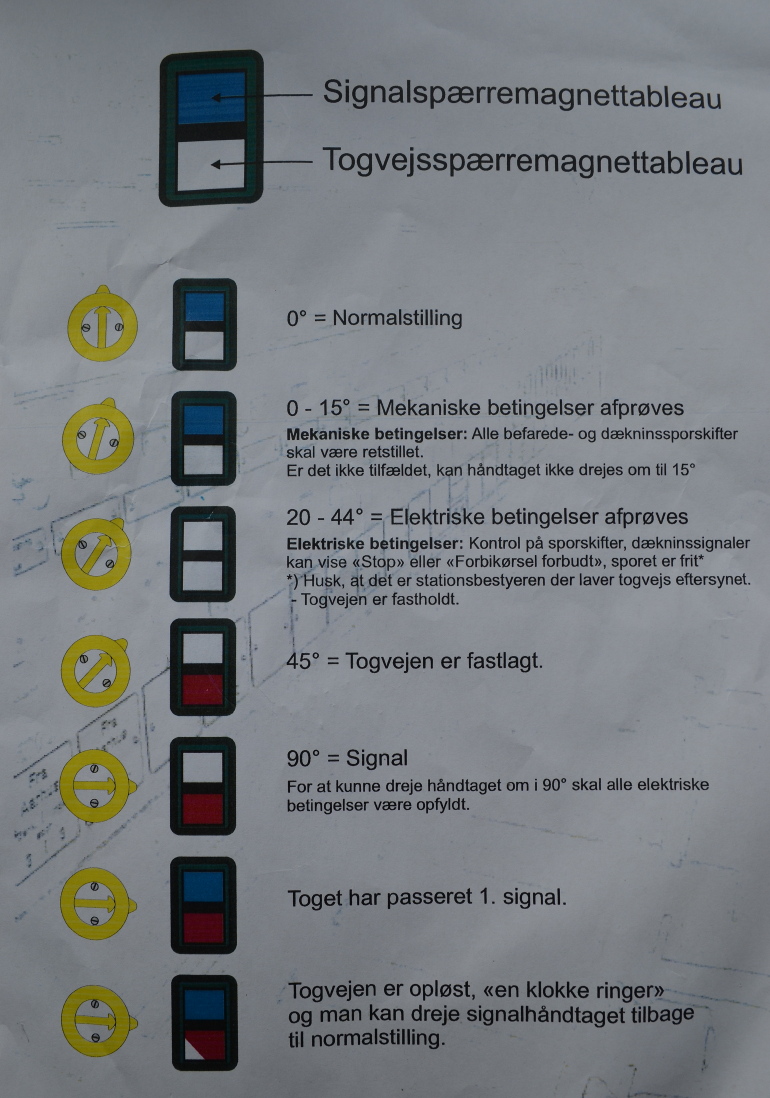
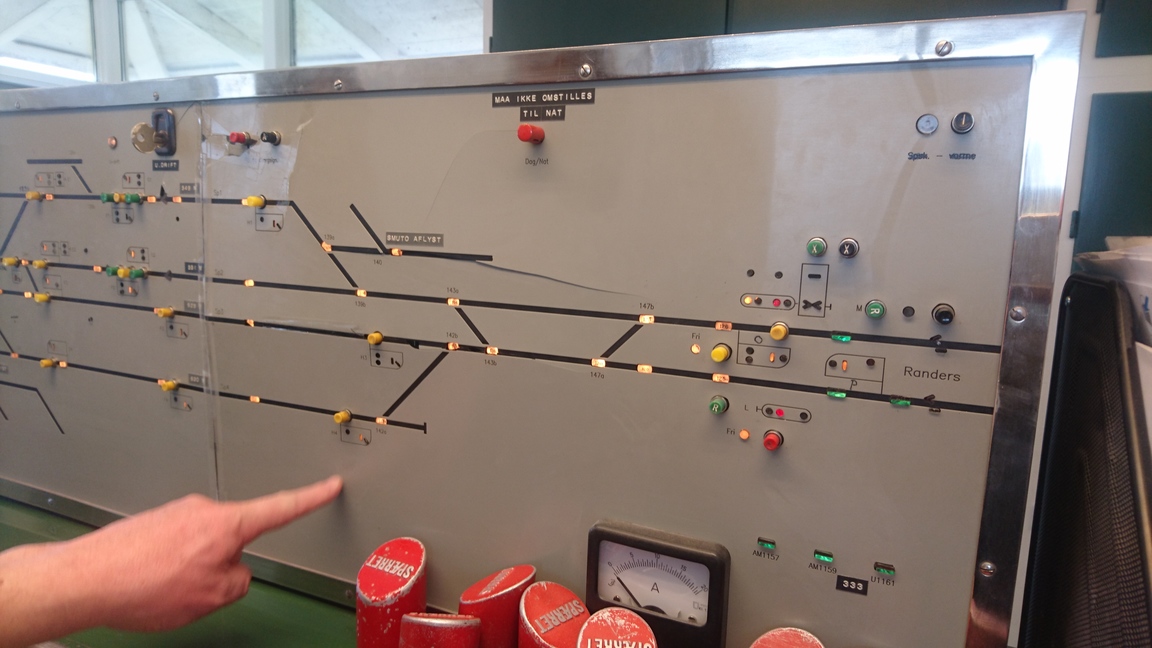
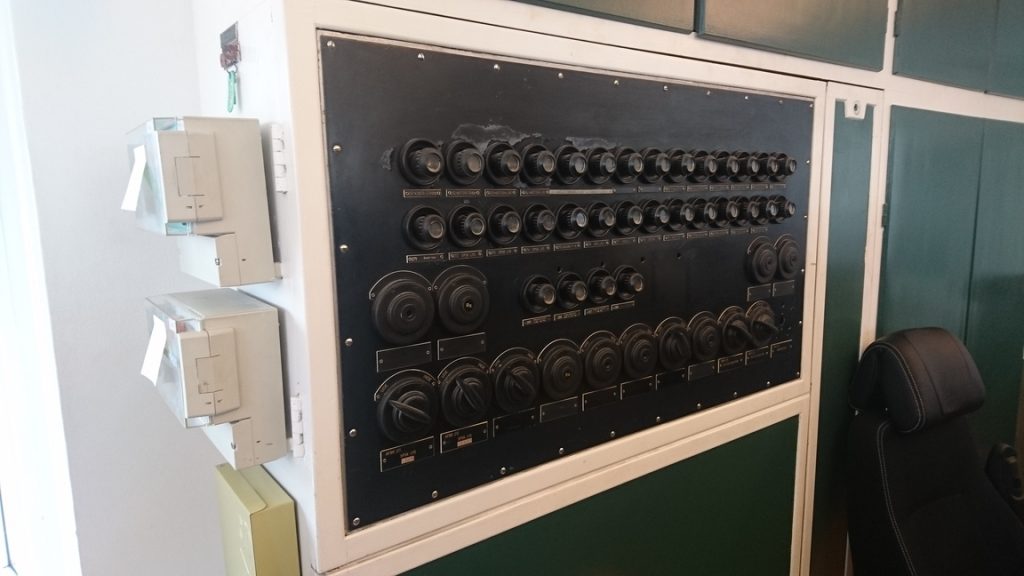
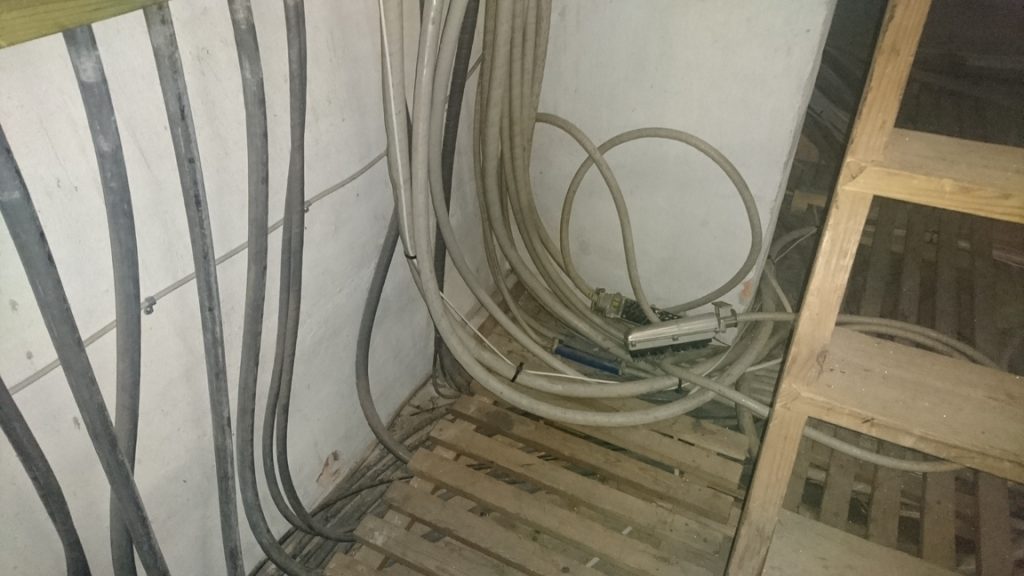
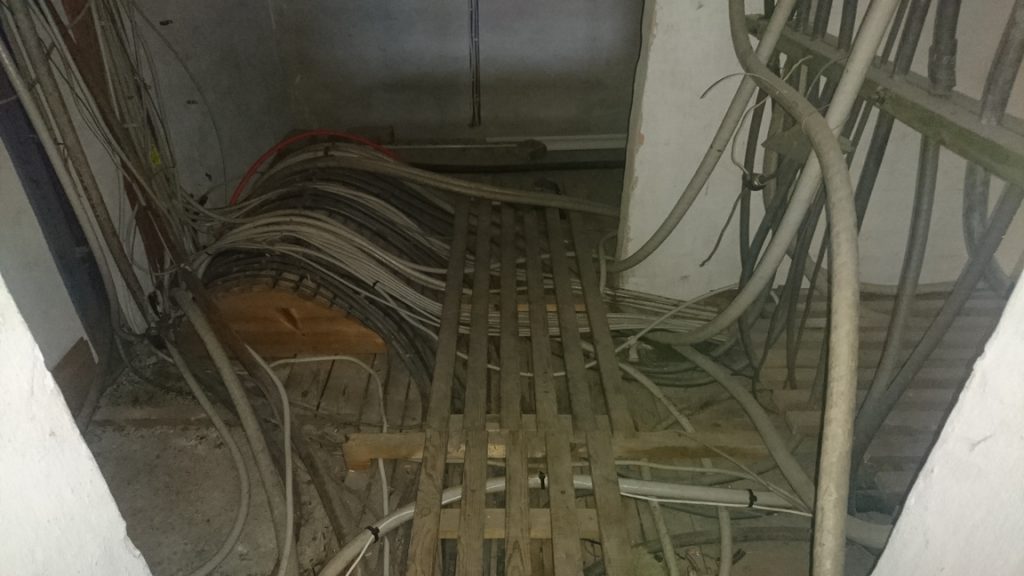
Efter den sidste tids mange skriverier om det ny signalsystem ERTMS tænkte vi (dvs. Georg) at det kunne være interessant at se et af de gamle signalsystemer, mens de stadig var i drift. Georg kontaktede Banedanmark og fik arrangeret et besøg i Langå, hvor der findes et anlæg af typen 12/46 (navnet skyldes at den oprindelige model er fra 1912, og er opdateret i 1946).
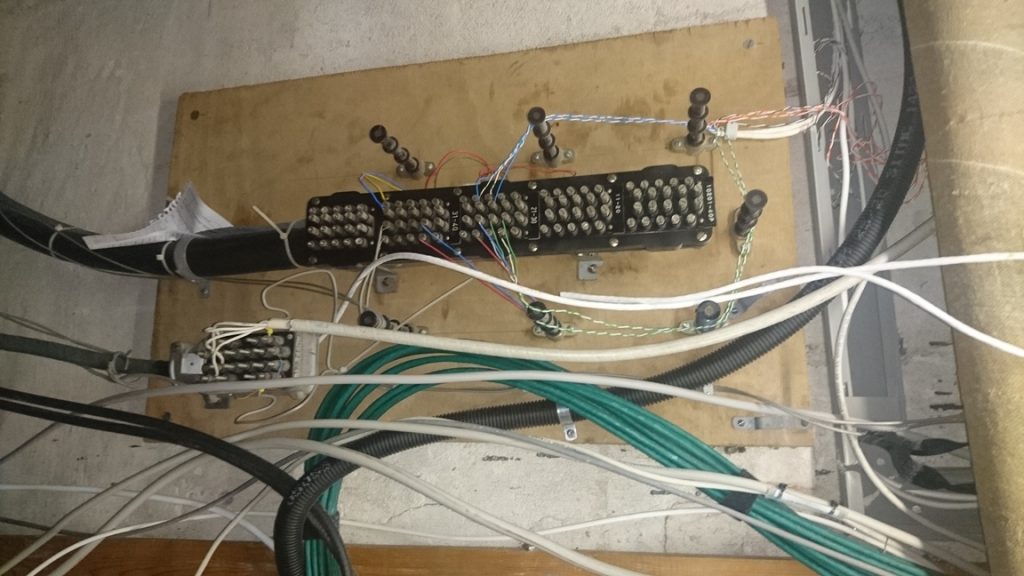
Anlægget er elektromekanisk, dvs. der er en række betjeningsknapper og et sindrigt system af metalstænger, der forhindrer at man kan sætte knapperne i en ikke-tilladt position. Oven på dette mekaniske system er der så et system af relæer der laver yderlige checks.
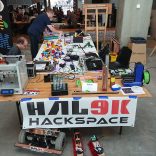
Hal9k er Aalborgs hackerspace. Et åbent højteknologisk værksted, hvor man kan lave (næsten) alt. Udover en masse forskellige værksteder, oser Hal9k af viden, kreativitet og varmt socialt fælleskab.
Alle der kommer i vores lokaler risikerer at lære en masse, og ikke mindst få nogle gode oplevelser.
Der er fast klubaften hver torsdag fra kl. 19 til ud på aftenen, hvor alle er velkomne til at kigge forbi!
Privacy & Cookies: This site uses cookies. By continuing to use this website, you agree to their use.
To find out more, including how to control cookies, see here:
Cookie Policy


07 sep
Kommentarer lukket til Det nye træværksted (kapitel 2)