
Dør jeg af partikelforurening fra min moderne brændeovn?
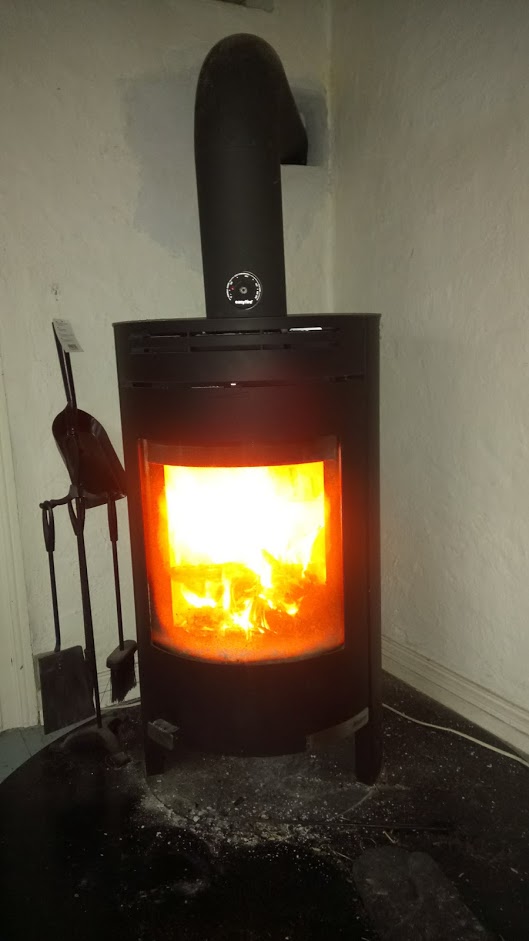
Vi har en fin moderne brændeovn derhjemme (en Aduro 1-2), som vi bruger ret intensivt til opvarmning af vores gamle stuehus. Et meget relevant spørgsmål er derfor: hvor meget bidrager sådan en moderne brændeovn til partikelforureningen i vores stue?
Partikelforurening er små partikler af støv og sod, der bl.a. fremkommer ved afbrænding af fossile brændsler, som olie og træ. De kan forårsage forskellige slags sundhedsproblemer, bl.a. kræft. På et interaktivt partikelkort kan man se hvilke niveauer der (beregnet) var i Danmark i 2012, og f.x. forskellen mellem land og by; årsgennemsnittet for PM2.5 lå på 5.3 – 11.9 μg/m3.
Det er et ganske egoistisk projekt jeg har gang i: jeg har ingen data for hvor stor partikelforureningen er udenfor huset, men kun inde i selve stuen. Der er en del kilder til partikelforurening som jeg kender til, eller har observeret:
- Vi har et pillefyr, der står i nærheden, der også kører i den kolde tid
- Vi bor i kort afstand fra en lettere befærdet vej
- Madlavning, specielt med en gammel emhætte, kan bidrage betydeligt
- Den generelle baggrundsvariation kan være betydelig
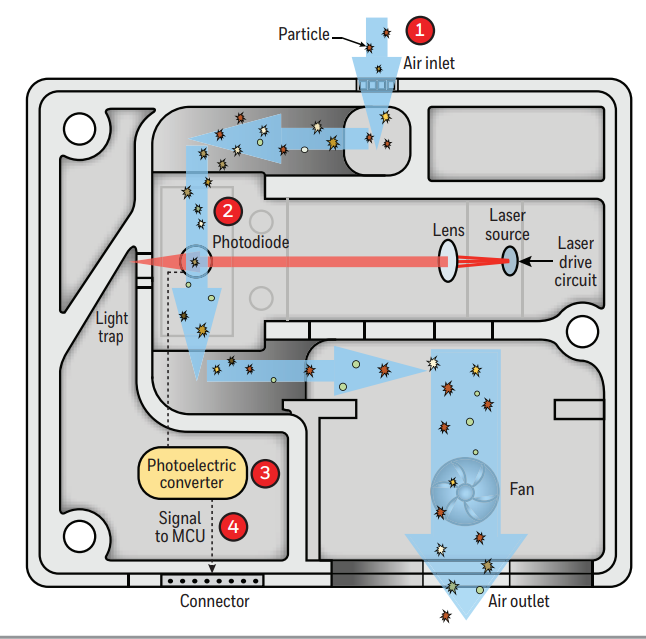
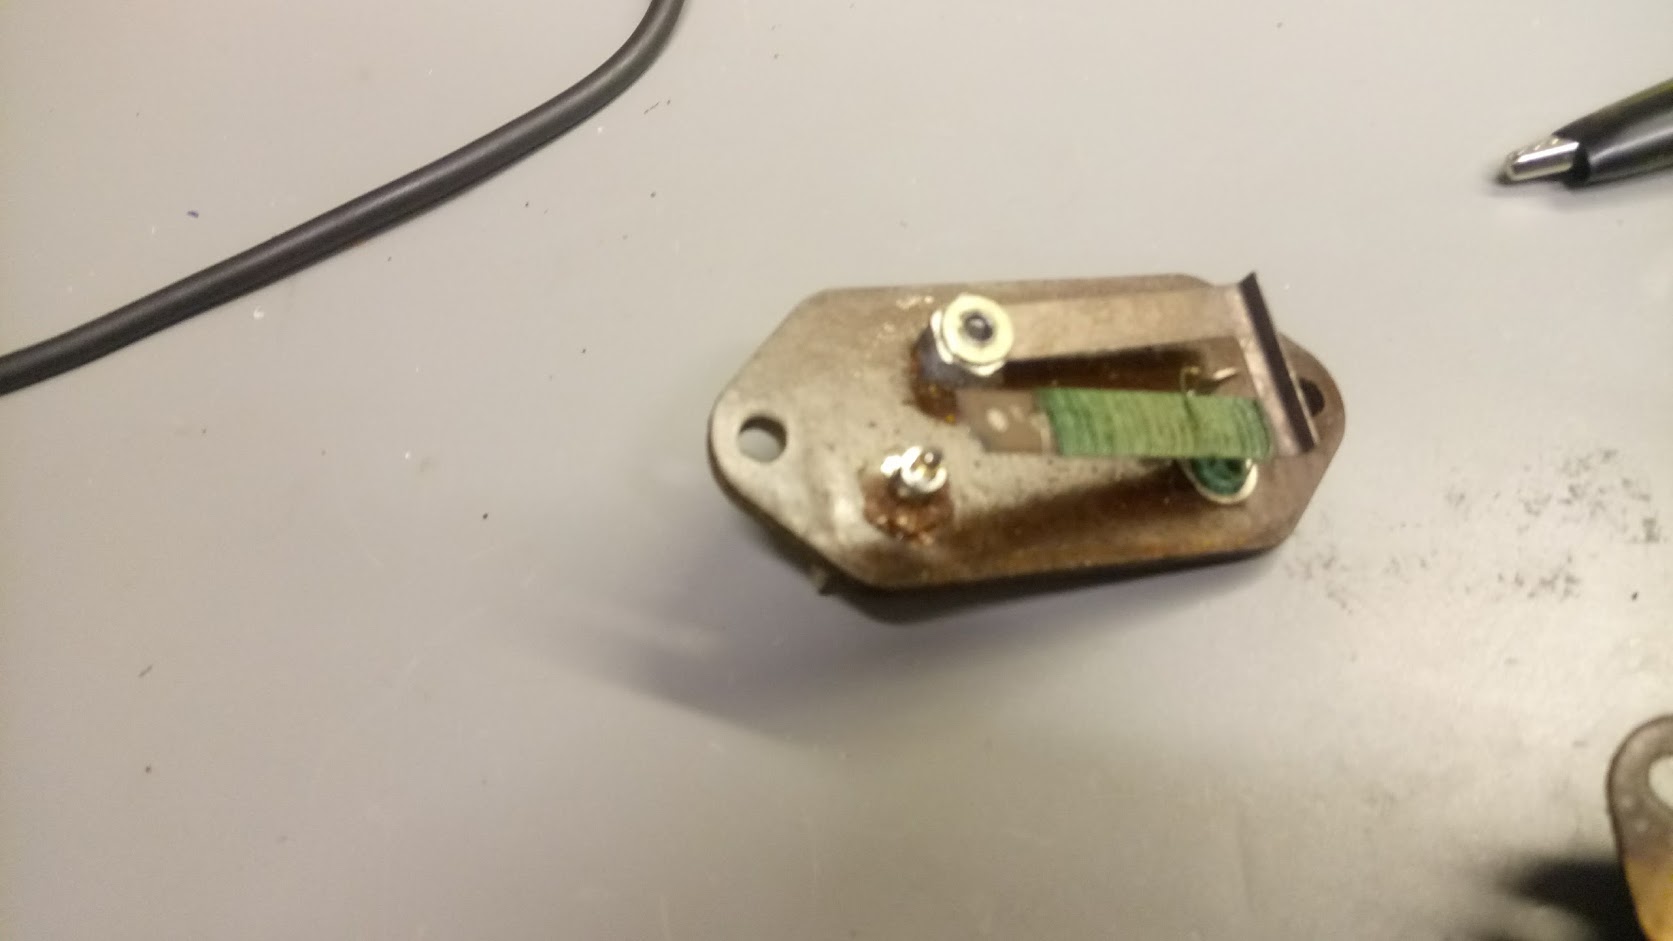
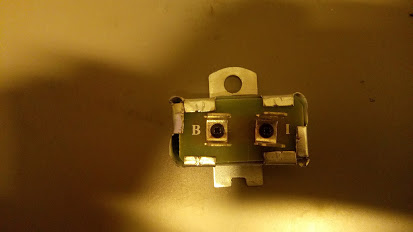
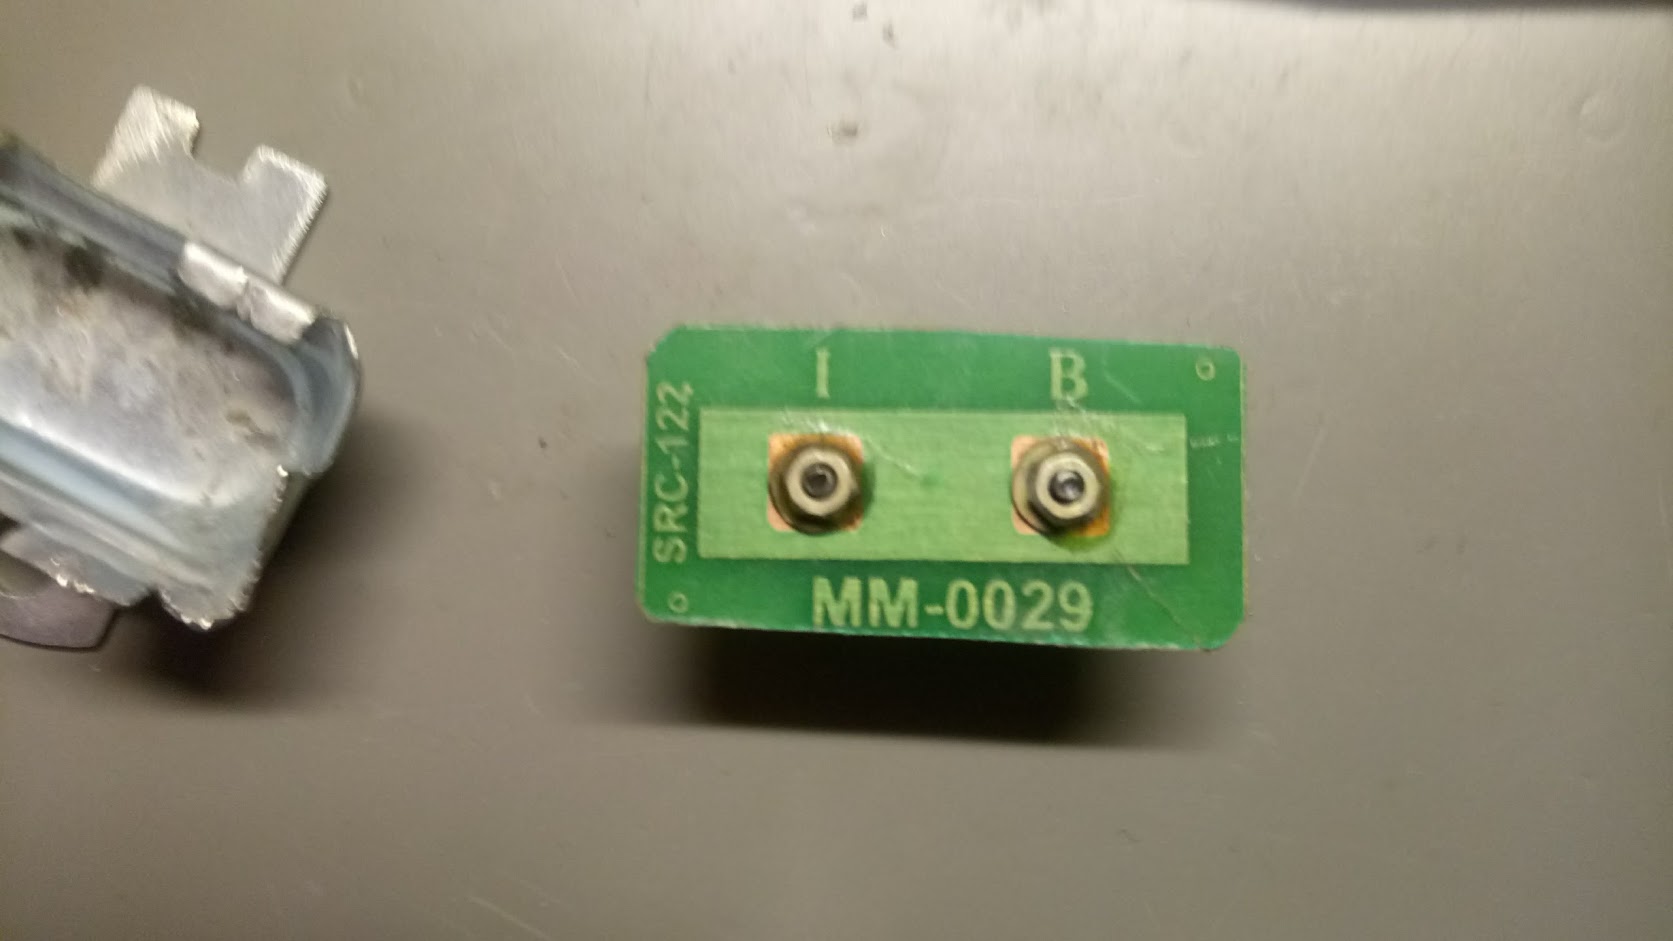
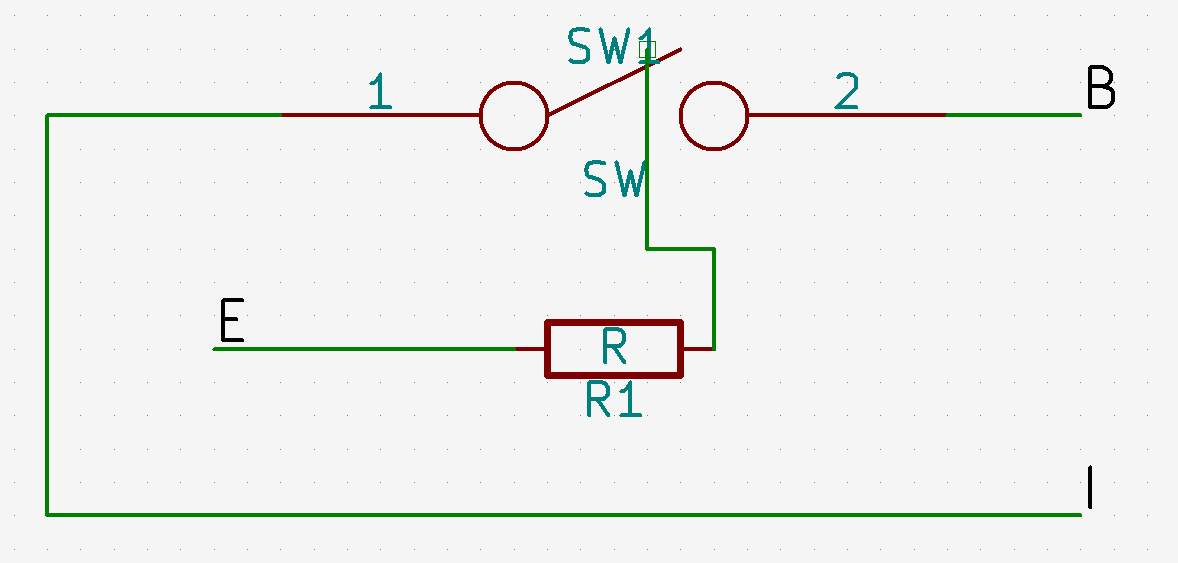
For at undersøge det har jeg opsat en partikel sensor (en Honeywell HPMA-1150S0) i stuen, ca. 3 m fra brændeovnen. Samtidig registrerer jeg brændeovnens temperatur, via en Aduro Smart Response sensor. Dette har jeg nu gjort i lidt over et år, og kan dermed lave en data analyse på et års data.
Til brug for analysen er der registreret PM10 og PM2.5 værdier, ifølge databladet i μg/m3. Sensoren skulle desuden være “fully calibrated”, og kunne køre i mindst 20.000 timer, så et års data burde man kunne stole på. Usikkerheden er dog angivet til +/- 15 μg/m3, eller +/-15% alt efter målingen; i praksis virker den dog til at være ret stabil i værdierne. Sensoren beregner PM10 værdier ud fra PM2.5 værdier, så jeg vil primært fokusere på analyse af PM2.5 værdierne. Data er optaget med et interval på 5 minutter, men med sensor læsninger ca. hvert 6 sekund der så er aggregeret ved gennemsnit (Der er brugt HPMA-1150S0 sensorens “auto-send”).
Brændeovnens temperatur er målt som foreskrevet af Aduro Smart Response, dvs. i den øvre del af brændkammeret på vej mod røgrøret. Aduro sensoren sender data i ca. 4 timer. Jeg har defineret at brændeovnen er i brug, hvis temperaturen er registreret, dvs. afkøling også er talt med.
Vi bruger vores brændeovn en hel del i de kolde måneder. Faktisk helt op til halvdelen af tiden:
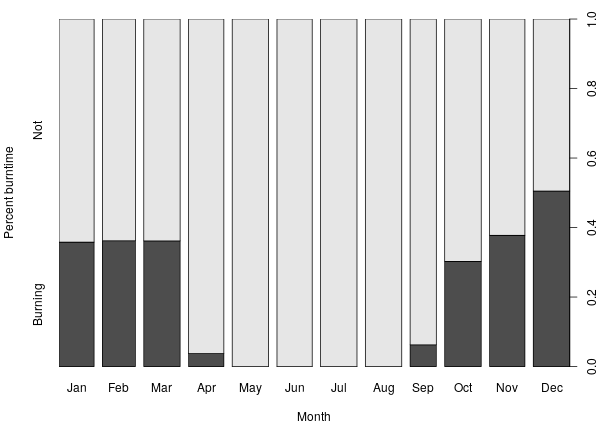
Det passer meget godt med at vi bruger brændeovnen næsten alt tid vi er hjemme, i de kolde måneder.
Vi tænder op efter forskrifterne og bedste evne; genindfyring sker typisk ved 175C eller 150C ved at lægge 2-3 stykker brænde ind, og åbne spjældet (der så ved Adurotronic lukker over ca. 6 minutter). Der er naturligvis stor variation i præcis hvornår der lige bliver genindfyret. Og en sjælden gang imellem glipper optændingen, og giver røg i stuen. Men generelt opleves fyringen som ganske uproblematisk.
Gennem året har jeg lavet lidt observationer, og min subjektive vurdering for partikelforureningen er ca.:
- Der er normalt meget lille partikelforurening, 2-3 μg/m3
- Ved god optænding stiger forureningen med 1-2 μg/m3
- I nogle perioder er baggrundsforureningen højere, lige under 20 μg/m3
- Ved uheldig opførsel stiger partikelforureningen drastisk – helt op til 900 μg/m3; det kan f.x. være ved dårlig optænding, eller ved madlavning.

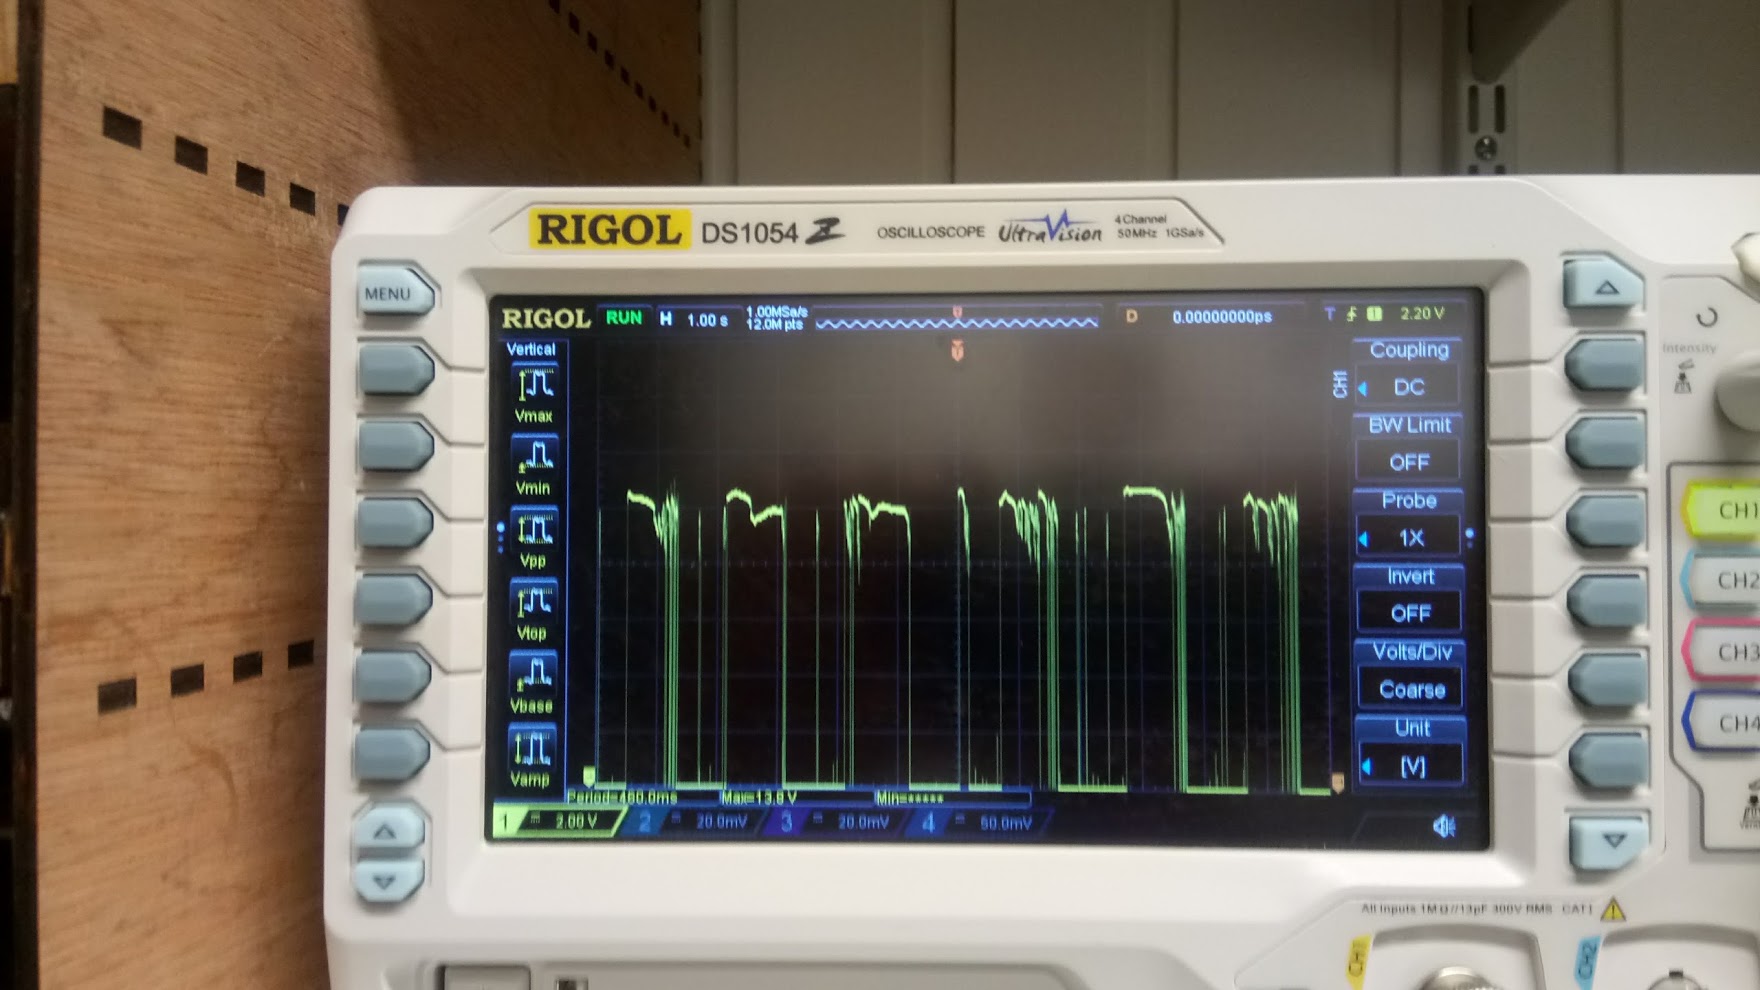
Uheldig optænding. 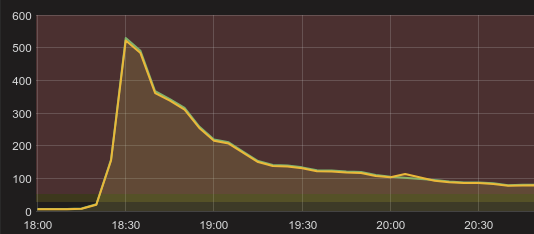
Uheldig baconstegning.
Målinger
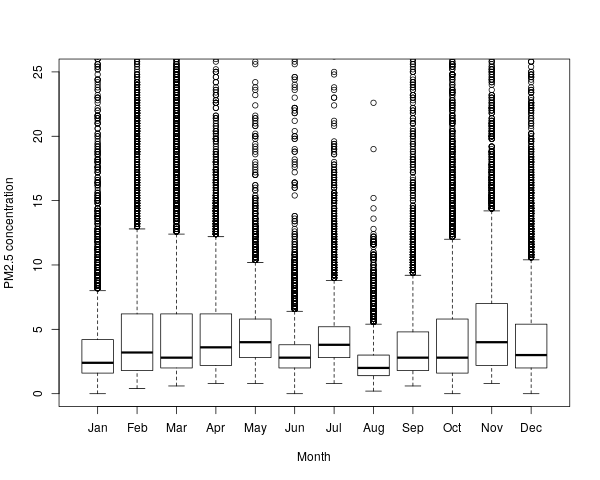
Som det kan ses er der en del variation imellem månederne. Der er også en hel del outliers, der trækker gennemsnittet op, mens medianen for alle måneder ligger under 5 μg/m3.
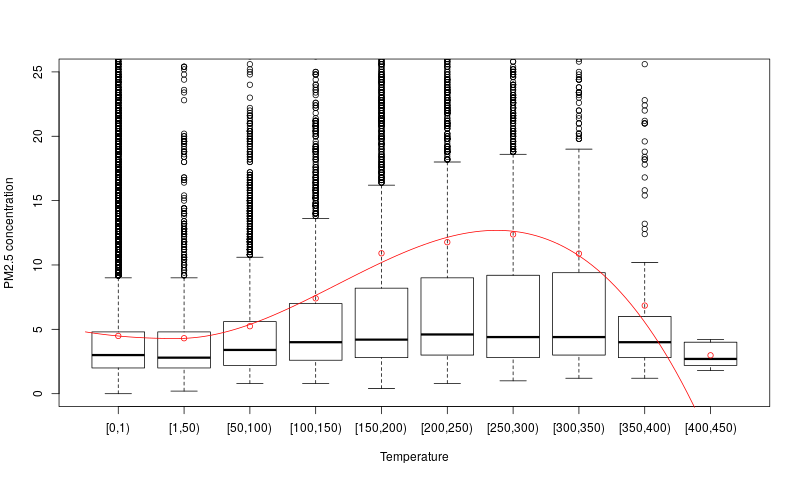
Mere interessant er det om partikelforureningen påvirkes af brændeovnens temperatur, og dermed dens brug. Det ser det bestemt ud til! Selvom median værdierne ikke stiger meget stiger specielt 3. kvartil. Gennemsnitsværdierne stiger også, helt op til 12.37 μg/m3 for intervallet [250, 300). En tolkning af dette kunne være at der normalt (median) ikke er ret meget mere partikelforurening, men det sker hyppigere at der er store koncentrationer til stede.
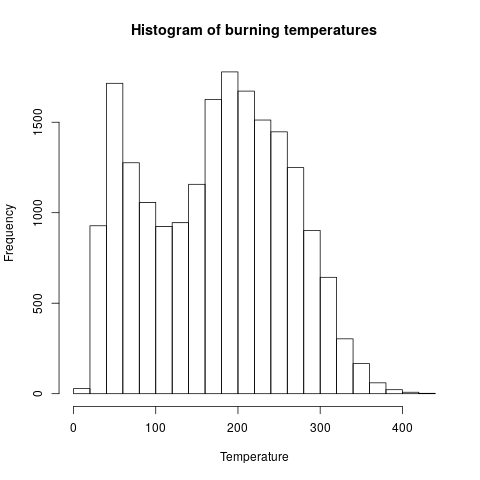
Det bør noteres at der ikke er særlig mange målinger over 350C, som det kan ses af histogrammet for hvilke brændeovnstemperaturer der er registreret:
Fejlkilder
Der er et par fejlkilder i målingerne:
- Der mangler en uges data i september, hvor en strømforsyning stod af mens vi var på ferie.
- Partikelsensoren giver nogle meget højere målinger i et enkelt punkt, engang imellem. Checksummen fra sensoren ser ud til at passe, så hvad præcist problemet er ved jeg ikke. Jeg har først filtreret åbenlyst forkerte målinger (<0 eller >1000) fra i databehandlingen, men pga. gennemsnittet over de 5 min kan nogle åbenlyst forkerte målinger stadig være talt med.
- Brændeovnssensor har nok manglet batteri en dag eller to, det kan jeg ikke helt huske.
Analyse
| PM2.5 | |
| Årligt gennemsnit | 5.44 μg/m3 |
| – Årligt gennemsnit, brændeovn i brug | 9.28 μg/m3 |
| – Årligt gennemsnit, brændeovn ikke i brug | 4.49 μg/m3 |
Alle værdier er under EU’s grænseværdi, på 25 μg/m3 PM2.5. Hvis vi antager at målingerne mens brændeovnen ikke er i brug er repræsentative for hele året, så har brændeovnen bidraget med 0.95 μg/m3 PM2.5 til års gennemsnittet.
Hvor farligt er det så?
Et studie fra 2013 af sammenhængen mellem partikelforurening og lungekræft fandt (eftersigende, jeg har ikke adgang til artiklen men kun til resuméet på Videnskab.dk) at selv små stigninger i partikelforurening giver øget risiko for lungekræft.
For småkornet luftforurening [PM2.5] stiger risikoen for lungekræft med 18 procent per fem ekstra mikrogram svævestøv, men det resultat var ikke statistisk signifikant. Det var alle resultaterne for risikostigning under det tilladte niveau heller ikke.
Videnskab.dk: Små mængder forurening øger faren for kræft
Hvis vi antager at det resultat holder, og at virkningen er lineær, vil den øgede forurening på 0.95 μg/m3 PM2.5 øge risikoen for lungekræft med 3.42%.
Enkeltstående tilfælde
Et andet problem kunne være hvis enkeltstående tilfælde af høj luftforurening var specielt sundhedsskadeligt, som indikeret af at EU for PM10 også har en daglig grænseværdi (50 μg/m3), og et antal tilladte overskridelser per år (35). Der er 0 dage hvor den daglige PM10 grænseværdi har været overskredet. Jeg har alligevel analyseret de 35 dage med det højeste gennemsnit, og forsøgt at klassificere de årsager (primær og sekundære) til de høje værdier. Det har jeg gjort ved at kigge på brændeovnstemperaturen, strømforbruget, tidspunket på dagen, osv. Disse tal må derfor siges at være min subjektive vurdering.
| Primær årsag | Sekundær årsag | |
| Madlavning | 19 | 3 |
| Baggrund | 11 | 1 |
| Brændeovn | 3 | 15 |
| Ukendt | 2 | 0 |
De primære årsager til høje målinger ser ud til at være madlaving og baggrund, mens brændeovnen bidrager til halvdelen af de høje dagsgennemsnit.
Konklusion
Vores moderne brændeovn bidrager med 0.95 μg/m3 PM2.5 til års gennemsnittet, og øger dermed vores risiko for lungekræft med 3.42%. Hvis vi f.x. flyttede til en større by som København ville vi opleve en væsentlig højere forøgelse til måske 10 μg/m3, ifølge modelberegningen, hvilket ville øge risikoen for lungekræft med 16%.
Hvis man ser på PM2.5 koncentrationer ifht. brændeovnens temperatur, ser det ud til at brændeovnen for det meste (målt på medianen) ikke udleder ret mange partikler, men bidrager til at høje forureningskoncentrationer optræder oftere (som set på de øgede gennemsnitsværdier, og forøgede 3. kvartil).
Brændeovnen bidrager til 18 af de 35 højeste dagsmålinger, mens de primære årsager til høje dagsmålinger er madlavning og baggrundsforurening.


01 feb
0 Comments